Execute Airflow workflows with ModelOps - Model Factory Solution Accelerator
Overview
The purpose of the Model Factory Solution Accelerator of ClearScape Analytics is to streamline and accelerate the end-to-end process of developing, deploying, and managing machine learning models within an organization at Horizontal Scale by operationalizing hundreds of models for a business domain at one effort. It leverages the scalability of in-database analytics and the openness of supporting partner model formats such as H2O or Dataiku. This unique combination enhances efficiency, scalability, and consistency across various stages of the machine learning lifecycle in Enterprise environments.
By incorporating best practices, automation, and standardized workflows, the Model Factory Solution Accelerator enables teams to rapidly select the data to be used, configure the model required, ensure reproducibility, and deploy unlimited number of models seamlessly into production. Ultimately, it aims to reduce the time-to-value for machine learning initiatives and promote a more structured and efficient approach to building and deploying models at scale. Here is the diagram of an automated Workflow:
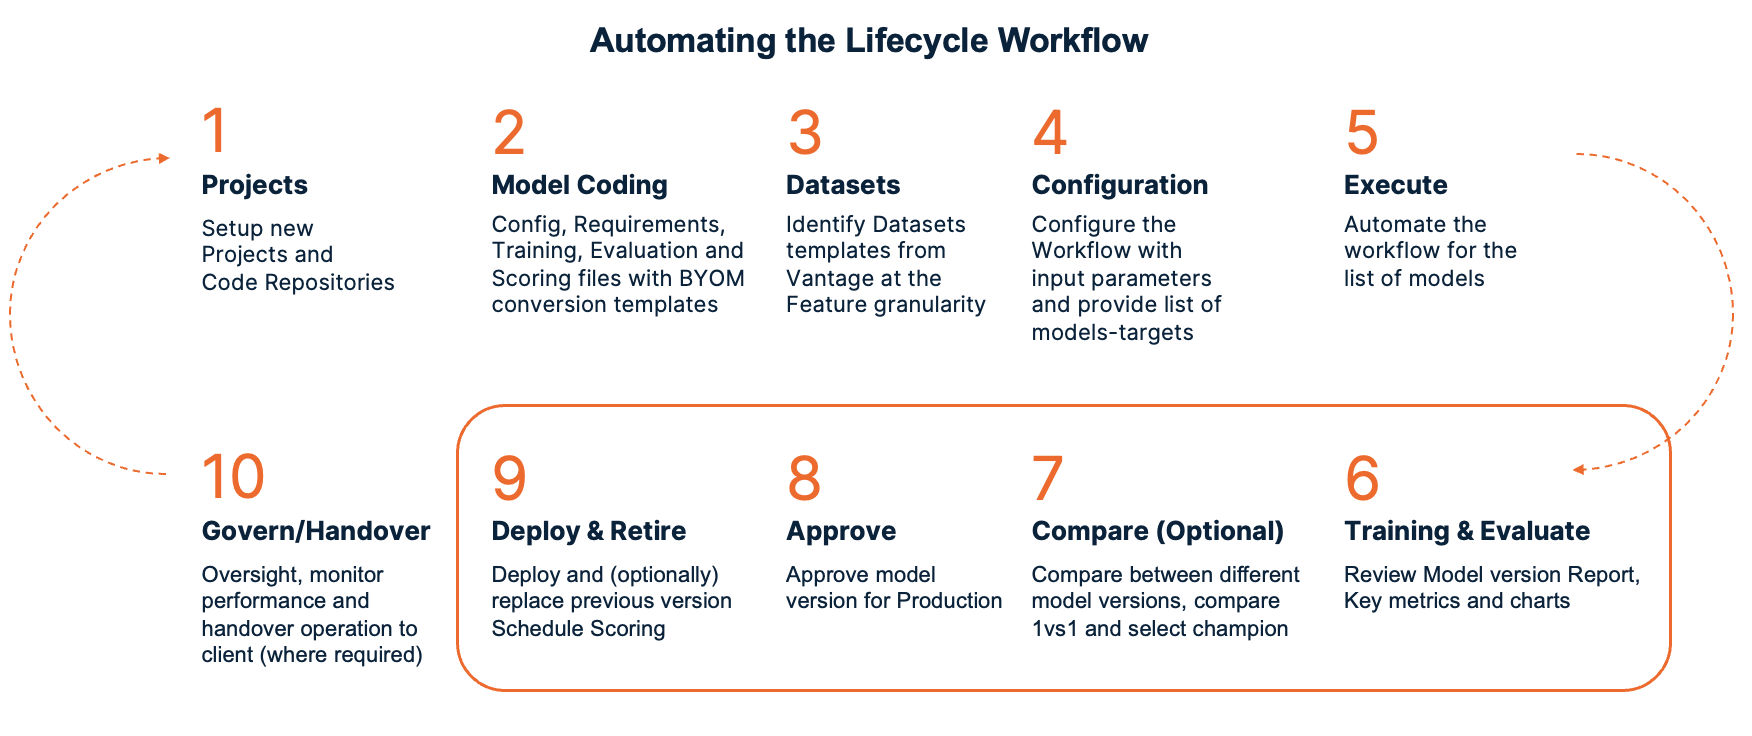
Here are the steps to implement Model Factory Solution Accelerator using Airflow and ClearScape Analytics ModelOps. Apache Airflow is used for the scheduling and orchestration of data pipelines or workflows. So in this tutorial we are creating an Airflow DAG (Directed Acyclic Graph) which will be executed to automate the lifecycle of ModelOps.
Prerequisites
- In this tutorial it is implemented on local machine using Visual Studio code IDE.
In order to execute shell commands, you can install the VS code extension "Remote Development" using the followng link. This extension pack includes the WSL extension, in addition to the Remote - SSH, and Dev Containers extensions, enabling you to open any folder in a container, on a remote machine, or in WSL: VS code marketplace.
- Access to a Teradata Vantage instance with ClearScape Analytics (includes ModelOps)
If you need a test instance of Vantage, you can provision one for free at https://clearscape.teradata.com
Configuring Visual Studio Code and Installing Airflow on docker-compose
-
Open Visual Studio code and select the option of open a remote window. Then select Connect to WSL-Ubuntu
-
Select File > Open Folder. Then select the desired folder or create a new one using this command: mkdir [folder_name]
-
Set the AIRFLOW_HOME environment variable. Airflow requires a home directory and uses ~/airflow by default, but you can set a different location if you prefer. The AIRFLOW_HOME environment variable is used to inform Airflow of the desired location.
- Install apache-airflow stable version 2.8.2 from PyPI repository.:
- Install the Airflow Teradata provider stable version from PyPI repository.
-
Install Docker Desktop so that you can use docker container for running airflow. Ensure that the docker desktop is running.
-
Check docker version using this command:
Check the version of docker compose. Docker Compose is a tool for defining and running multi-container applications
To deploy Airflow on Docker Compose, you need to fetch docker-compose.yaml using this curl command.
Create these folders to use later using following command:
Configuring Model Factory Solution Accelerator
Create a config file inside config folder and set the parameters to corresponding values depending on which model you want to train.
Click to reveal the Python code
Now copy the Bearer token from the ModelOps user interface (Left Menu -> Your Account -> Session Details) and set it here as an environment varibale using the following command:
Now you can execute the previously created config file, which will create a new ini file inside config folder containing all the required parameters which will be used in the DAG creation step.
Create a Airflow DAG containing full ModelOps Lifecycle
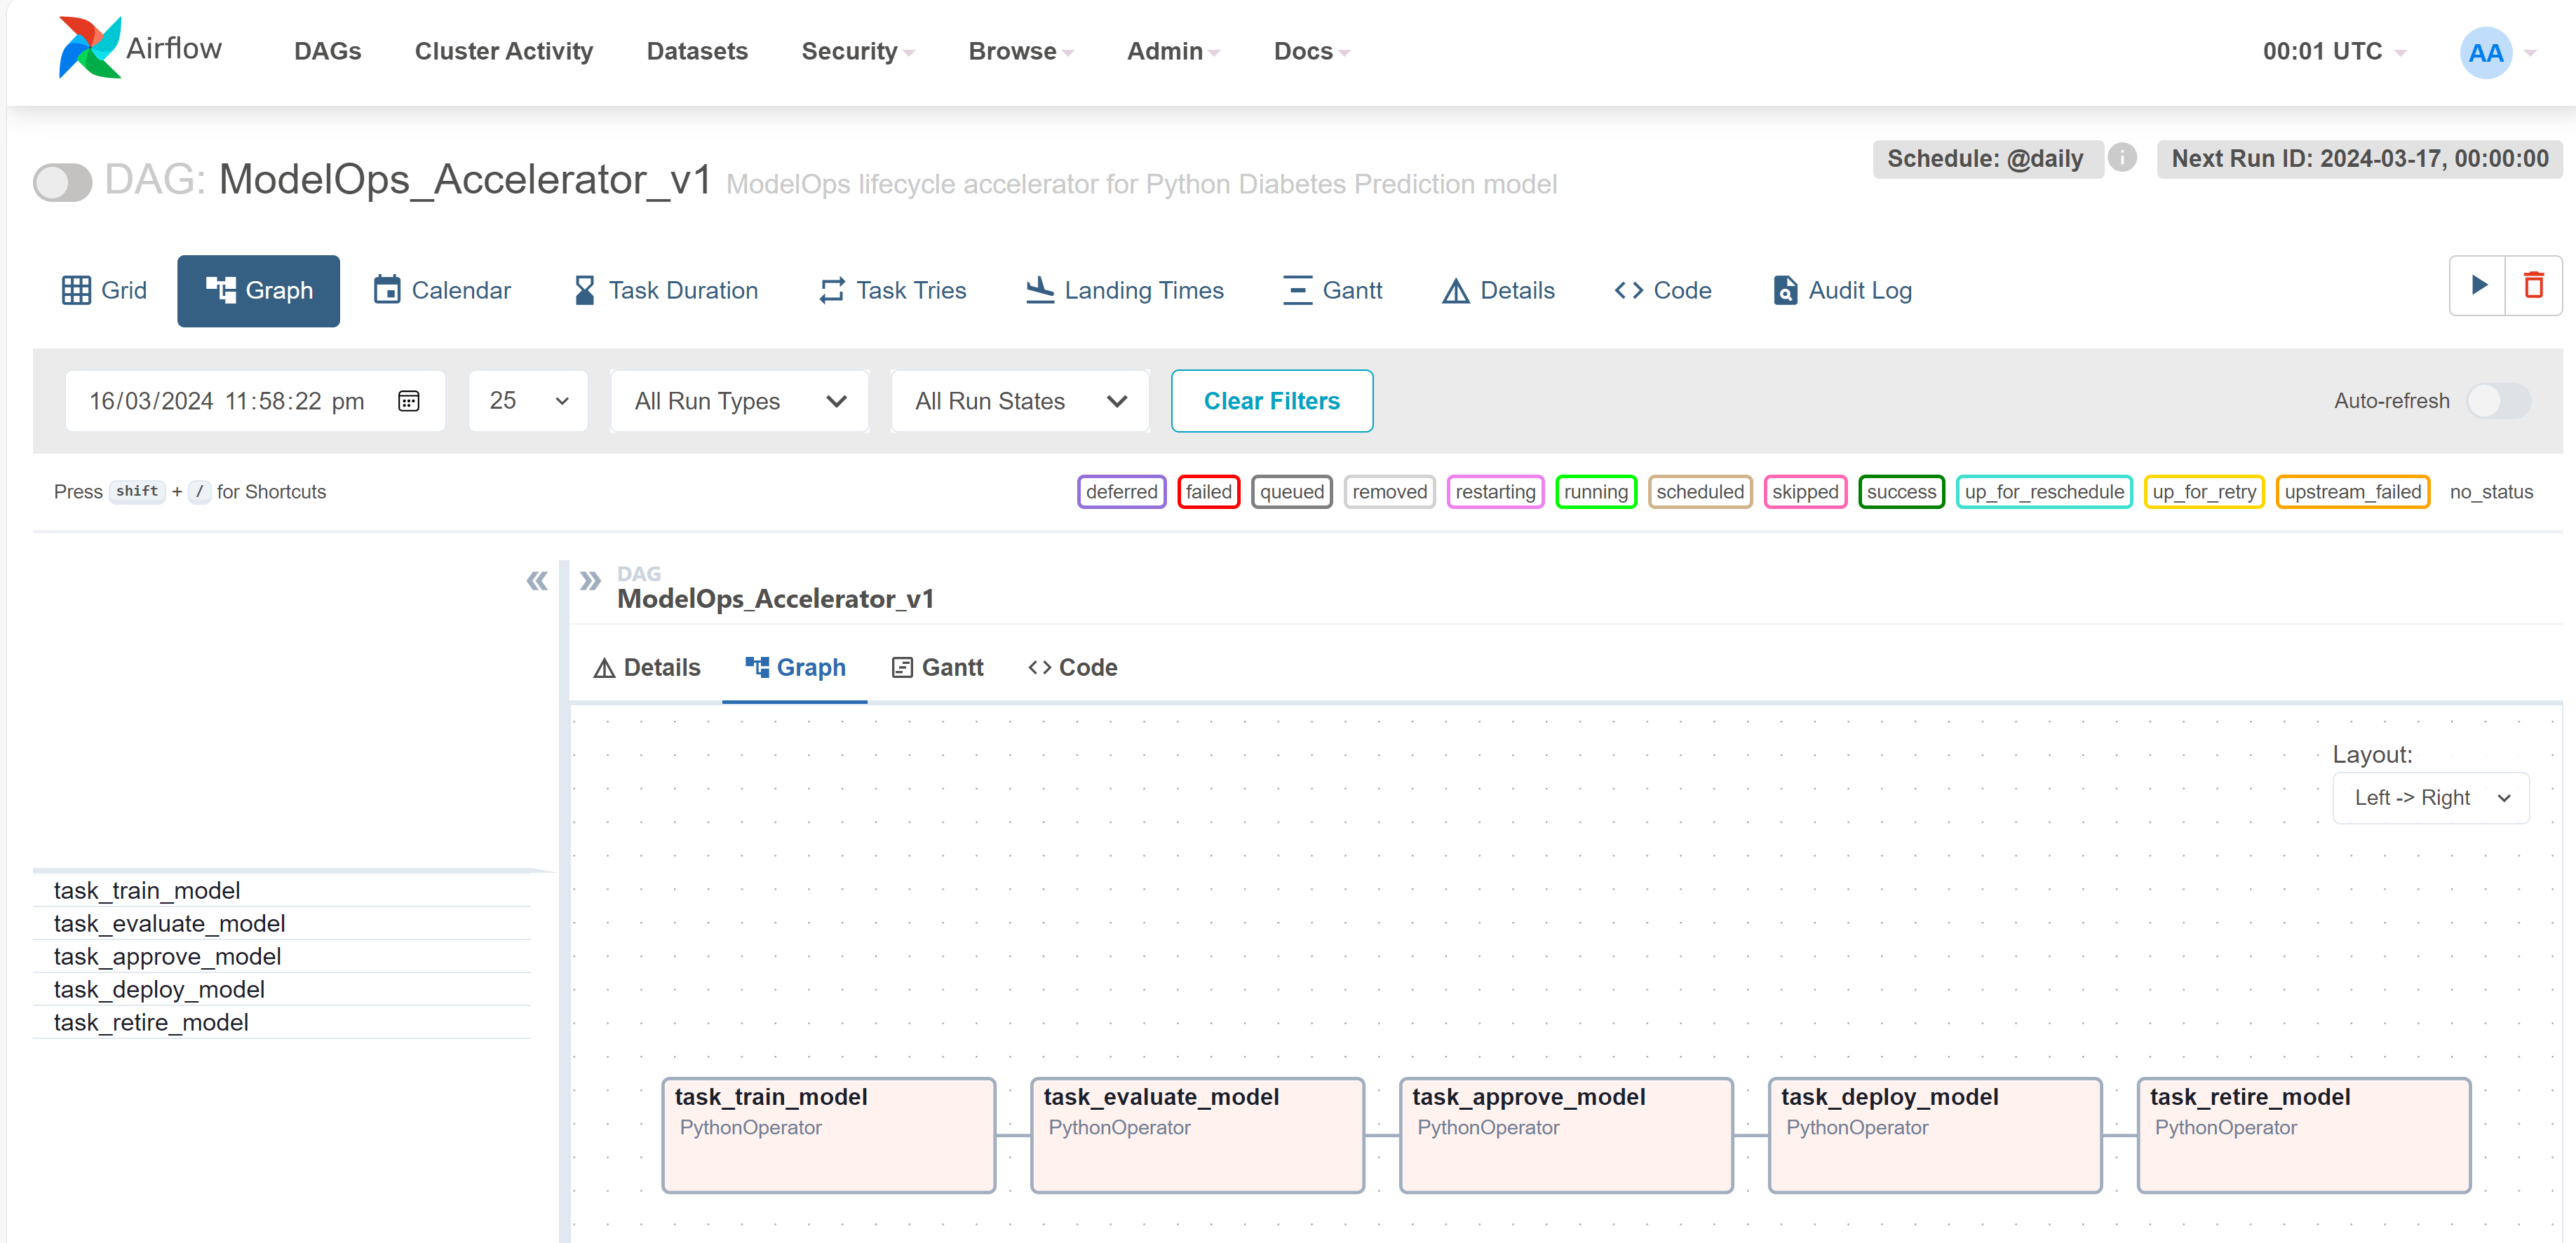
Now you can create a DAG using the following python code. Add this python code file inside dags folder. This DAG contains 5 tasks of ModelOps lifecycle (i.e., Train, Evaluate, Approve, Deploy and Retire)
Click to reveal the Python code
Initialize Airflow in Docker Compose
While initializing Airflow services like the internal Airflow database, for operating systems other than Linux, you may get a warning that AIRFLOW_UID is not set, but you can safely ignore it. by setting its environment variable using the following command.
To run internal database migrations and create the first user account, initialize the database using this command:
After initialization is complete, you should see a message like this:
Clean up Airflow demo environment
You can clean up the environment which will remove the preloaded example DAGs using this command:
Then update this parameter in docker-compose.yaml file as given below:
Launch Airflow with Model Factory Solution Accelerator
Launch Airflow using this command:
Run Airflow DAG of Model Factory Solution with ModelOps
- Now you can access Airflow UI uisng the following http://localhost:8080/
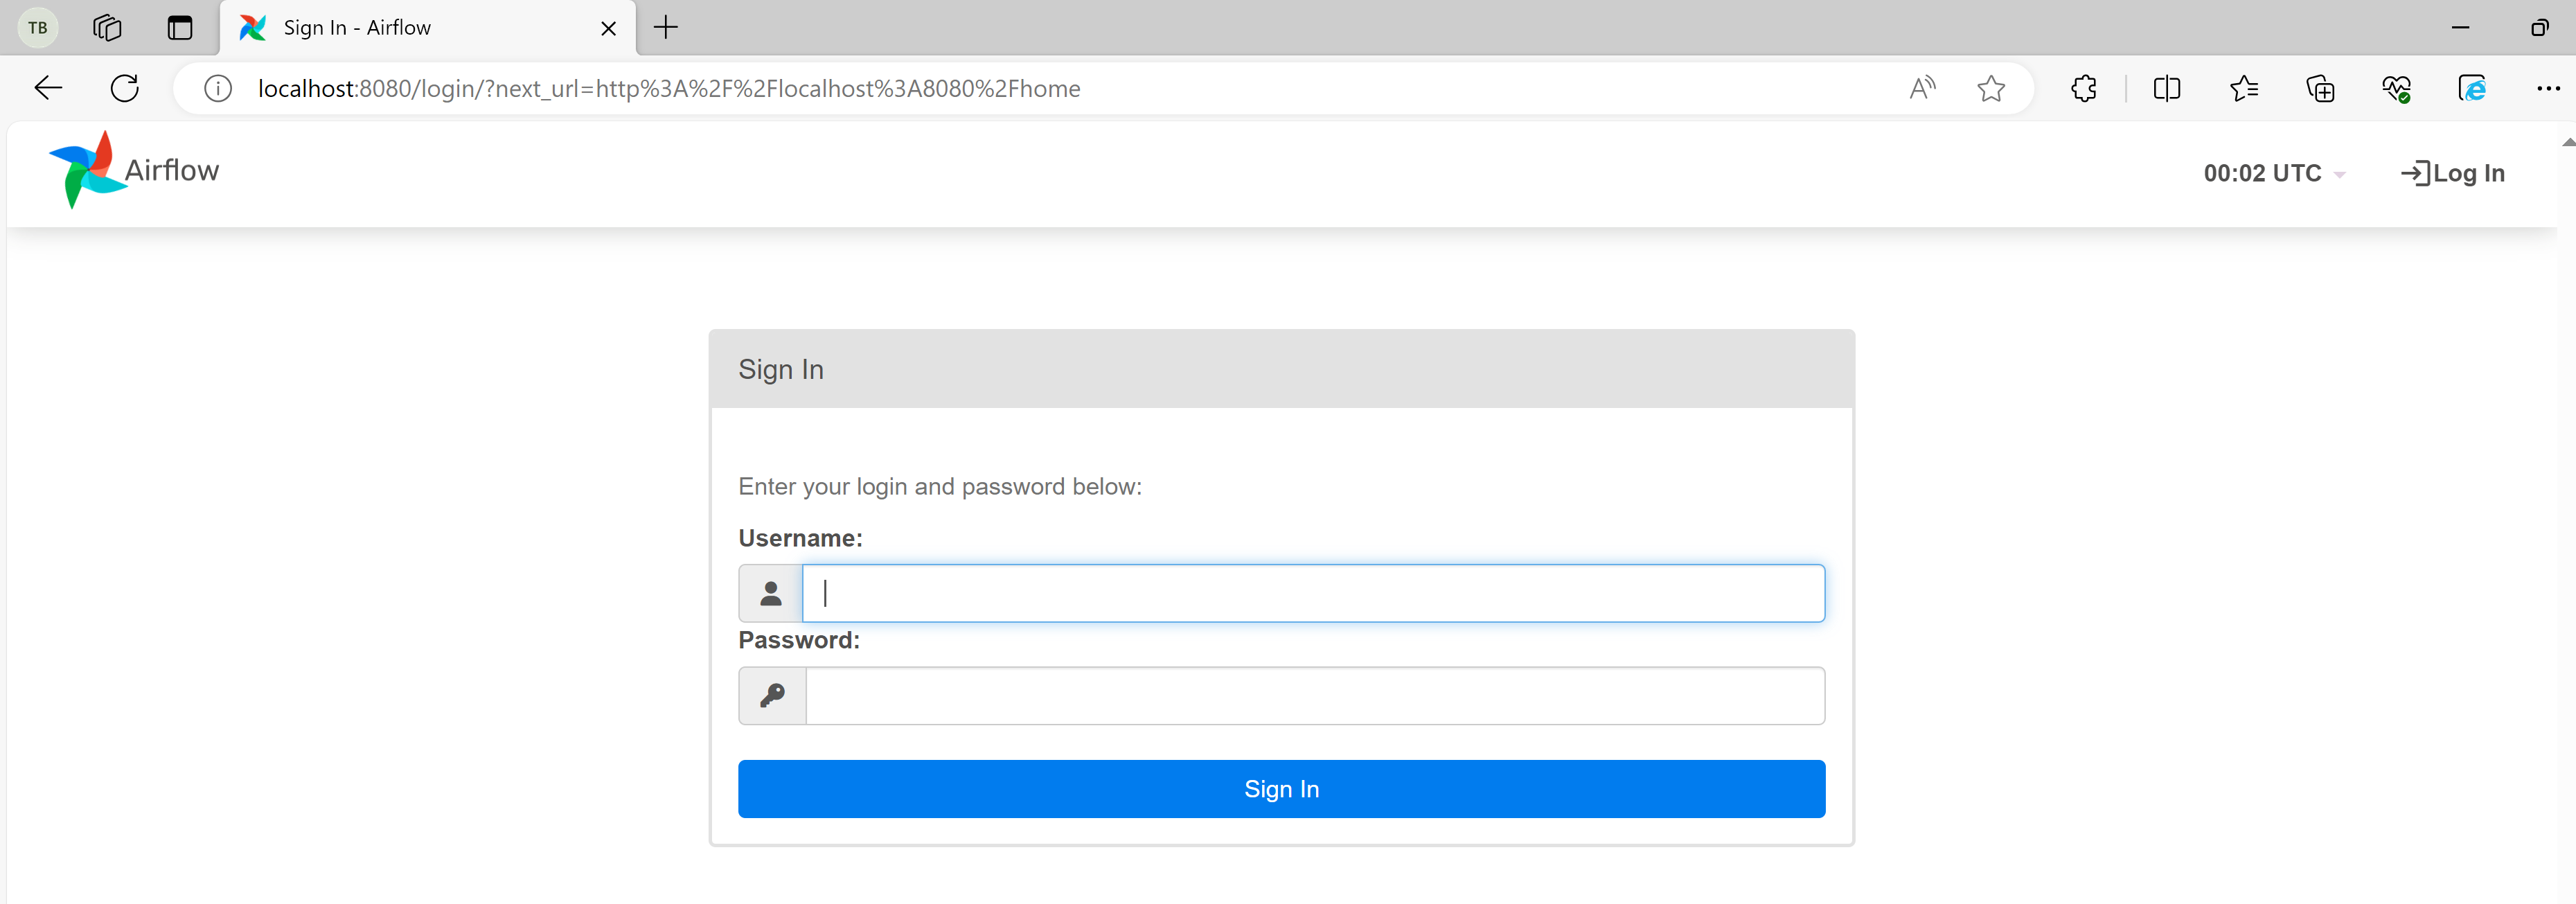
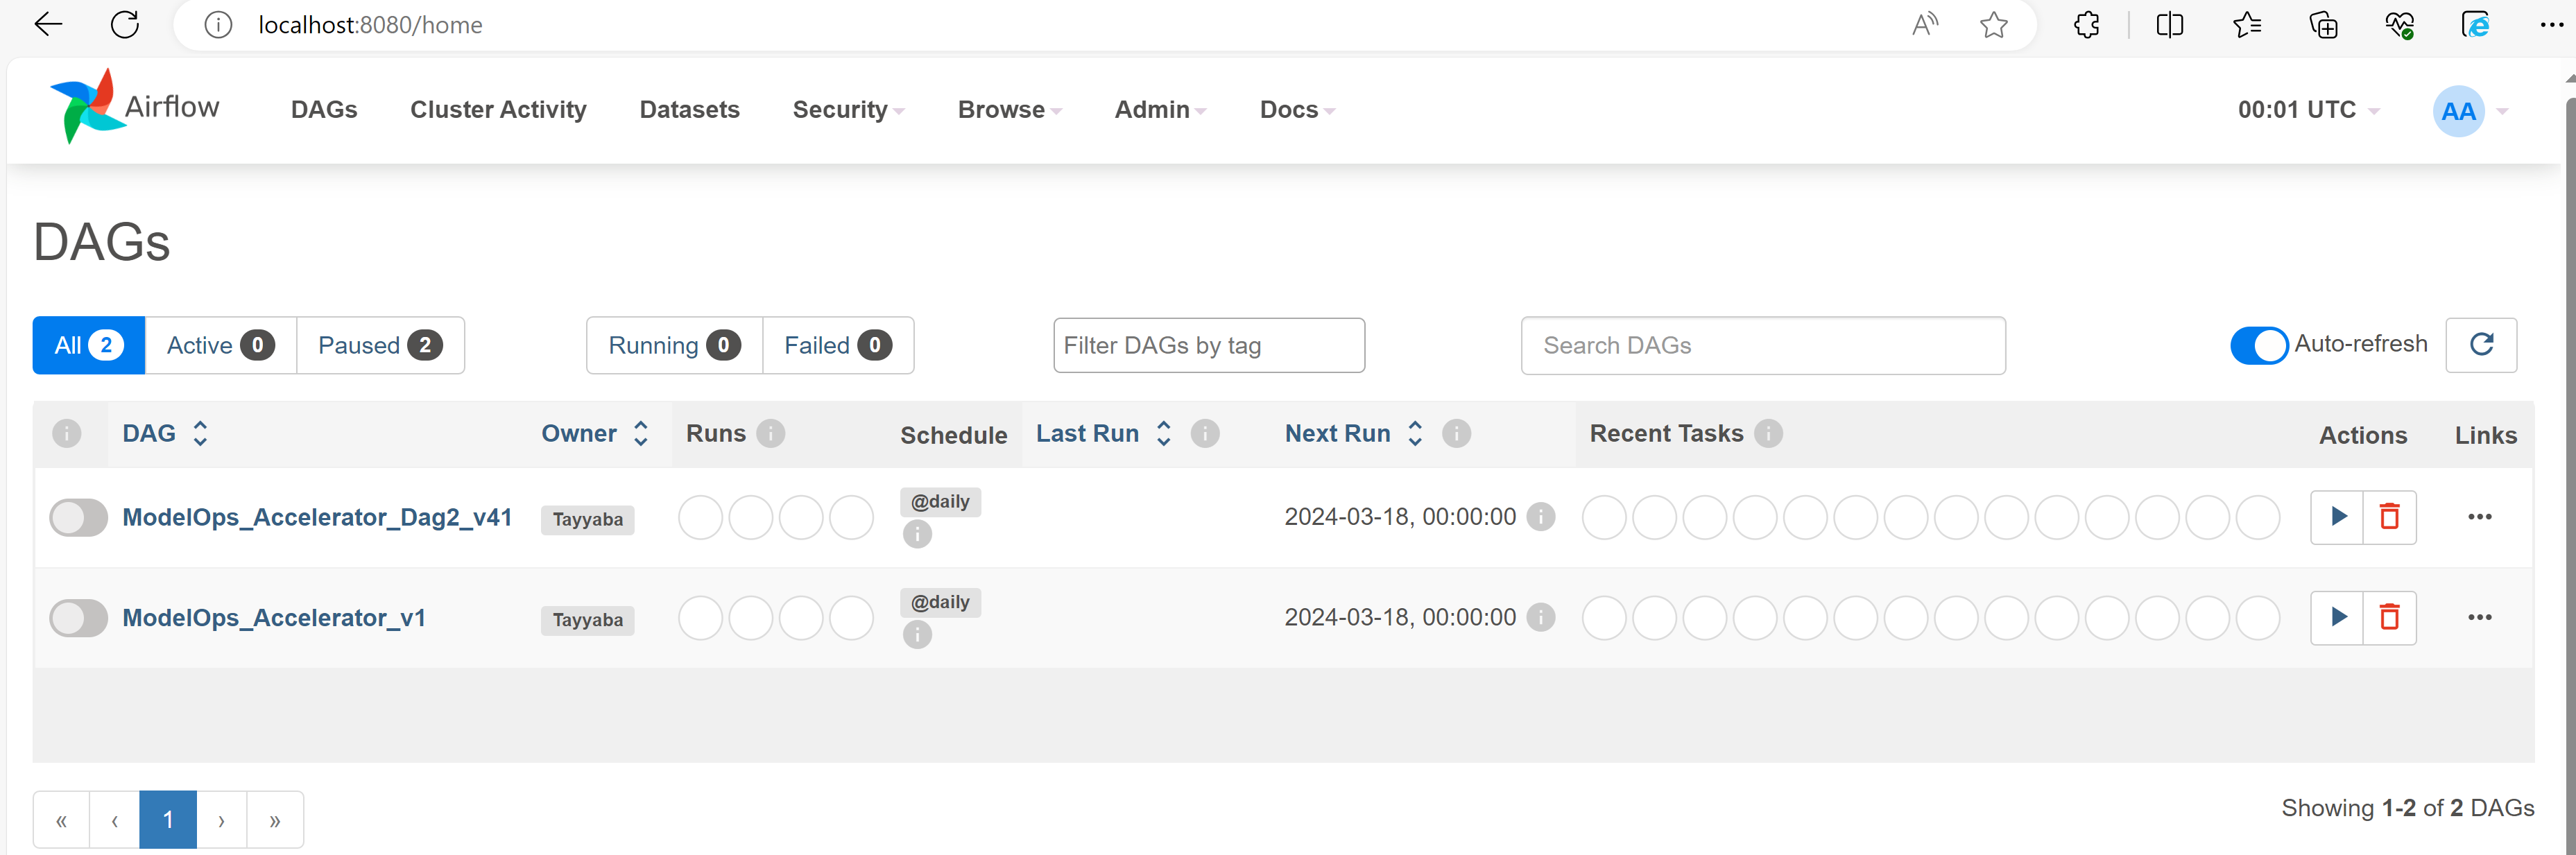
- Login with Usename: airflow and Password: airflow. In the DAGs menu you will be able to see your created DAGs.
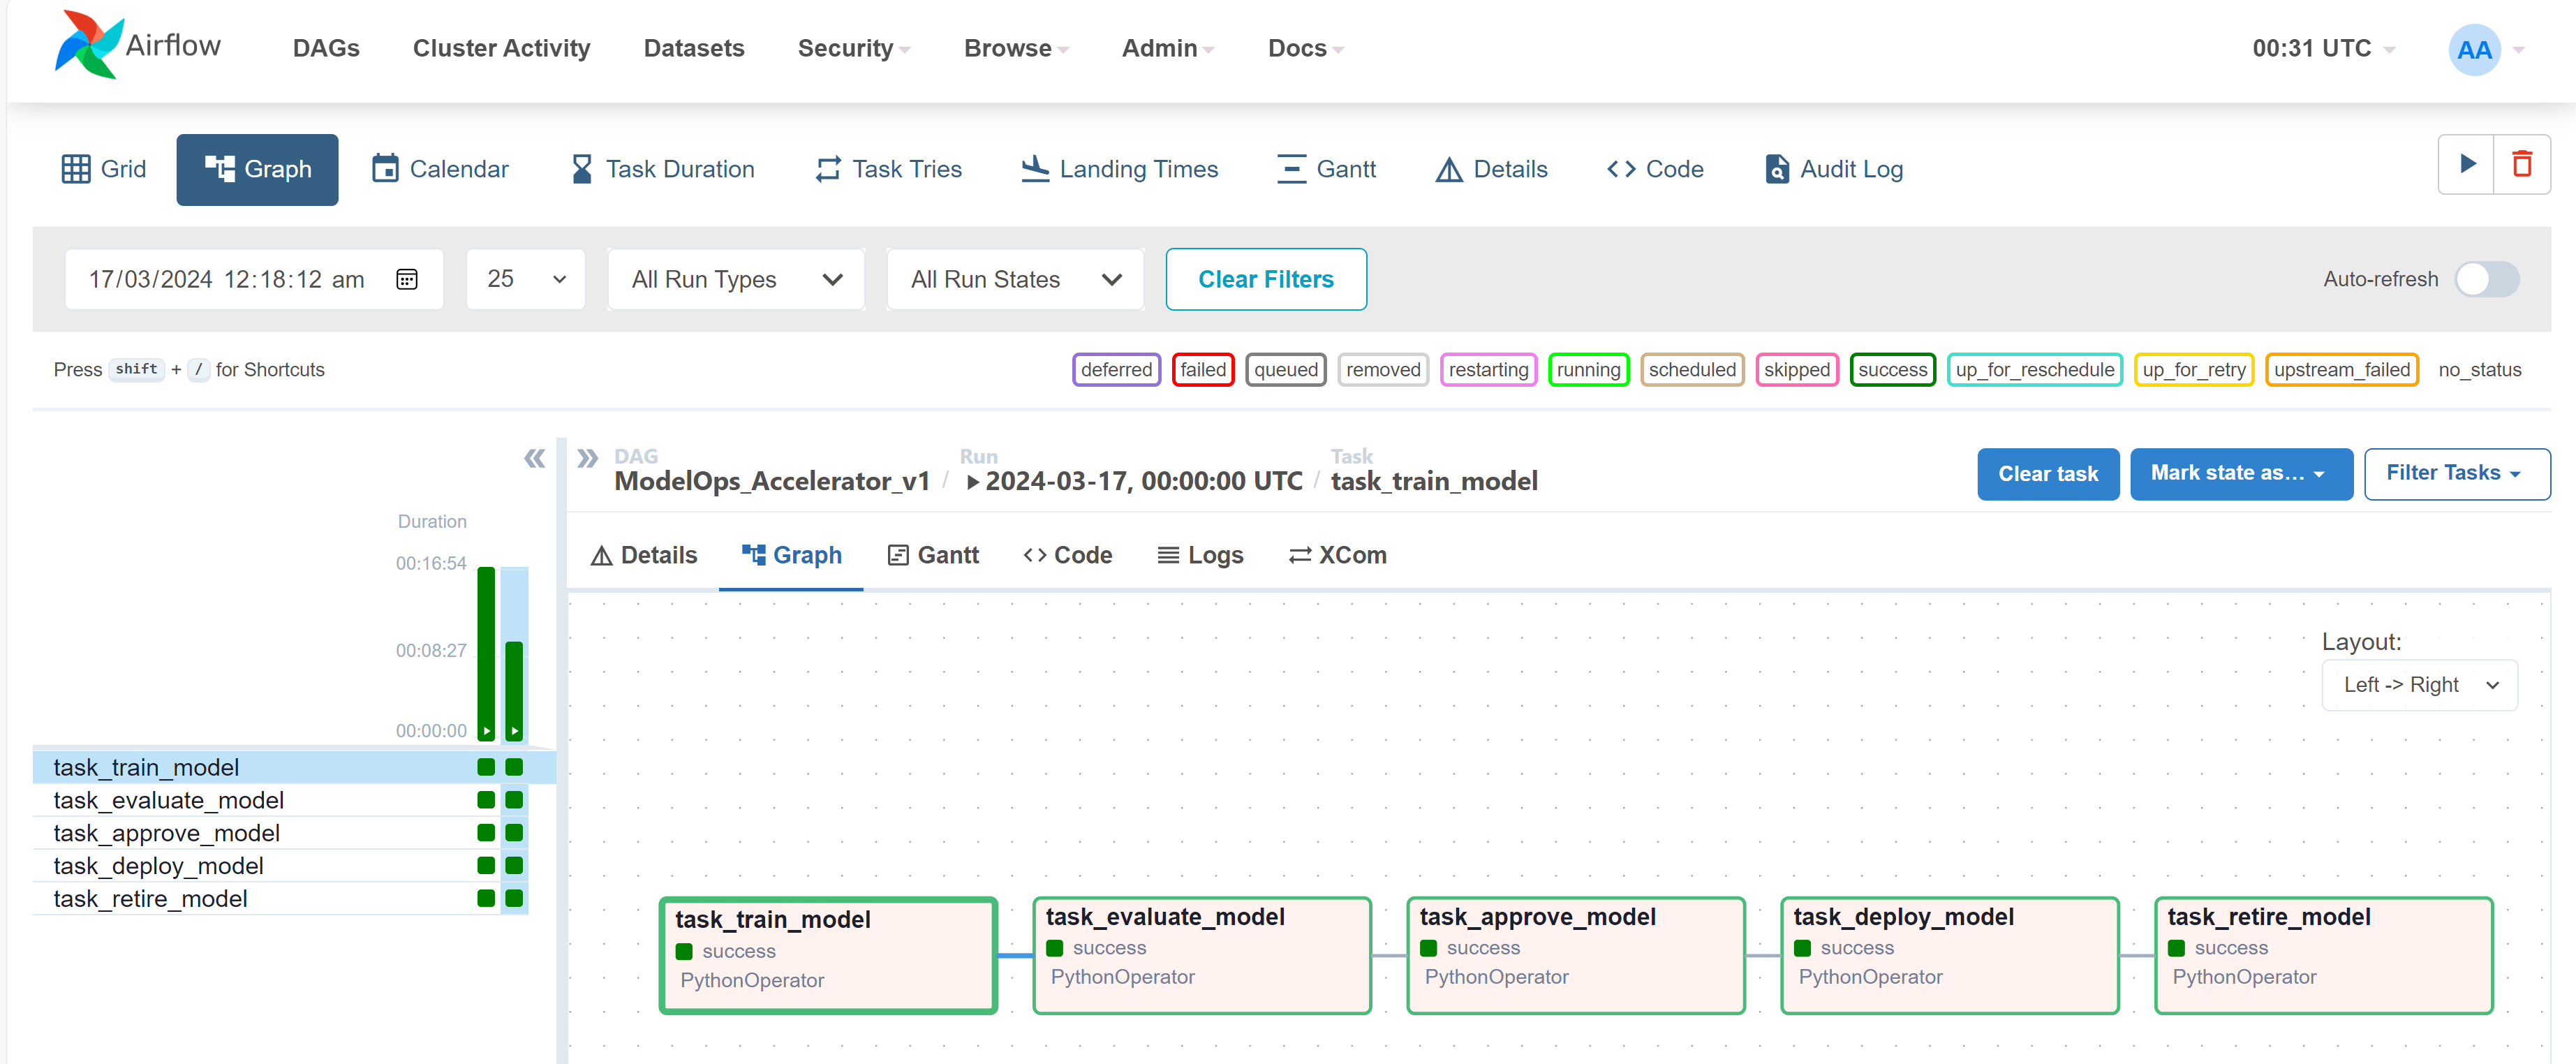
- Select your latest created DAG and the graph will look like this:
-
Now you can trigger the DAG using the play icon on the top right side.
-
You can check the logs by selecting any task and then click on the logs menu:
-
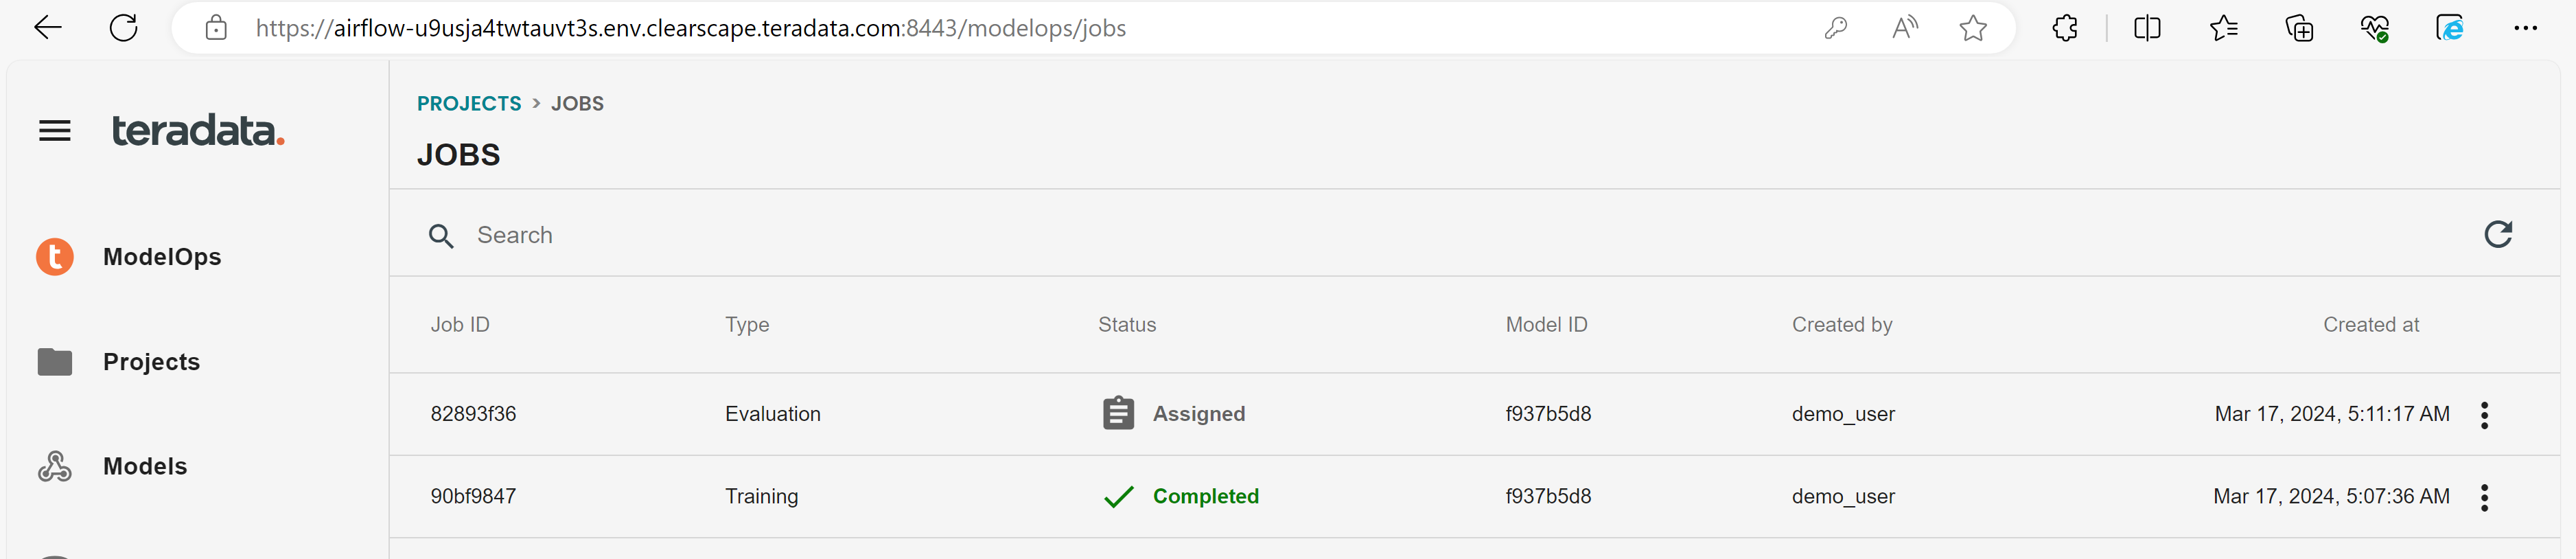
On the ClearScape Analytics ModelOps - Jobs section you can see that the jobs have started running:
- Now you can see that all the tasks are successfully executed.
Summary
This tutorial aimed at providing a hands on exercise on how to install an Airflow environment on a Linux server and how to use Airflow to interact with ClearScape Analytics ModelOps and Teradata Vantage database. An additional example is provided on how to integrate Airflow and the data modelling and maintenance tool dbt to create and load a Teradata Vantage database.