Integrate Teradata Jupyter extensions with Google Vertex AI
This how-to shows you how to add Teradata Extensions to a Jupyter Notebooks environment. A hosted version of Jupyter Notebooks integrated with Teradata Extensions and analytics tools is available for functional testing for free at https://clearscape.teradata.com.
Overview
Teradata Jupyter extensions provide Teradata SQL kernel and several UI extensions to allow users to easily access and navigate Teradata database from Jupyter envioronment. Google Vertex AI is Google Cloud's new unified ML platform. Vertex AI Workbench provides a Jupyter-base development environment for the entire data science workflow. This article describes how to integate our Jupyter extensions with Vertex AI Workbench so that Vertex AI users can take advantage of our Teradata extensions in their ML pipeline.
Vertex AI workbench supports two types of notebooks: managed notebooks and user-managed notebooks. Here we will focus on user-managed notebooks. We will show two ways to integrate our Jupyter extensions with user-managed notebooks: use startup script to install our kernel and extensions or use custom container.
Prerequisites
- Access to a Teradata Vantage instance
Hinweis
If you need a test instance of Vantage, you can provision one for free at https://clearscape.teradata.com
- Google Cloud account with Vertex AI enabled
- Google cloud storage to store startup scripts and Teradata Jupyter extension package
Integration
There are two ways to run Teradata Jupyter Extensions in Vertex AI:
These two integration methods are described below.
Use startup script
When we create a new notebook instance, we can specify a startup script. This script runs only once after the instance is created. Here are the steps:
- Download Teradata Jupyter extensions package
Go to Vantage Modules for Jupyter page to download the Teradata Jupyter extensions package bundle Linux version.
-
Upload the package to a Google Cloud storage bucket
-
Write a startup script and upload it to cloud storage bucket
Below is a sample script. It fetches Teradata Jupyter extension package from cloud storage bucket and installs Teradata SQL kernel and extensions.
-
Create a new notebook and add the startup script from cloud storage bucket
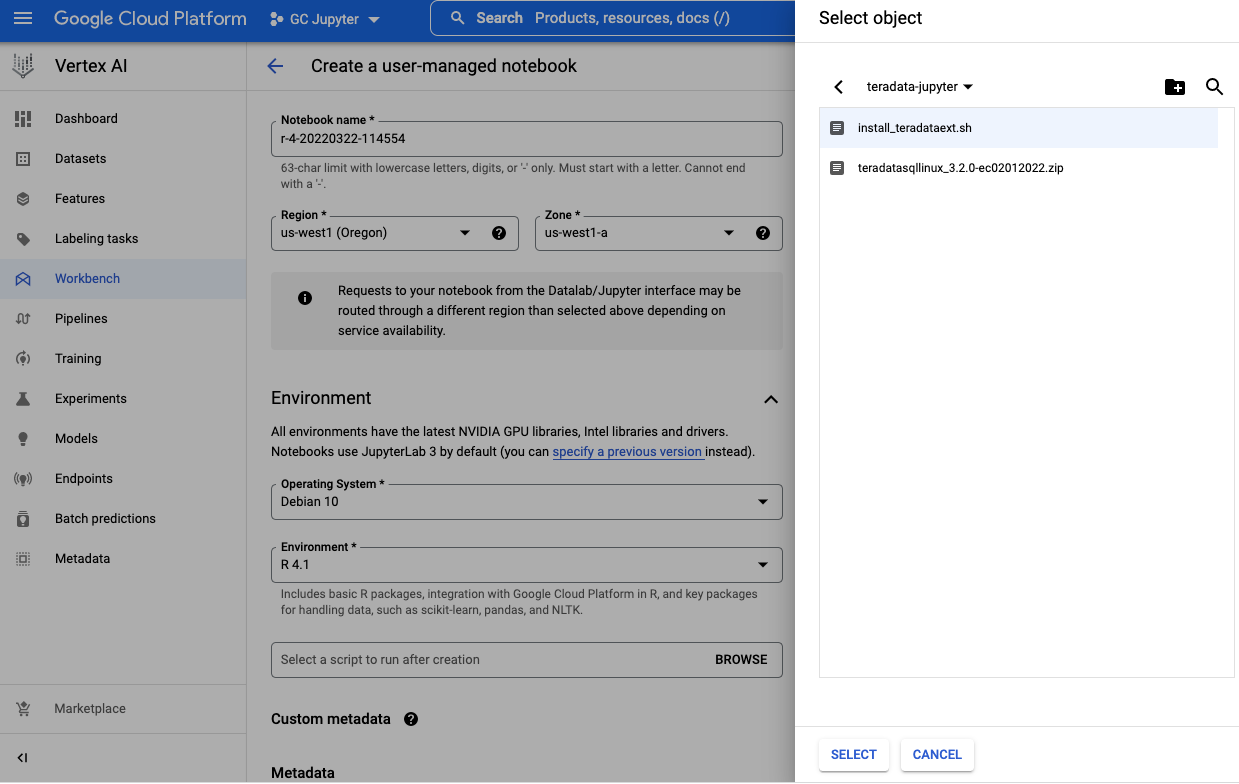
-
It may take a few minutes for the notebook creation process to complete. When it is done, click on
Open notebook.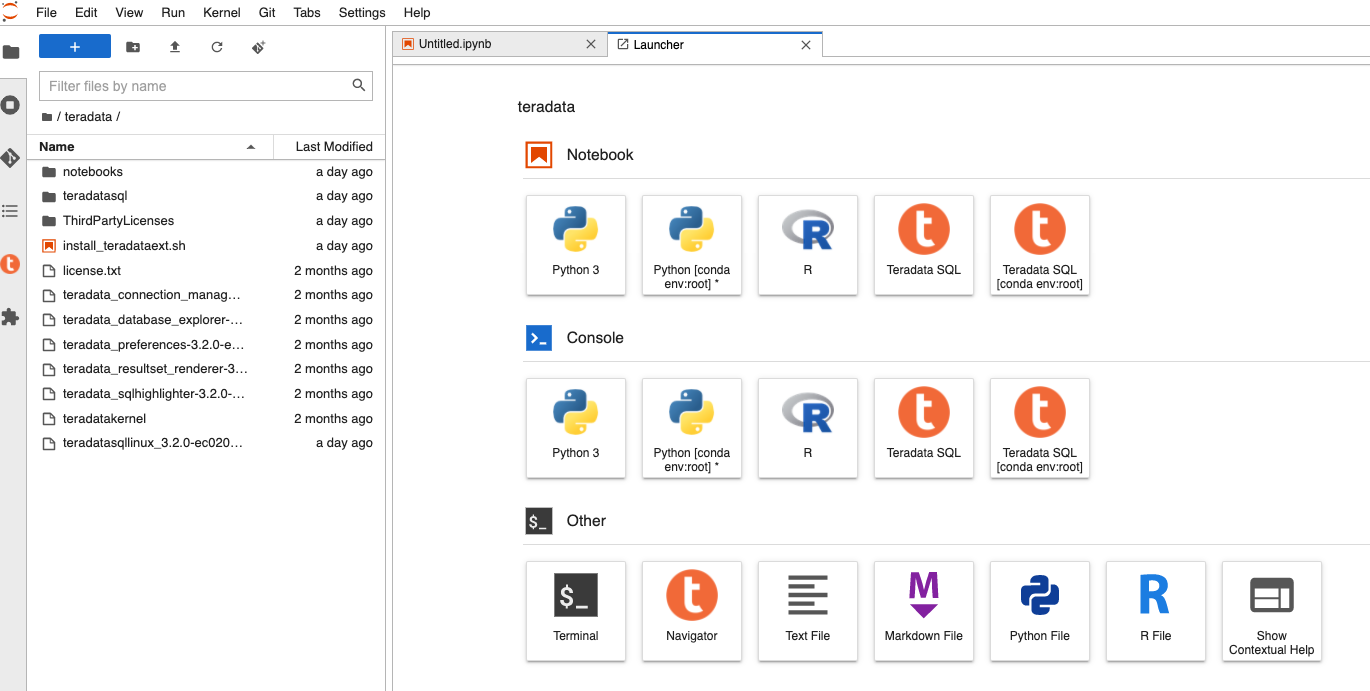
Use custom container
Another option is to provide a custom container when creating a notebook.
- Download Teradata Jupyter extensions package
Go to Vantage Modules for Jupyter page to download the Teradata Jupyter extensions package bundle Linux version.
-
Copy this package to your work directory and unzip it
-
Build custom Docker image
The custom container must expose a service on port 8080. It is recommended to create a container derived from a Google Deep Learning Containers image, because those images are already configured to be compatible with user-managed notebooks.
Below is a sample Dockerfile you can use to build a Docker image with Teradata SQL kernel and extensions installed:
- In your work directory (where you unzipped Teradata Jupyter extensions package), run
docker buildto build the image:
- Push the docker image to Google container registry or artifact registry
Please refer to the following documentations to push docker image to registry:
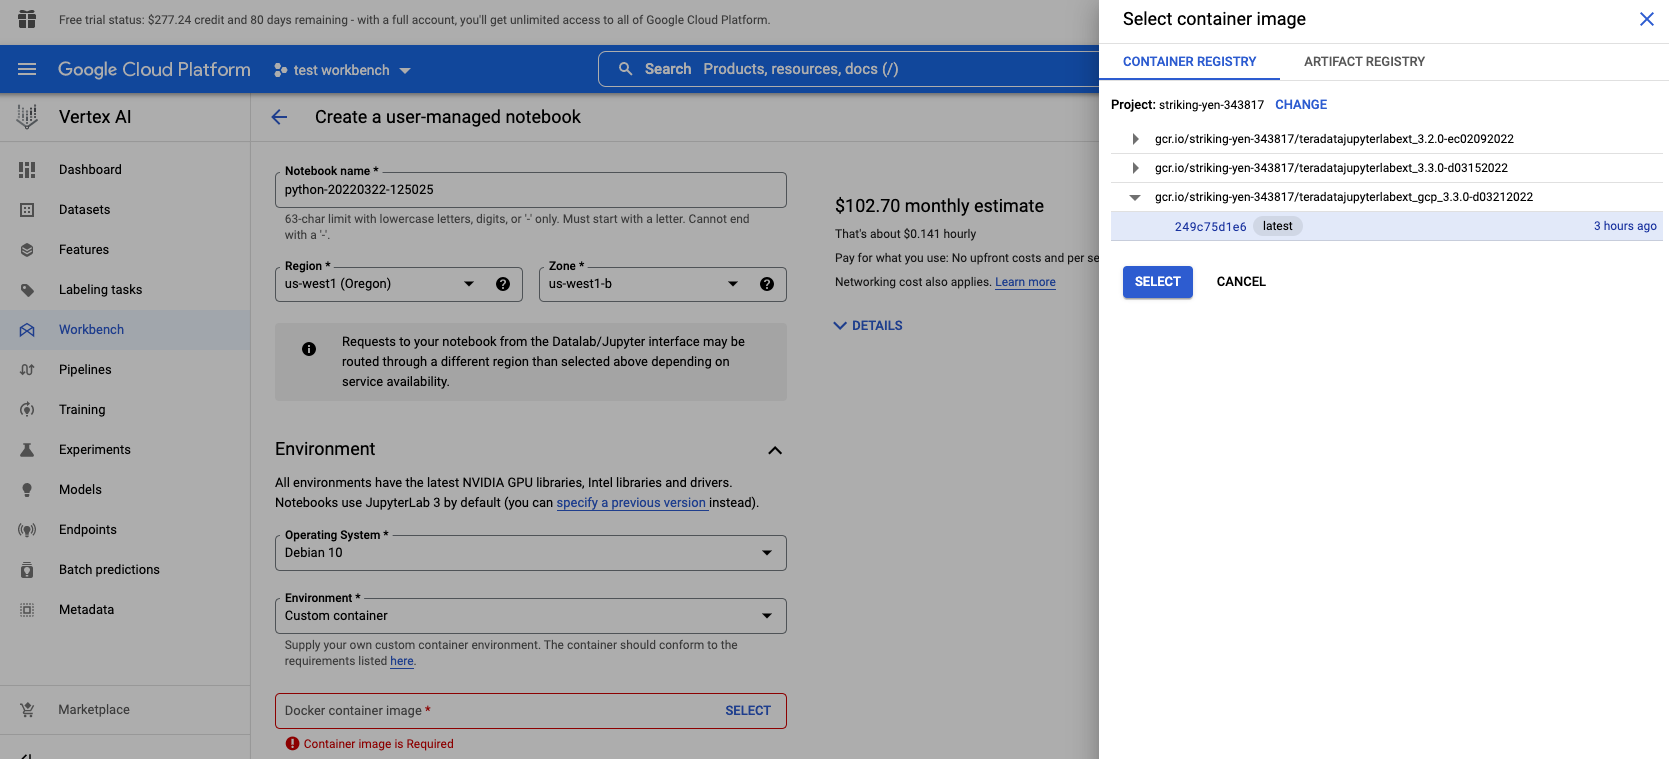
- Create a new notebook
In Environment section, set custom container field to the location of your newly created custom container:
Further reading
- Teradata Jupyter Extensions Website
- Teradata Vantage™ Modules for Jupyter Installation Guide
- Teradata® Package for Python User Guide
- Vertex AI documentation: Create a custom container image for training
- Vertex AI documentation: Create a user-managed notebooks instance by using a custom container
- Vertex AI documentation: Create a user-managed notebooks instance
If you have any questions or need further assistance, please visit our community forum where you can get support and interact with other community members.