Use Apache Airflow with Teradata Vantage
Overview
This quickstart demonstrates how to use airflow with Teradata Vantage. Airflow will be installed on a Ubuntu System.
Prerequisites
- Ubuntu 22.x
- Access to a Teradata Vantage instance.
Hinweis
If you need a test instance of Vantage, you can provision one for free at https://clearscape.teradata.com
- Python 3.8, 3.9, 3.10 or 3.11 installed.
- pip
Install Apache Airflow
-
Set the
AIRFLOW_HOMEenvironment variable. Airflow requires a home directory and uses~/airflowby default, but you can set a different location if you prefer. TheAIRFLOW_HOMEenvironment variable is used to inform Airflow of the desired location. -
Install
apache-airflowstable version 2.8.2 from PyPI repository: -
Install the Airflow Teradata provider stable version from PyPI repository:
HinweisFor security reasons, the test connection functionality is disabled by default across Airflow UI, API and CLI. The availability of the functionality can be controlled by the test_connection flag in the core section of the Airflow configuration (
$AIRFLOW_HOME/airflow.cfg) or define below environment variable before starting airflow server:
Start Airflow Standalone
- Run Airflow Standalone
- Access the Airflow UI. Visit https://localhost:8080 in the browser and log in with the admin account details shown in the terminal.
Teradata Connections may be defined in Airflow in the following ways:
- Using Airflow Web UI
- Using Environment Variable
Define a Teradata connection in Airflow Web UI
-
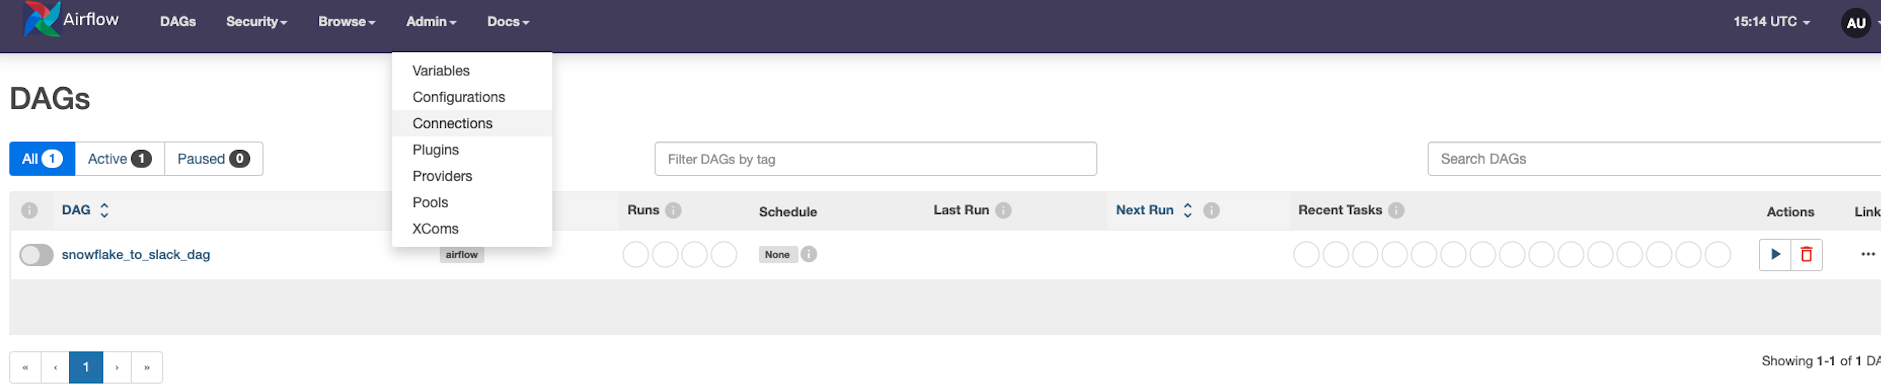
Open the Admin -> Connections section of the UI. Click the Create link to create a new connection.
-
Fill in input details in New Connection Page.
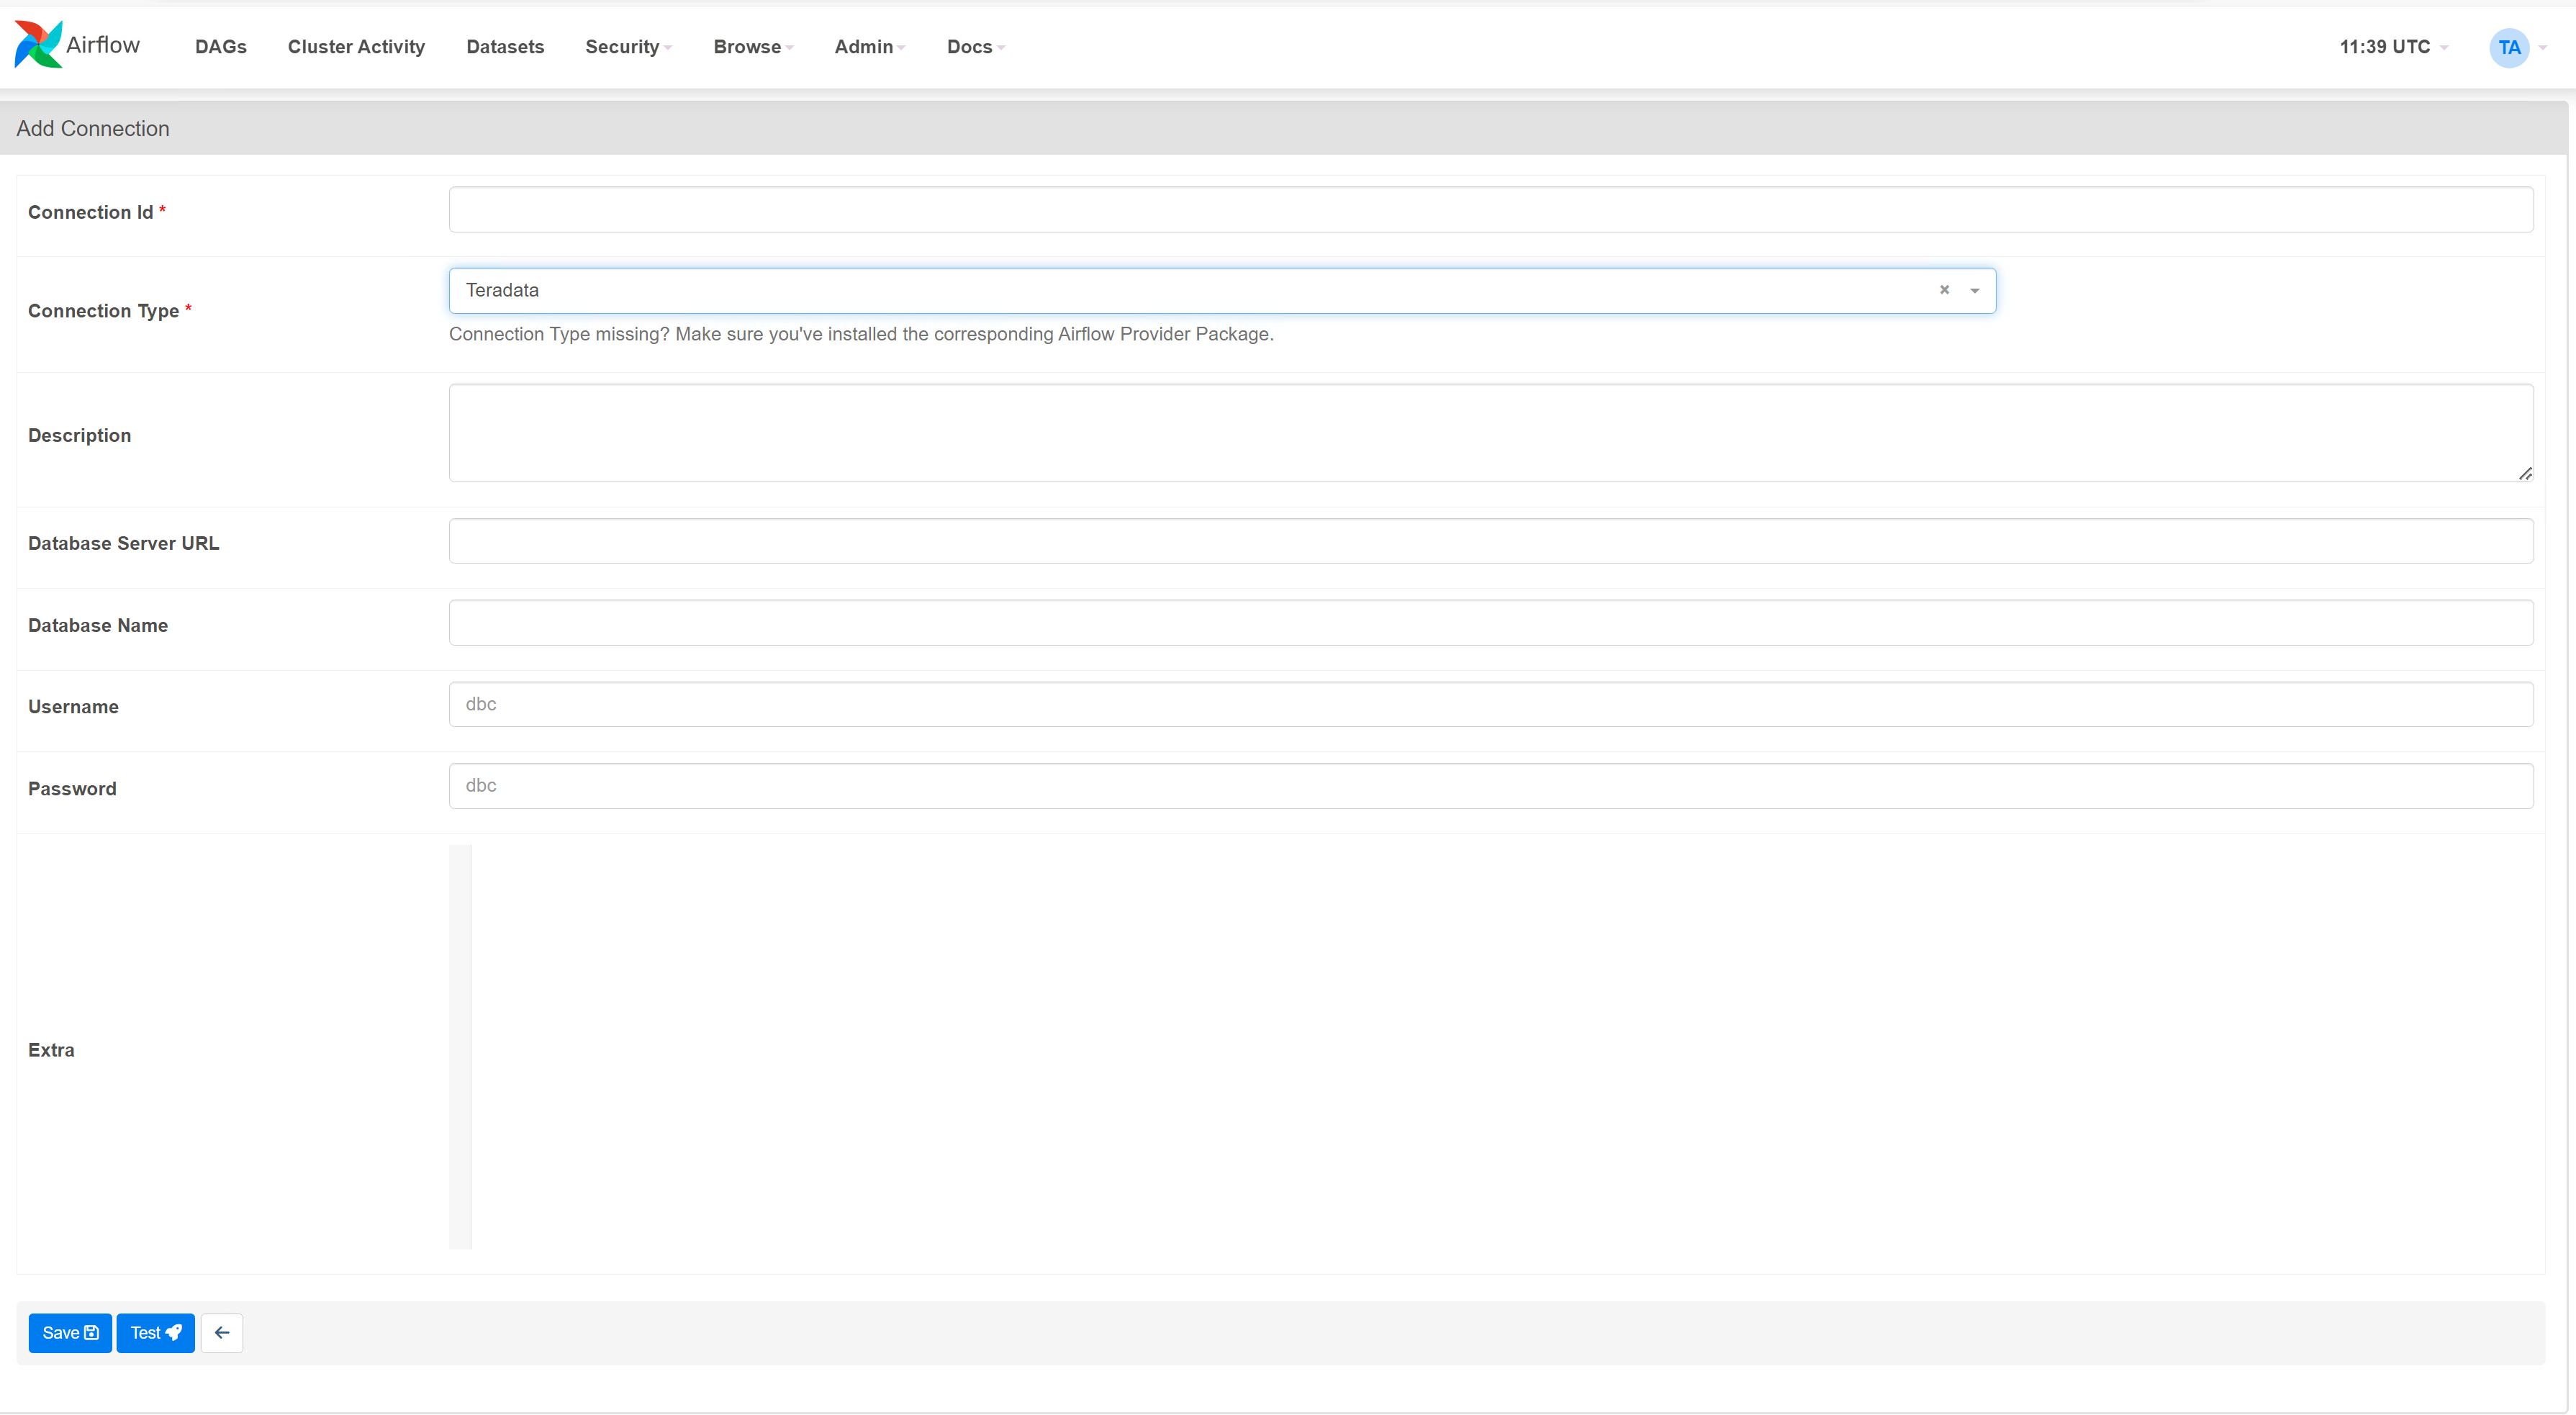
- Connection Id: Unique ID of Teradata Connection.
- Connection Type: Type of the system. Select Teradata.
- Database Server URL (required): Teradata instance hostname to connect to.
- Database (optional): Specify the name of the database to connect to
- Login (required): Specify the user name to connect.
- Password (required): Specify the password to connect.
- Click on Test and Save.
Define a Teradata connection in Environment Variable
Airflow connections may be defined in environment variables in either of one below formats.
-
JSON format
-
URI format
HinweisThe naming convention is AIRFLOW_CONN_CONN_ID, all uppercase (note the single underscores surrounding CONN). So if your connection id is teradata_conn_id then the variable name should be AIRFLOW_CONN_TERADATA_CONN_ID
JSON format example
URI format example
Refer Teradata Hook for detailed information on Teradata Connection in Airflow.
Define a DAG in Airflow
Create a DAG as a python file like sample.py under DAG_FOLDER - $AIRFLOW_HOME/files/dags directory.
Load DAG
Airflow loads DAGs from Python source files, which it looks for inside its configured DAG_FOLDER - $AIRFLOW_HOME/files/dags directory.
Run DAG
DAGs will run in one of two ways:
- When they are triggered either manually or via the API
- On a defined schedule, which is defined as part of the DAG
example_teradata_operatoris defined to trigger as manually. To define a schedule, any valid crontab schedule value can be passed to the schedule argument.
Summary
This quickstart demonstrated how to use Airflow and the Airflow Teradata provider with a Teradata Vantage instance. The example DAG provided creates my_users table in the Teradata Vantage instance defined in Connection UI.
Further reading
If you have any questions or need further assistance, please visit our community forum where you can get support and interact with other community members.