Ejecutar Vantage Express en VMware
Ahora puede obtener una instancia alojada de Vantage de forma gratuita en https://clearscape.teradata.com.
Información general
Este tutorial muestra cómo obtener acceso a una base de datos Teradata ejecutándola en su máquina local. Una vez que termine los pasos, tendrá una base de datos Teradata Vantage Express funcional en su ordenador.
A partir de la versión 17.20, Vantage Express incluye los siguientes paquetes de análisis: Biblioteca de análisis de Vantage, BYOM, Integración de API con AWS SageMaker.
Prerrequisitos
- Un ordenador que utilice uno de los siguientes sistemas operativos: Windows, Linux o MacOS basado en Intel.
Nota
Para sistemas MacOS M1/M2, consulte Ejecutar Vantage Express en UTM..
- 30 GB de espacio en disco y suficiente CPU y RAM para poder dedicar al menos un núcleo y 6 GB de RAM a la máquina virtual.
- Derechos de administrador para poder instalar y ejecutar el software.
Instalación
Descargar el software requerido
- La última versión de Vantage Express. Si no ha utilizado el sitio web de descargas de Teradata anteriormente, deberá registrarse.
- VMware Workstation Player.
Las organizaciones comerciales requieren licencias comerciales para utilizar VMware Workstation Player. Si no quiere adquirir licencias de VMware, puede ejecutar Vantage Express en VirtualBox.
VMware no ofrece VMware Workstation Player para MacOS. Si tiene un Mac, deberá instalar VMware Fusion como alternativa. Es un producto de pago, pero VMware ofrece una prueba gratuita de 30 días. Alternativamente, puede ejecutar Vantage Express en VirtualBox o UTM.
- En Windows, también necesitará 7zip para descomprimir Vantage Express.
Ejecutar instaladores
- Instale VMware Player o VMware Fusion ejecutando el instalador y aceptando los valores predeterminados.
- Si está en Windows, instale
7zip.
Ejecutar Vantage Express
- Vaya al directorio donde descargó Vantage Express y descomprima el archivo descargado.
- Haga doble clic en el archivo
.vmx. Esto iniciará la imagen de la máquina virtual en VMware Player/Fusion.
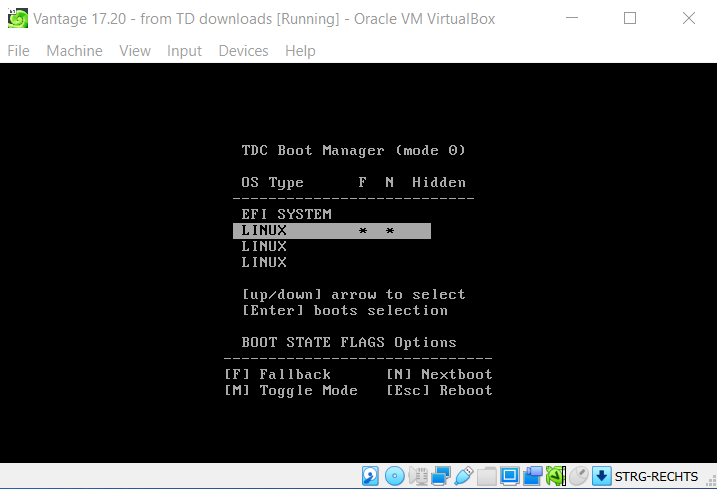
- Presione [ENTER] para seleccionar la partición de arranque
LINUXresaltada.
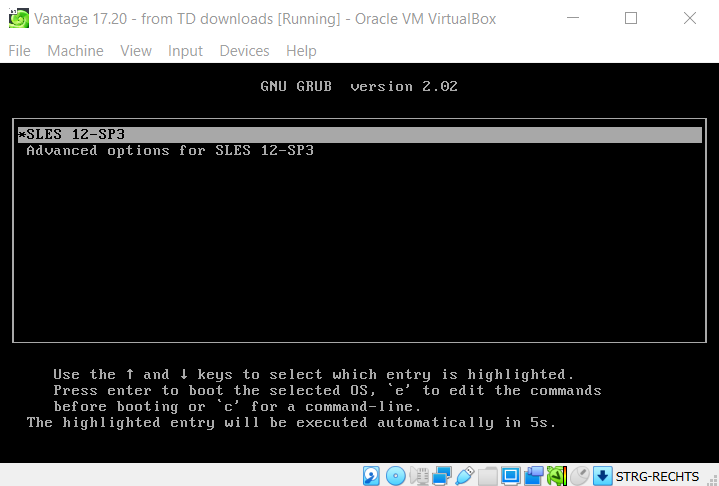
- En la siguiente pantalla, presione ENTER nuevamente para seleccionar el kernel SUSE Linux predeterminado.
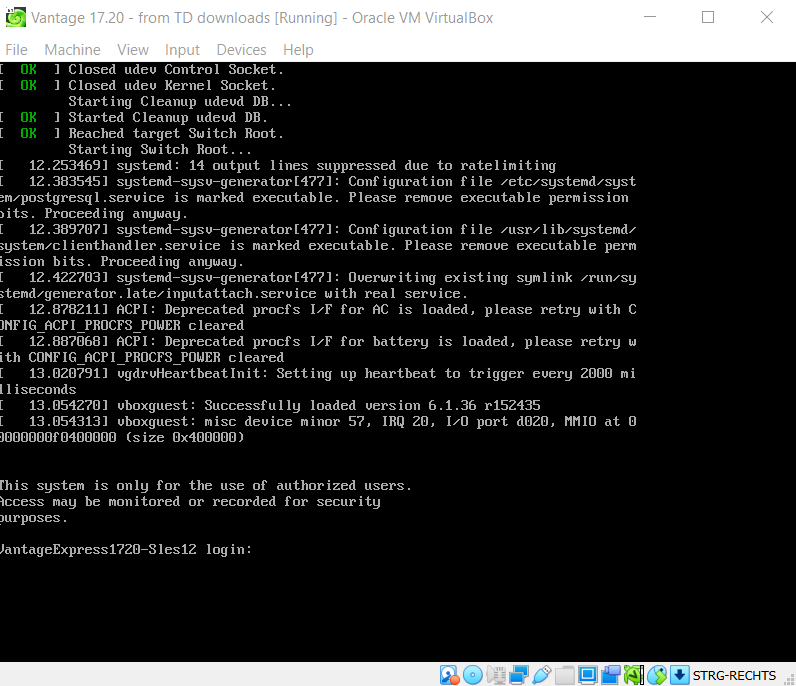
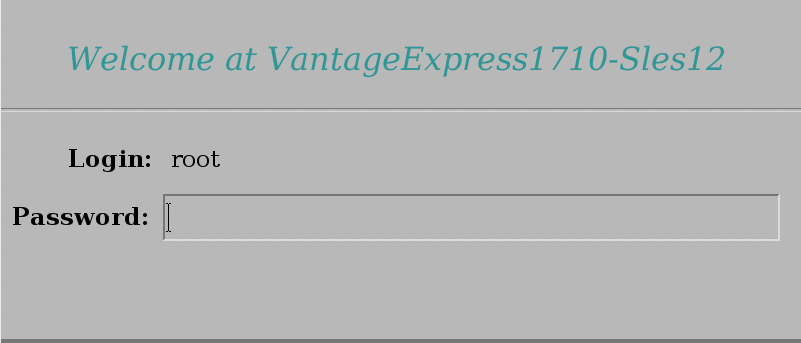
- Después de completar la secuencia de arranque, aparecerá un mensaje de inicio de sesión en la terminal como se muestra en la captura de pantalla a continuación. No introduzca nada en la terminal. Espere hasta que el sistema inicie la GUI.
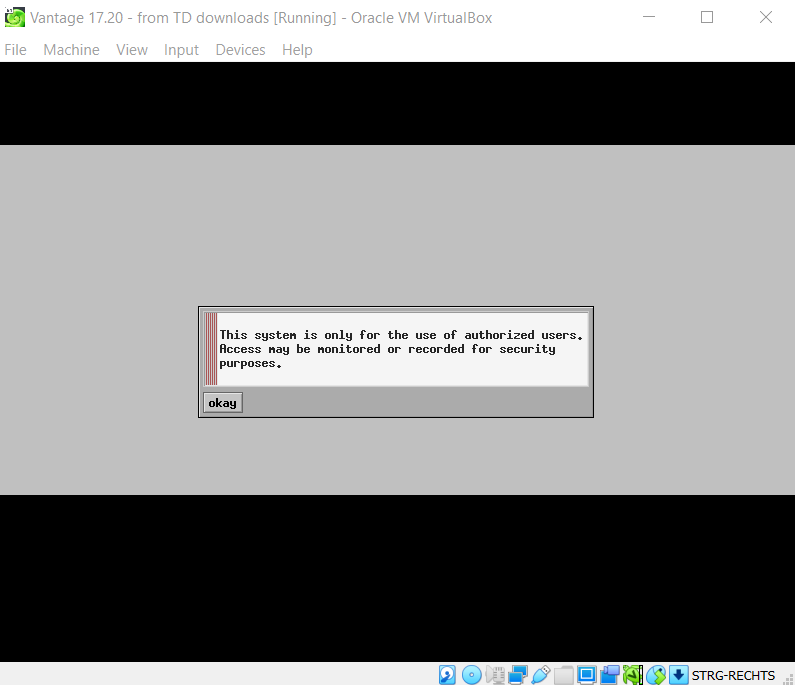
- Después de un tiempo, aparecerá el siguiente mensaje, asumiendo que no introdujo nada después del mensaje de inicio de sesión del comando anterior. Presione el botón
okayen la pantalla a continuación.
- Una vez que la máquina virtual esté activa, verá su entorno de escritorio. Cuando se le solicite nombre de usuario/contraseña, introduzca
rootpara ambos.
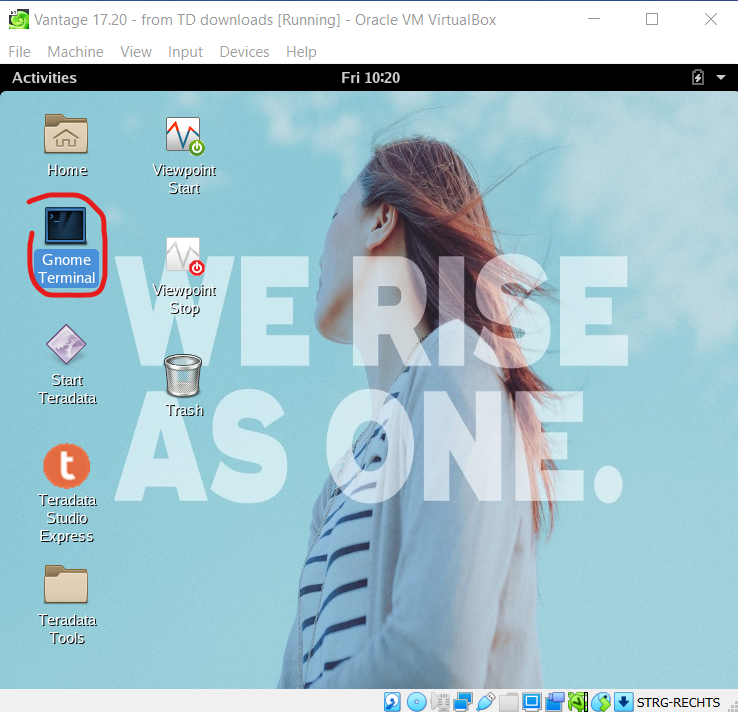
- La base de datos está configurada para iniciarse automáticamente con la máquina virtual. Para confirmar que la base de datos se ha iniciado, vaya al escritorio virtual e inicie
Gnome Terminal.
- En la terminal, ejecute el comando
pdestate, que le informará si Vantage ya se inició:
Para pegar en Gnome Terminal, presione SHIFT+CTRL+V. :::
Debe esperar hasta que vea el siguiente mensaje:
Vea ejemplos de mensajes que pdestate devuelve cuando la base de datos todavía se está inicializando.
PDE state is DOWN/HARDSTOP. PDE state is START/NETCONFIG. PDE state is START/GDOSYNC. PDE state is START/TVSASTART. PDE state is START/READY. PDE state is RUN/STARTED. DBS state is 1/1: DBS Startup - Initializing DBS Vprocs PDE state is RUN/STARTED. DBS state is 1/5: DBS Startup - Voting for Transaction Recovery PDE state is RUN/STARTED. DBS state is 1/4: DBS Startup - Starting PE Partitions PDE state is RUN/STARTED.
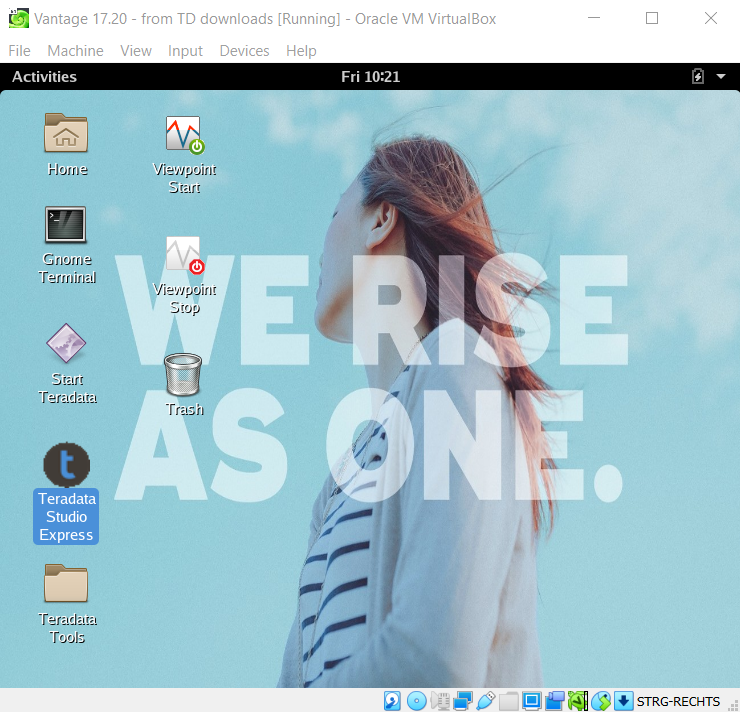
- Ahora que la base de datos está activa, regrese al escritorio virtual y ejecute
Teradata Studio Express
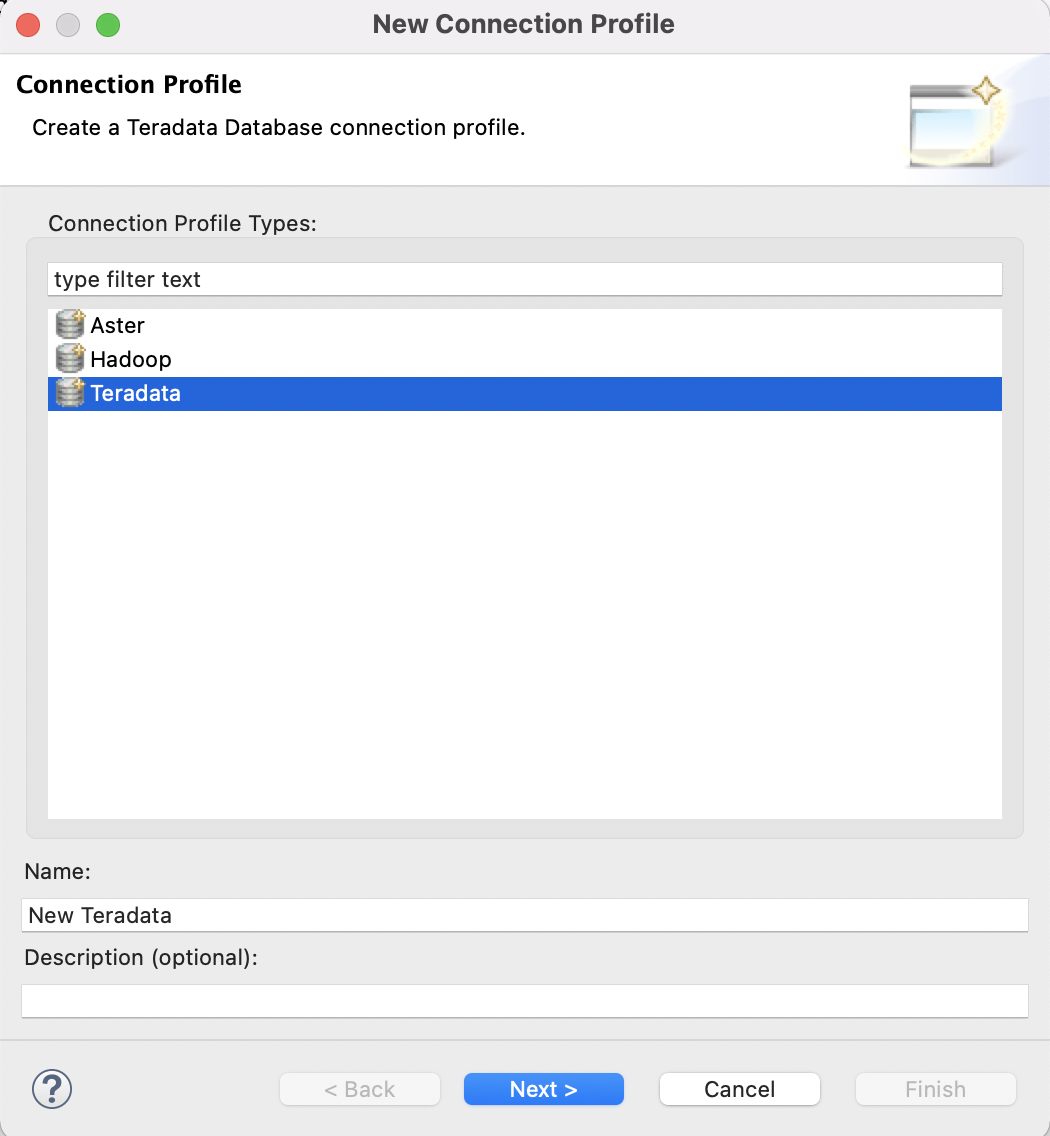
- Cuando lo inicie por primera vez, se le ofrecerá una visita guiada. Una vez que cierre la visita guiada, verá una ventana del asistente para agregar una nueva conexión. Seleccione
Teradata:
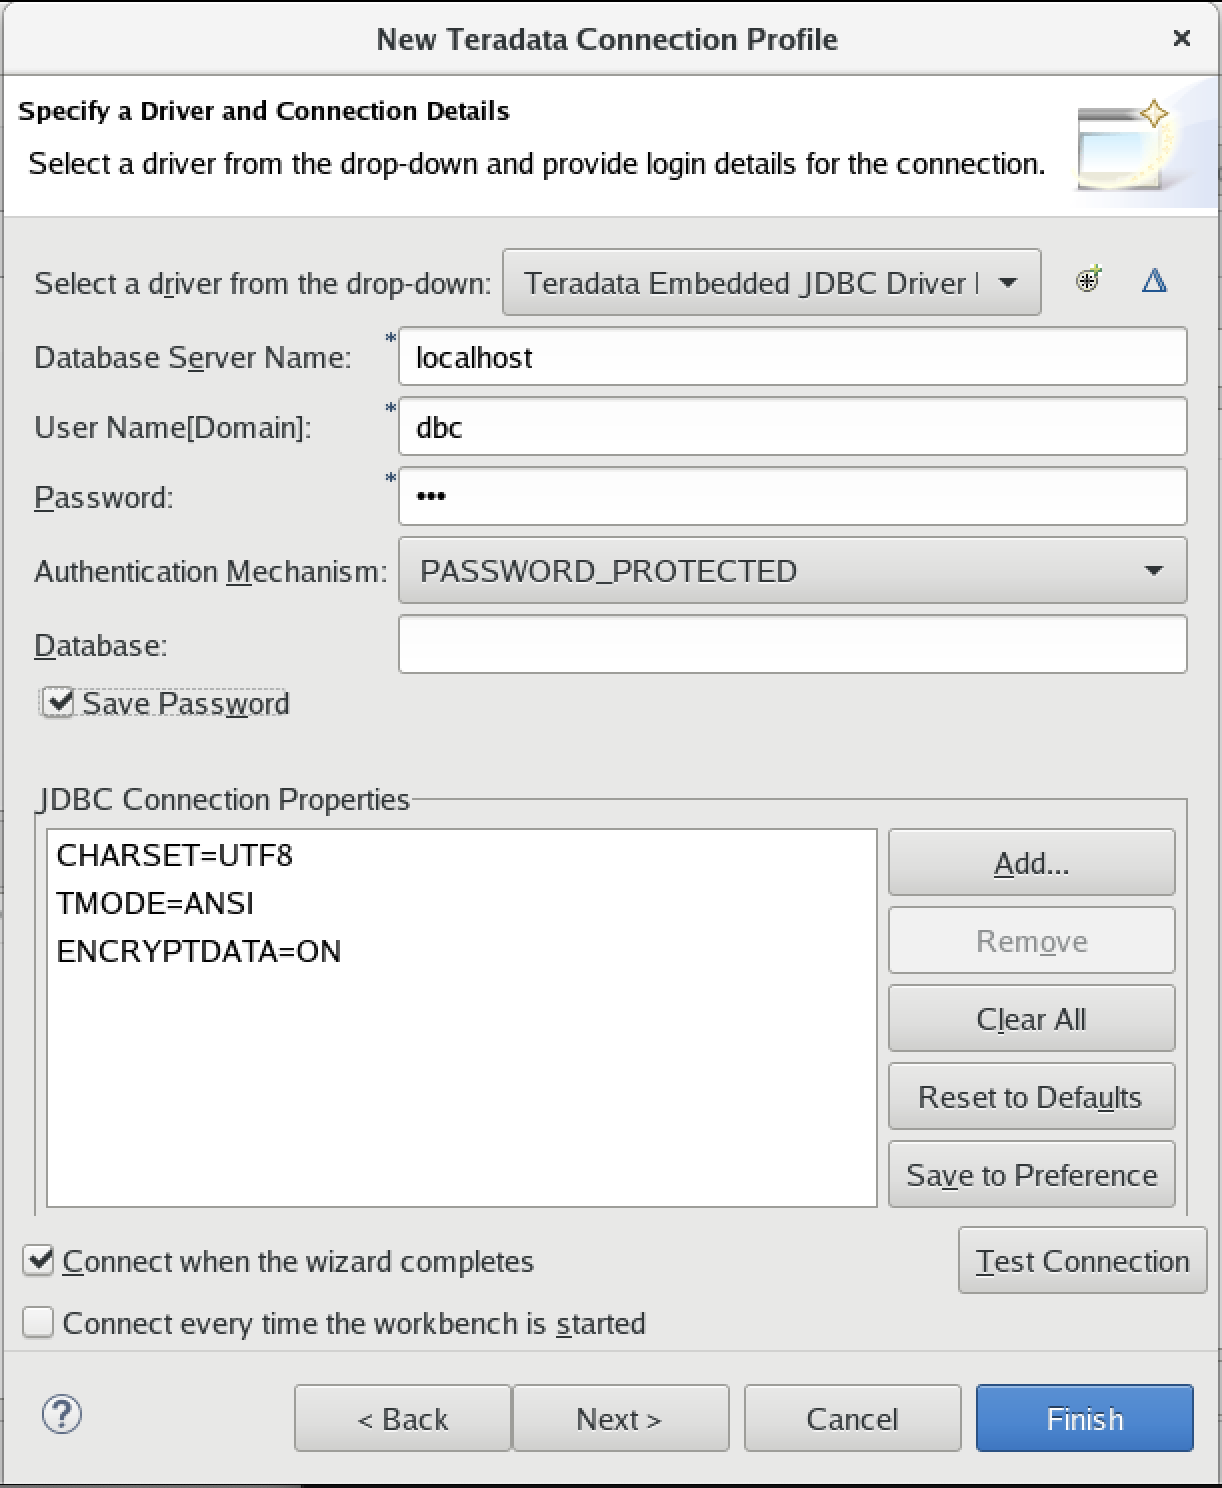
- En la siguiente pantalla, conéctese a la base de datos en su host local usando
dbccomo nombre de usuario y contraseña:
Ejecutar consultas de muestra
- Ahora ejecutaremos algunas consultas en la máquina virtual. Para evitar problemas de copiar y pegar entre el host y la máquina virtual, abriremos este inicio rápido en la máquina virtual. Vaya al escritorio virtual, inicie Firefox y apúntelo a este inicio rápido.
- Una vez en Teradata Studio Express, vaya a la perspectiva
Query Development(vaya al menú superior y seleccioneWindow->Query Development). - Conéctese utilizando el perfil de conexión creado previamente haciendo doble clic en
Database Connections->New Teradata. - Mediante el usuario
dbc, crearemos una nueva base de datos llamadaHR. Copie/pegue esta consulta y ejecútela presionando el botón Ejecutar consulta ( ) o presionando la tecla [F5]:
- Vamos a crear una tabla de muestra, insertaremos algunos datos y los consultaremos. Primero crearemos una tabla para almacenar la información de los empleados:
- Ahora, insertemos un registro:
- Finalmente, veamos si podemos recuperar los datos:
Deberías obtener los siguientes resultados:
Resumen
En esta guía explicamos cómo crear rápidamente un entorno de Teradata funcional. Usamos Teradata Vantage Express en una máquina virtual que se ejecuta en VMware. En la misma máquina virtual, ejecutamos Teradata Studio Express para emitir consultas. Hemos instalado todo el software localmente y no hemos tenido que pagar por recursos en la nube.
Siguientes pasos
Lectura adicional
Si tiene alguna pregunta o necesita más ayuda, visite nuestro foro de la comunidad donde podrá obtener ayuda e interactuar con otros miembros de la comunidad.