Integrate Teradata Jupyter extensions with SageMaker notebook instance
This how-to shows you how to add Teradata Extensions to a Jupyter Notebooks environment. A hosted version of Jupyter Notebooks integrated with Teradata Extensions and analytics tools is available for functional testing for free at https://clearscape.teradata.com.
Overview
Teradata Jupyter extensions provide Teradata SQL kernel and several UI extensions to allow users to easily asccess and navigate Teradata database from Jupyter envioronment. This article describes how to integate our Jupyter extensions with SageMaker notebook instance.
Prerequisites
- Access to a Teradata Vantage instance
Remarque
If you need a test instance of Vantage, you can provision one for free at https://clearscape.teradata.com
- AWS account
- AWS S3 bucket to store lifecycle configuration scripts and Teradata Jupyter extension package
Integration
SageMaker supports customization of notebook instances using lifecycle configuration scripts. Below we will demo how to use lifecycle configuration scripts to install our Jupyter kernel and extensions in a notebook instance.
Steps to integrate with notebook instance
- Download Teradata Jupyter extensions package
Download Linux version from https://downloads.teradata.com/download/tools/vantage-modules-for-jupyter and upload it to an S3 bucket. This zipped package contains Teradata Jupyter kernel and extensions. Each extension has 2 files, the one with "_prebuilt" in the name is prebuilt extension which can be installed using PIP, the other one is source extension that needs to be installed using "jupyter labextension". It is recommended to use prebuilt extensions.
- Create a lifecycle configuration for notebook instance

Here are sample scripts that fetches the Teradata package from S3 bucket and installs Jupyter kernel and extensions. Note that on-create.sh creates a custom conda env that persists on notebook instance's EBS volume so that the installation will not get lost after notebook restarts. on-start.sh installs Teradata kernel and extensions to the custom conda env.
on-create.sh
on-start.sh
-
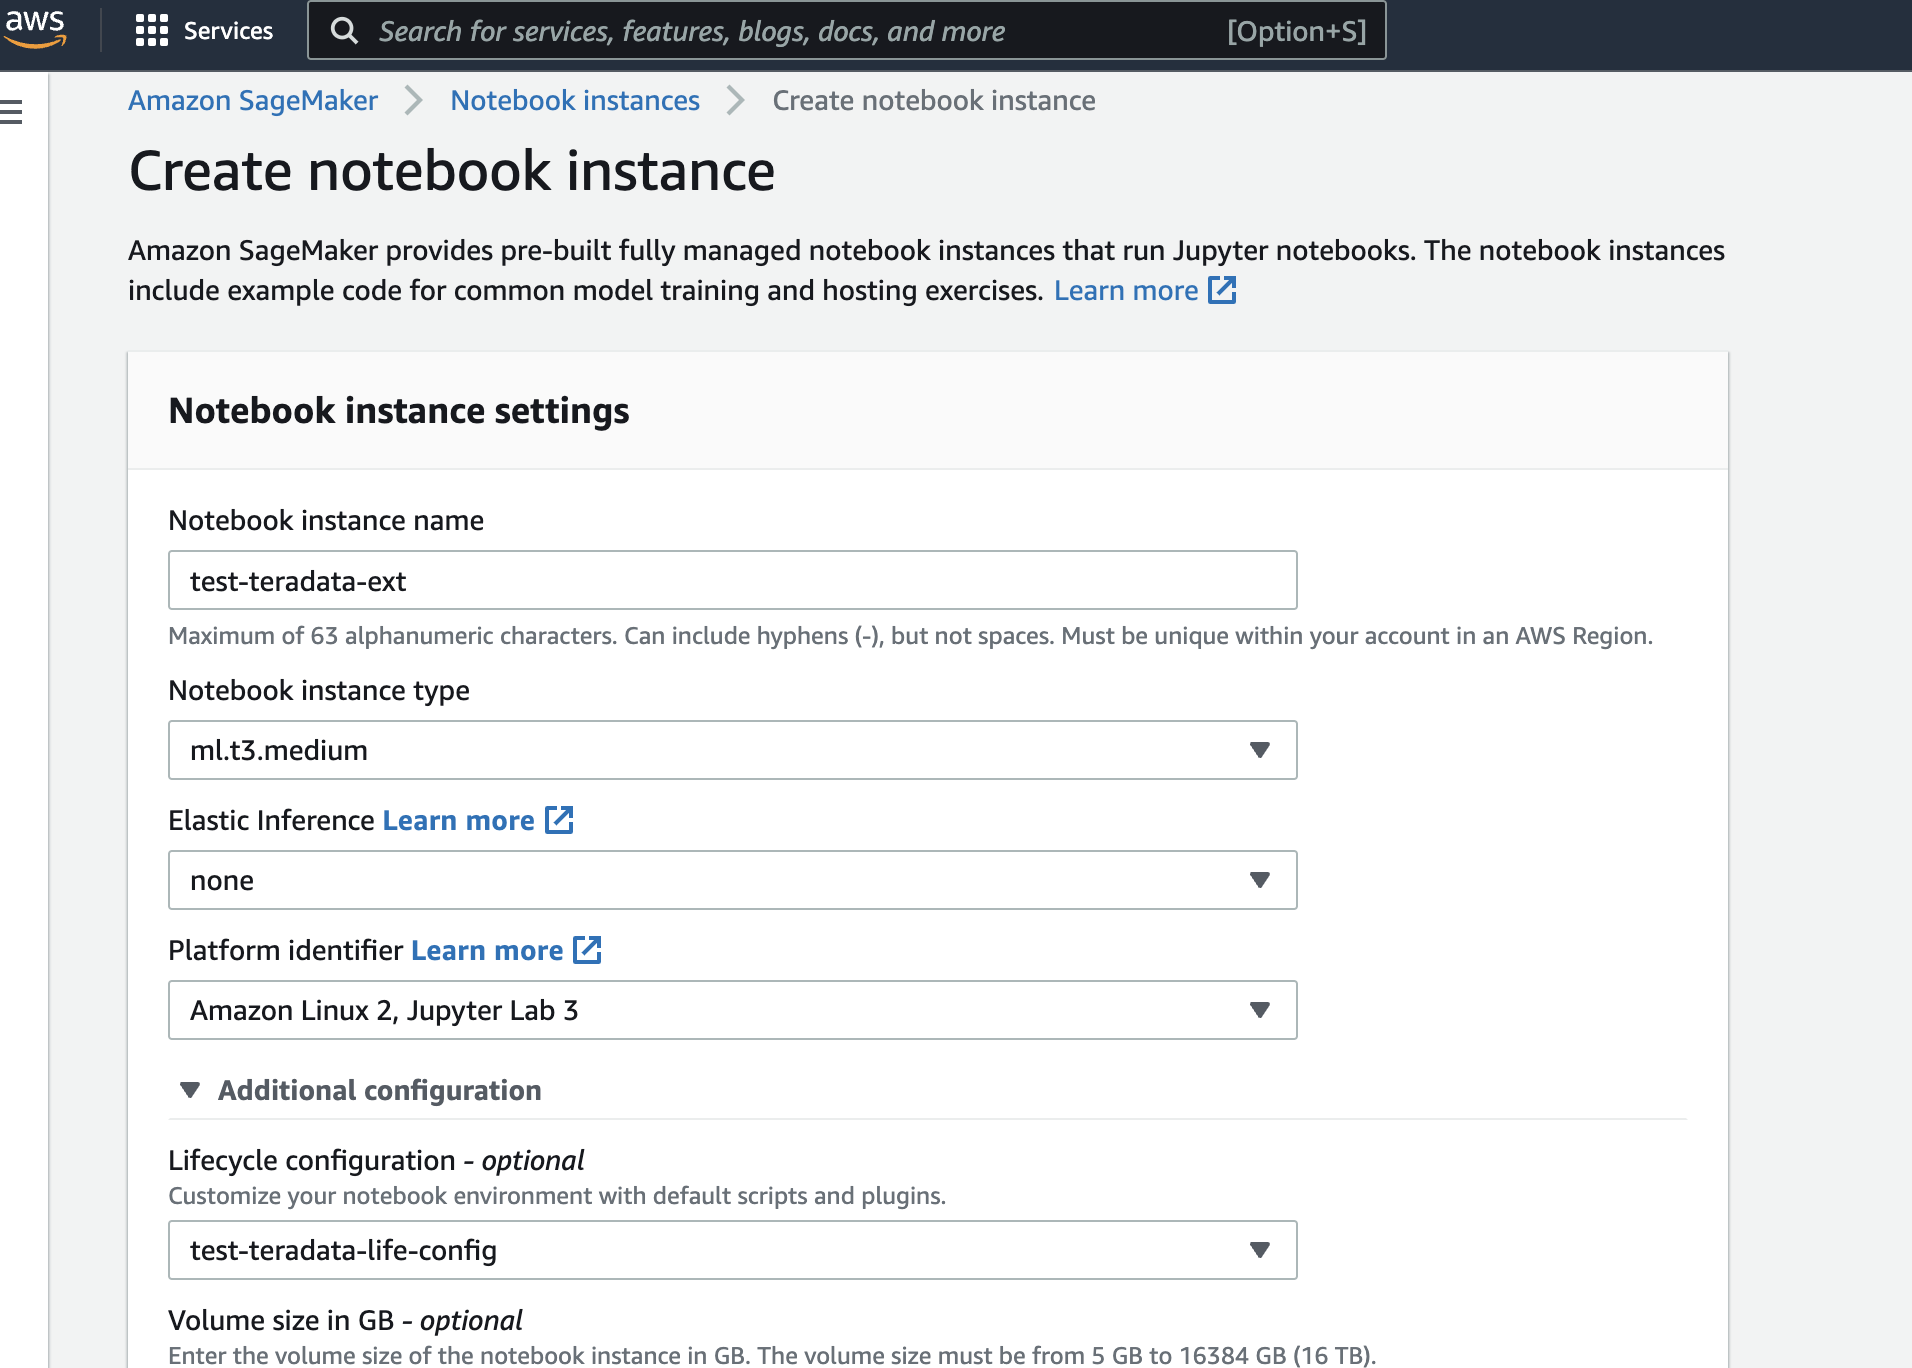
Create a notebook instance. Please select 'Amazon Linux 2, Jupyter Lab3' for Platform identifier and select the lifecycle configuration created in step 2 for Lifecycle configuration.

You might also need to add vpc, subnet and security group in 'Network' section to gain access to Teradata databases.
-
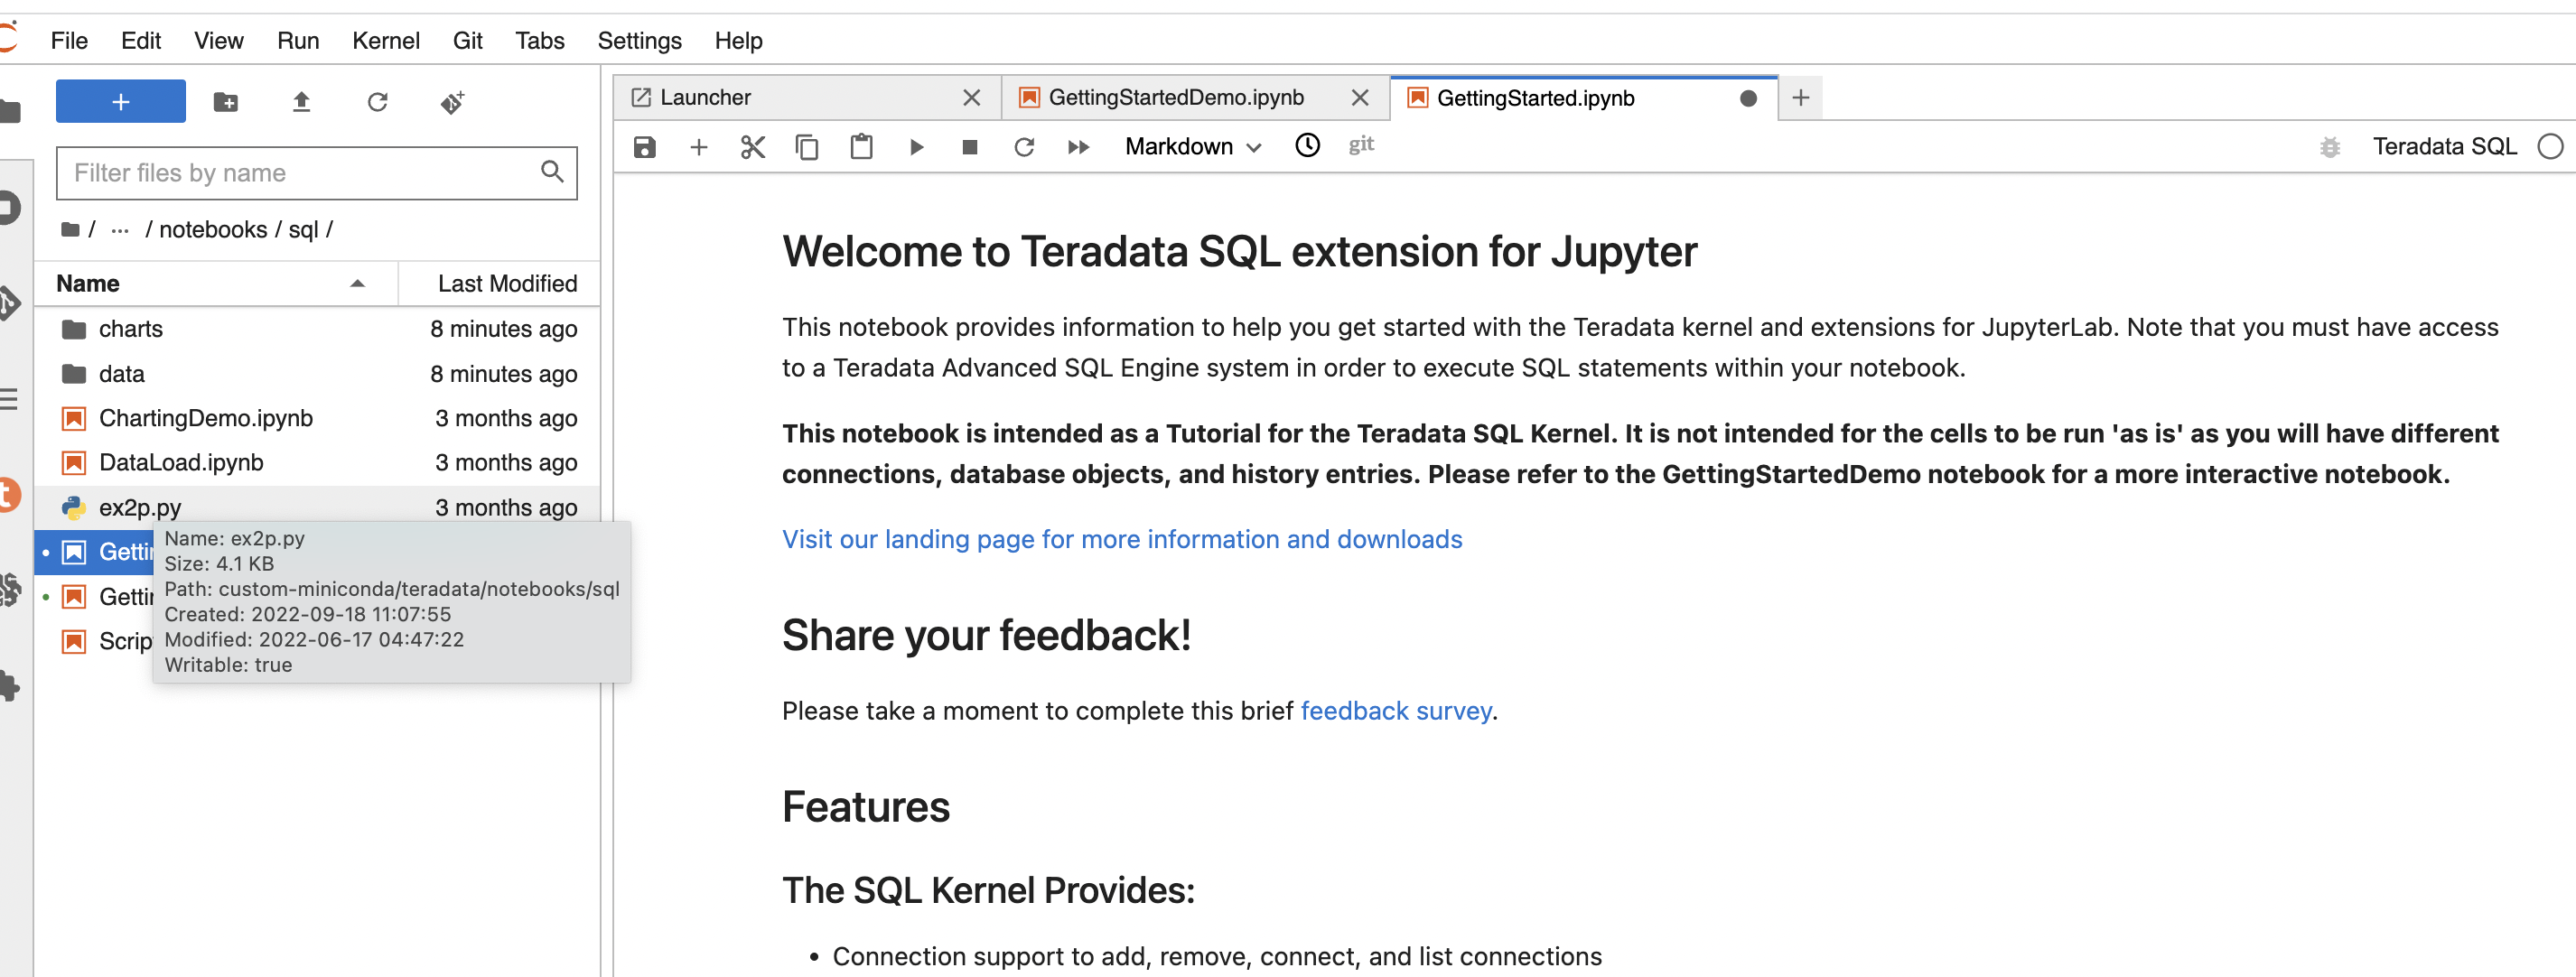
Wait until notebook instance Status turns 'InService', click 'Open JupyterLab' to open the notebook.

Access the demo notebooks to get usage tips

Further reading
- Teradata Jupyter Extensions Website
- Teradata Vantage™ Modules for Jupyter Installation Guide
- Teradata® Package for Python User Guide
- Customize a Notebook Instance Using a Lifecycle Configuration Script
- amazon sagemaker notebook instance lifecycle config samples
If you have any questions or need further assistance, please visit our community forum where you can get support and interact with other community members.