Run Teradata Jupyter Notebook Demos for VantageCloud Lake in Amazon SageMaker
Overview
This quickstart details the process for running the Teradata Jupyter Notebook Demos for VantageCloud Lake, on Amazon SageMaker, the AI/ML platform from AWS.
Prerequisites
- Teradata modules for Jupyter (download here, registration required)
- AWS account with access to S3 and SageMaker
- Access to a VantageCloud Lake environment
AWS environment set-up
In this section we will cover in detail each of the steps below:
- Upload the Teradata modules for Jupyter to a S3 bucket
- Create an IAM role for your Jupyter notebook instance
- Create a lifecycle configuration for your Jupyter notebook instance
- Create Jupyter notebook instance
- Find the IP CIDR of your Jupyter notebook instance
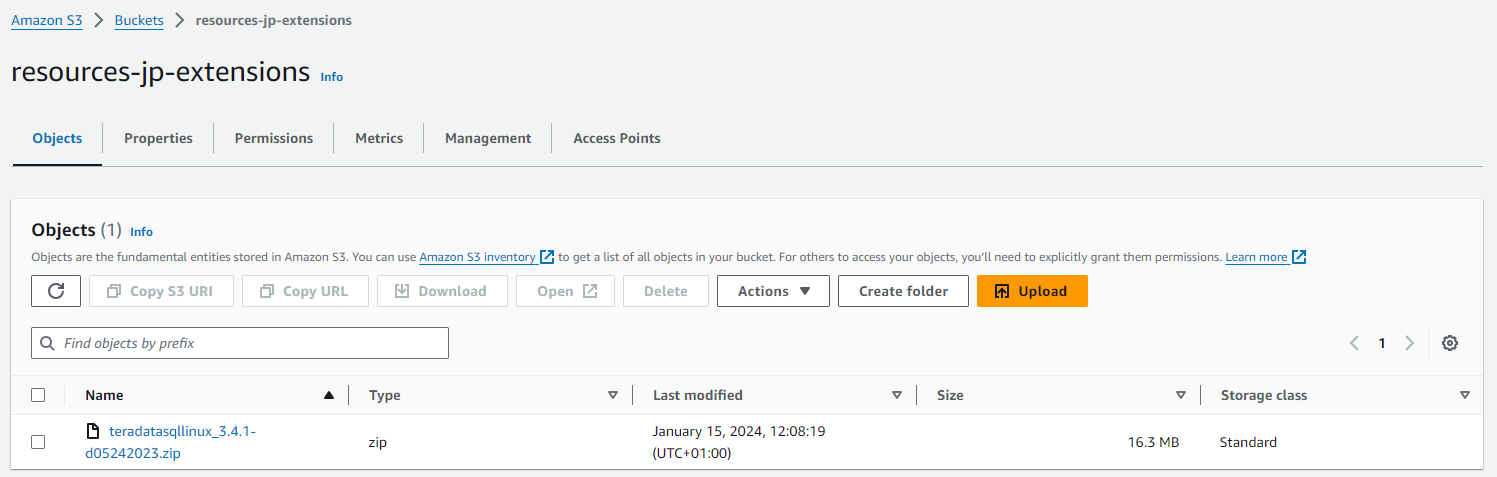
Upload the Teradata modules for Jupyter to an S3 bucket
- On AWS S3 create a bucket and keep note of the assigned name
- Default options are appropiate for this bucket
- In the created bucket upload the Teradata modules for Jupyter
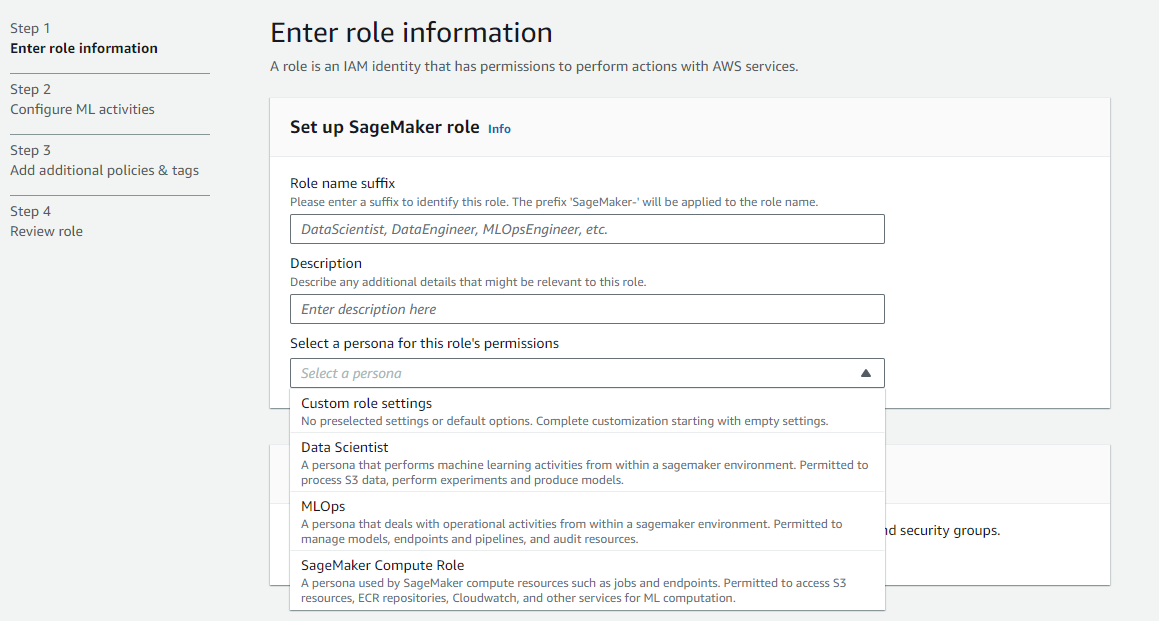
Create an IAM role for your Jupyter Notebooks instance
- On SageMaker navigate to the role manager

- Create a new role (if not already defined)
- For purposes of this guide the role created is assigned the data scientist persona
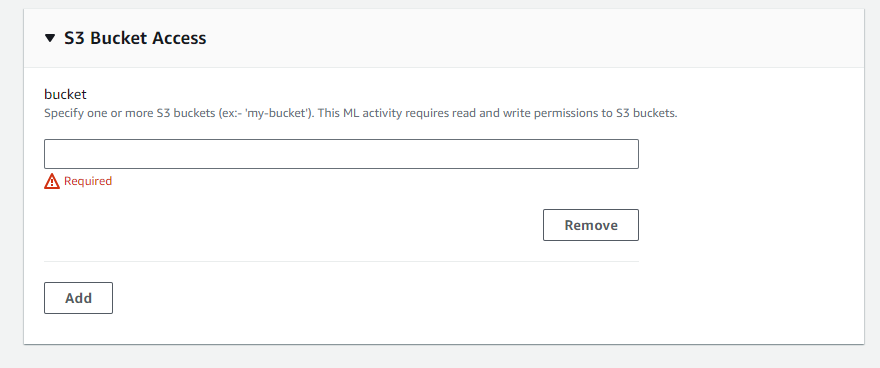
- On the settings, it is appropiate to keep the defaults
- In the corresponding screen define the bucket where you uploaded the Teradata Jupyter modules
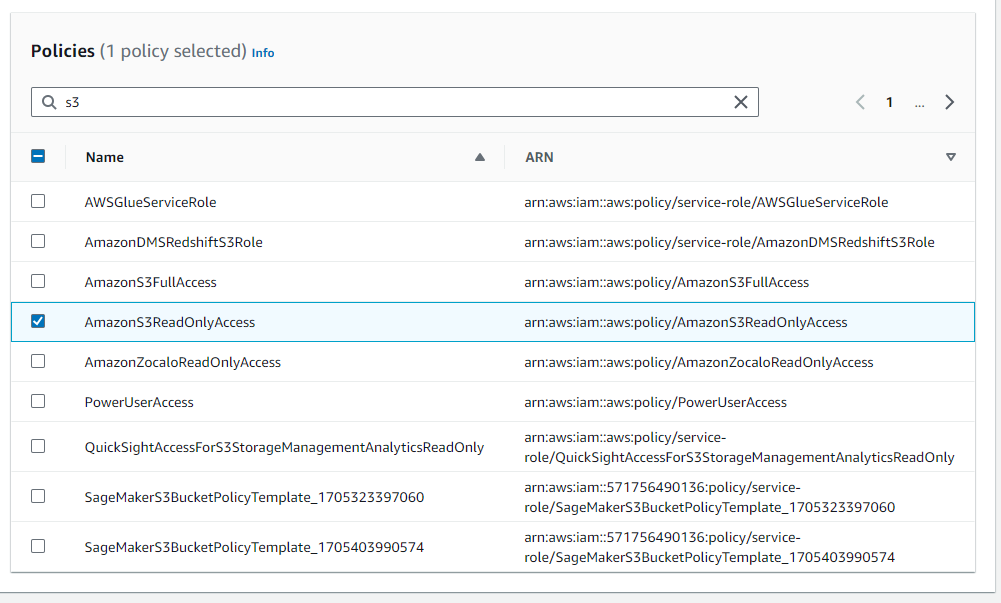
- In the next configuration we add the corresponding policies for access to the S3 bucket
Create lifecycle configuration for your Jupyter Notebooks instance
- On SageMaker navigate to lifecycle configurations and click on create
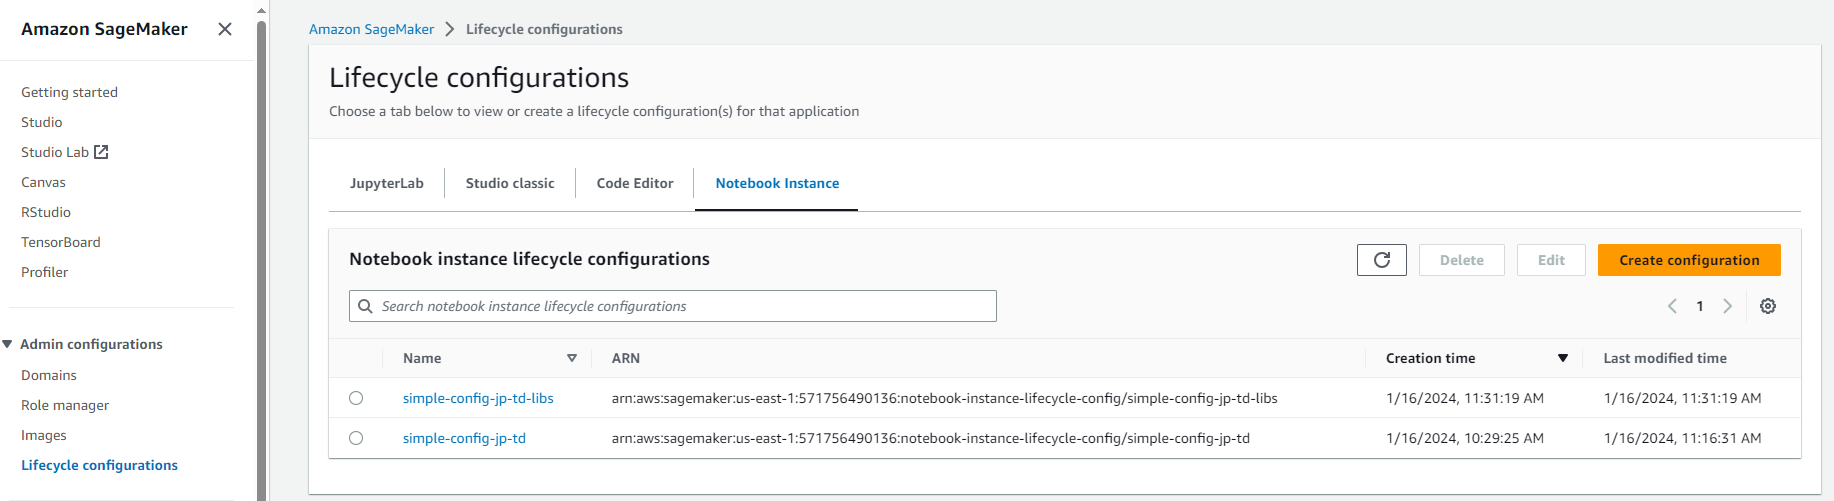
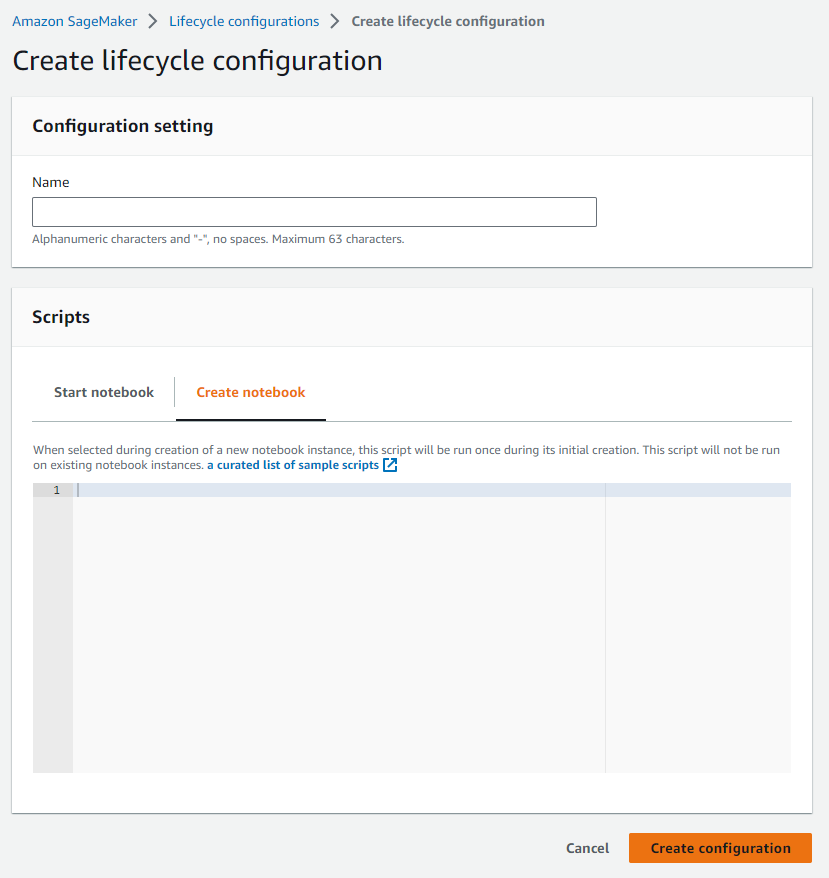
- Define a lifecycle configuration with the following scripts
-
When working from a Windows environment, we recommend copying the scripts into the lifecycle configuration editor line by line. Press 'Enter' after each line directly in the editor to avoid copying issues. This approach helps prevent carriage return errors that can occur due to encoding differences between Windows and Linux. Such errors often manifest as "/bin/bash^M: bad interpreter" and can disrupt script execution.
-
On create script:
-
On start script (In this script substitute name of your bucket and confirm version of Jupyter modules)
-
Create Jupyter Notebooks instance
-
On SageMaker navigate Notebooks, Notebook instances, create notebook instance
-
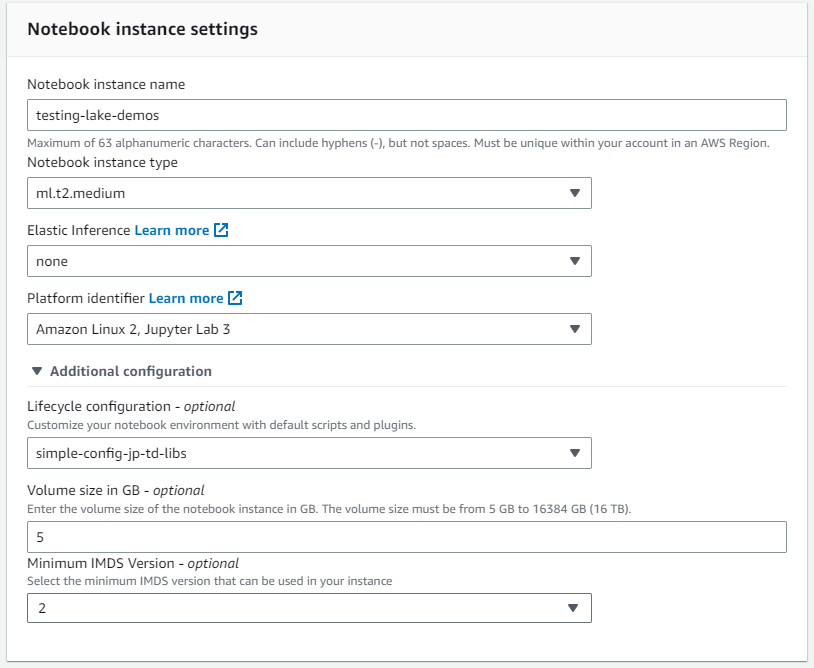
Choose a name for your notebook instance, define size (for demos the smaller available instance is enough)
-
Click in additional configurations and assign the recently created lifecycle configuration
-
Click in additional configurations and assign the recently created lifecycle configuration
-
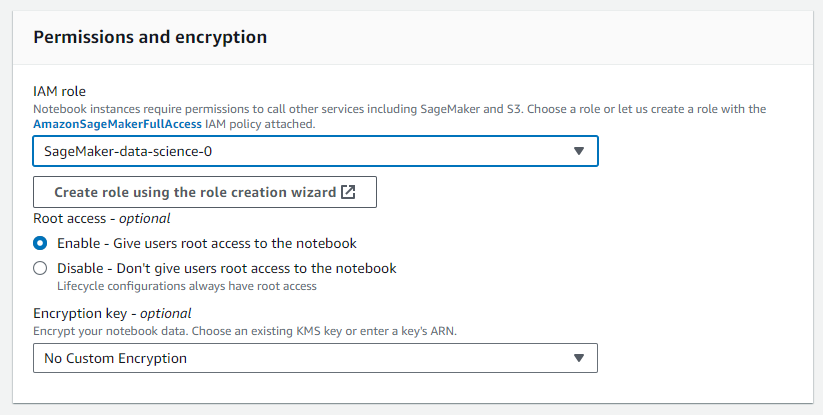
Assign the recently created IAM role to the notebook instance
-
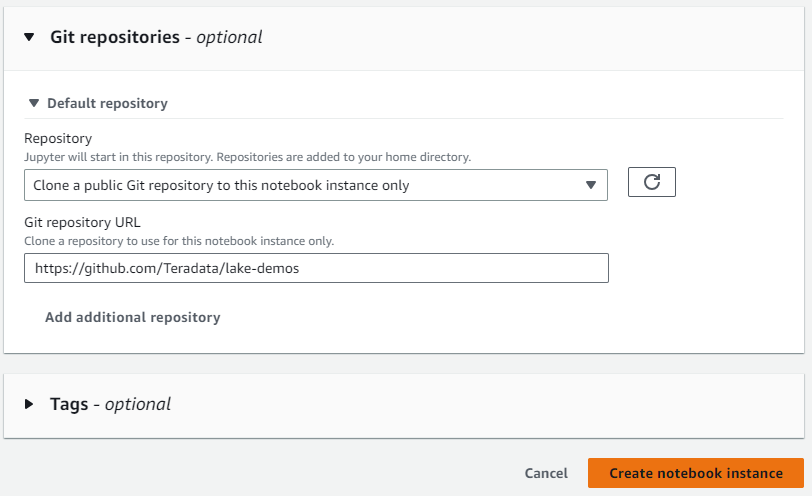
Paste the following link https://github.com/Teradata/lake-demos as the default github repository for the notebook instance
Find the IP CIDR of your Jupyter Notebooks instance
-
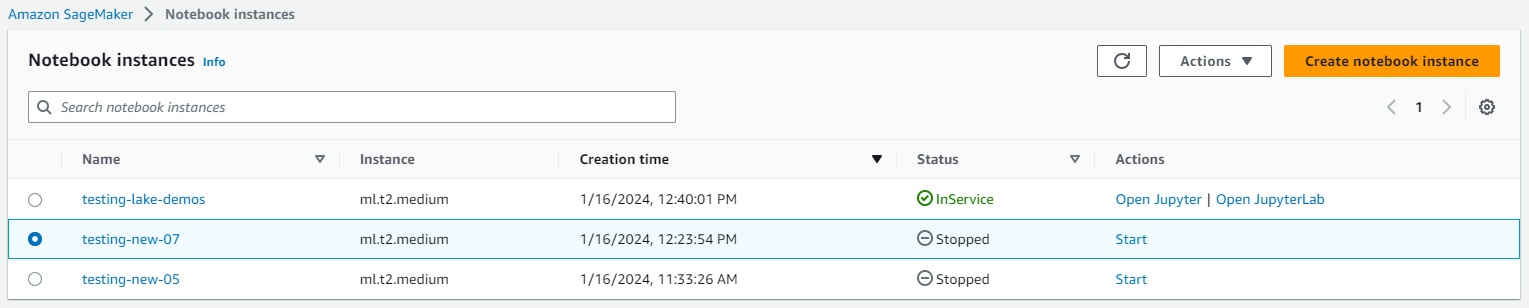
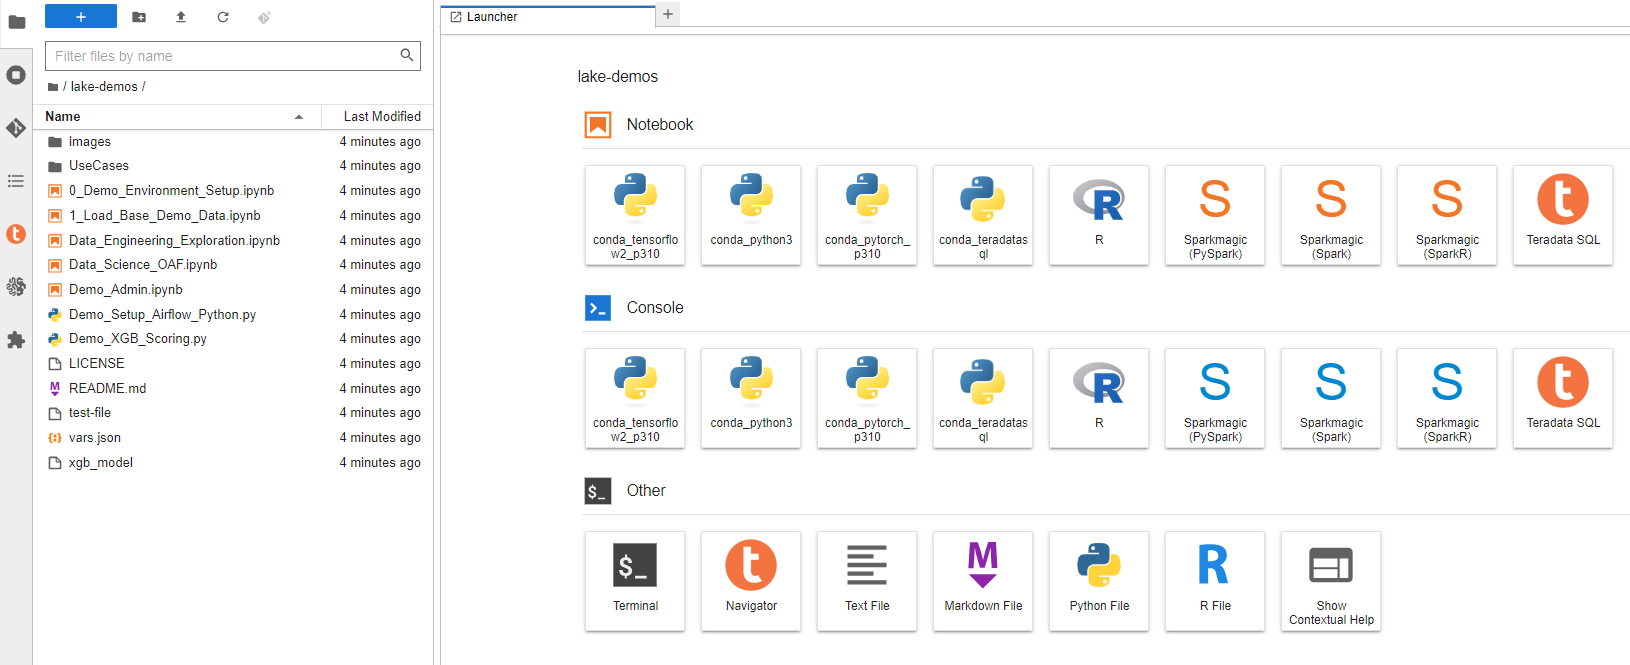
Once the instance is running click on open JupyterLab
-
On JupyterLab open a notebook with Teradata Python kernel and run the following command for finding your notebook instance IP address. ** We will whitelist this IP in your VantageCloud Lake environment in order to allow the connection. ** This is for purposes of this guide and the notebooks demos. For production environments, a configuration of VPCs, Subnets and Security Groups might need to be configured and whitelisted.
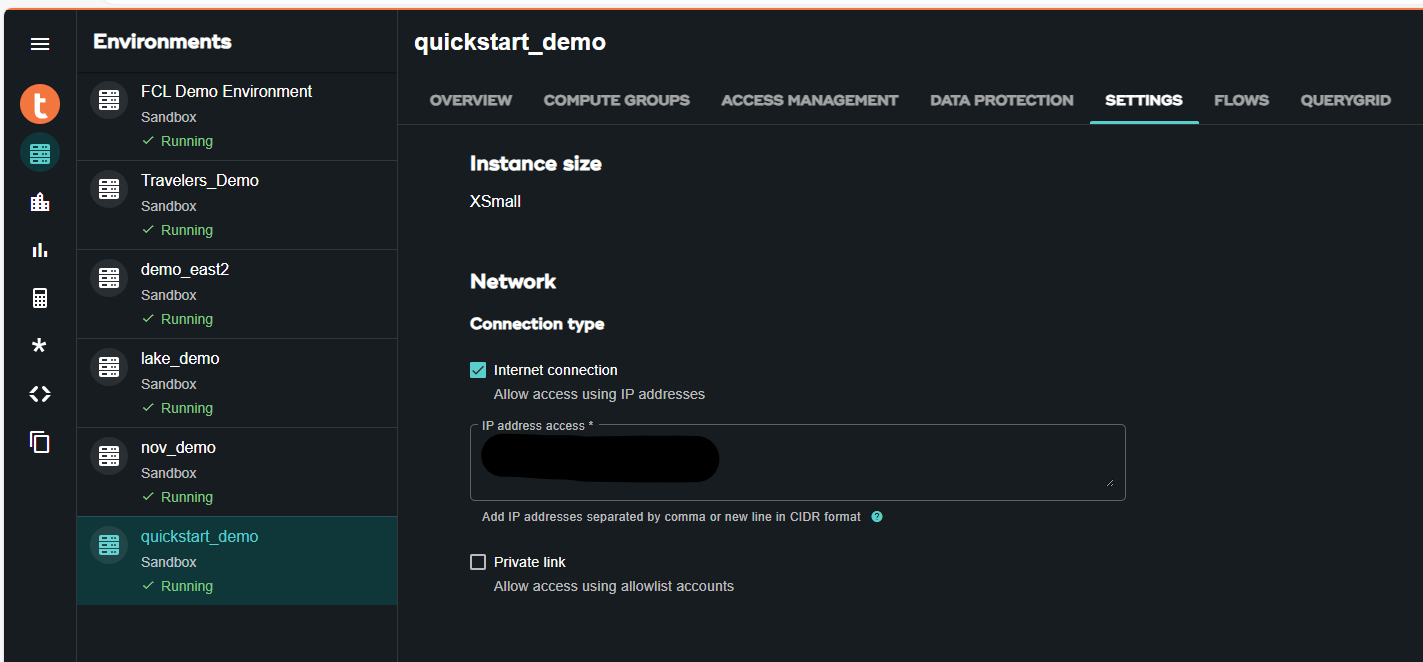
VantageCloud Lake Configuration
- In the VantageCloud Lake environment, under settings, add the IP of your notebook instance
Jupyter Notebook Demos for VantageCloud Lake
Configurations
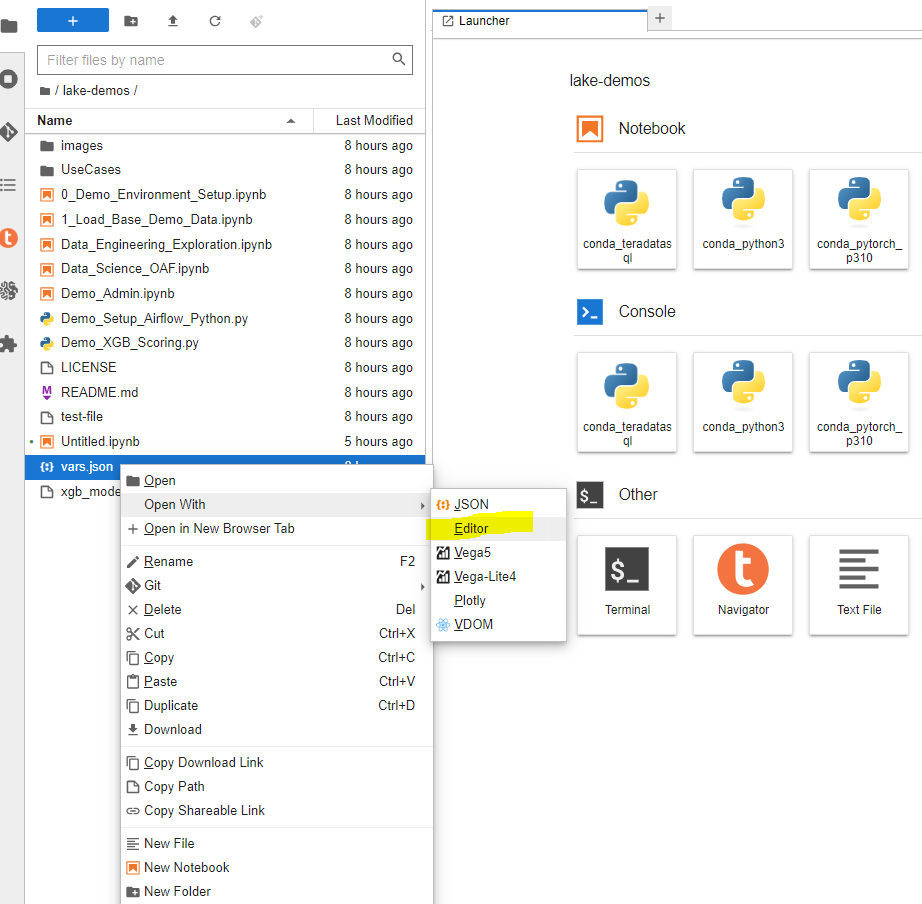
-
The file vars.json file should be edited to match the configuration of your VantageCloud Lake environment
-
Especifically the following values should be added
Variable Value "host" Public IP value from your VantageCloud Lake environment "UES_URI" Open Analytics from your VantageCloud Lake environment "dbc" The master password of your VantageCloud Lake environment 정보Remember to change all passwords in the vars.json file.
-
You'll see that in the sample vars.json, the passwords of all users are defaulted to "password", this is just for illustration purposes, you should change all of these password fields to strong passwords, secure them as necessary, and follow other password management best practices.
Run demos
Open and execute all the cells in 0_Demo_Environment_Setup.ipynb to setup your environment. Followed by 1_Demo_Setup_Base_Data.ipynb to load the base data required for demo.
To learn more about the demo notebooks, go to Teradata Lake demos page on GitHub.
Summary
In this quick start we learned how to run Jupyter notebook demos for VantageCloud Lake in Amazon SageMaker.