Query Teradata from a Mule service
Overview
This example is a clone of the Mulesoft MySQL sample project. It demonstrates how to query Teradata and expose results over REST API.
Prerequisites
- Mulesoft Anypoint Studio. You can download a 30-day trial from https://www.mulesoft.com/platform/studio.
- Access to a Teradata instance.
If you need a test instance of Teradata, you can provision one for free at https://www.teradata.com/try
Example service
This example Mule service takes an HTTP request, queries Teradata and returns results in JSON format.
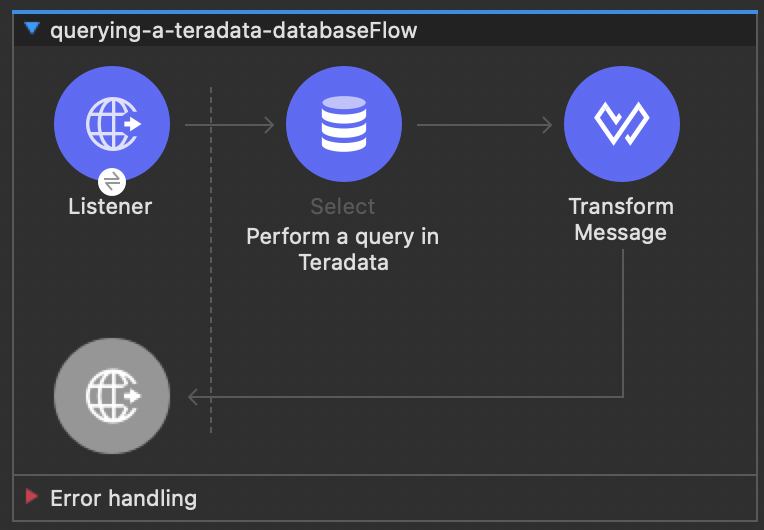
The Mule HTTP connector listens for HTTP GET requests with the form: http://<host>:8081/?lastname=<parameter>.
The HTTP connector passes the value of <parameter> as one of the message properties to a database connector.
The database connector is configured to extract this value and use it in this SQL query:
As you can see, we are using parameterized query with reference to the value of the parameter passed to the HTTP connector. So if the HTTP connector receives http://localhost:8081/?lastname=Smith, the SQL query will be:
The database connector instructs the database server to run the SQL query, retrieves the result of the query, and passes it to the Transform message processor which converts the result to JSON. Since the HTTP connector is configured as request-response, the result is returned to the originating HTTP client.
Setup
- Clone
Teradata/mule-jdbc-examplerepository:
- Edit
src/main/mule/querying-a-teradata-database.xml, find the Teradata connection stringjdbc:teradata://<HOST>/user=<username>,password=<password>and replace Teradata connection parameters to match your environment.
Should your Teradata instance be accessible via Teradata Trial, you must replace <HOST> with the host URL of your Teradata Trial environment. Additionally, the 'user' and 'password' should be updated to reflect your Teradata Trial environment's username and password.
- Create a sample database in your Teradata instance. Populate it with sample data.
-
Open the project in Anypoint Studio.
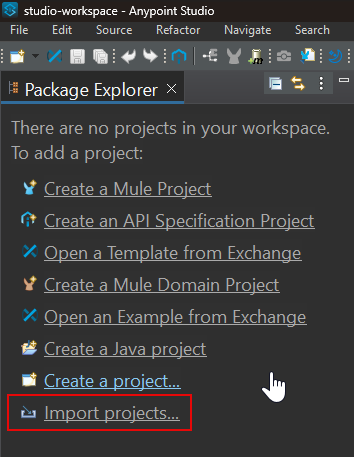
- Once in Anypoint Studio, click on
Import projects..:
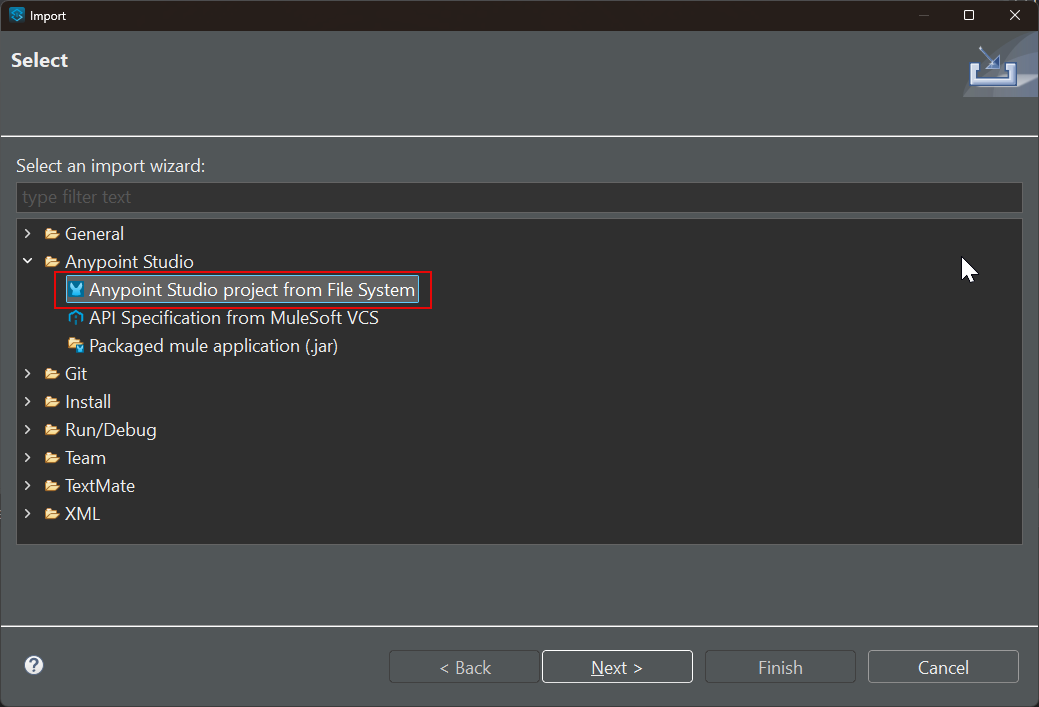
- Select
Anypoint Studio project from File System:
-
Use the directory where you cloned the git repository as the
Project Root. Leave all other settings at their default values. -
If prompted to update the workspace, keep all the default options selected and click Perform update.
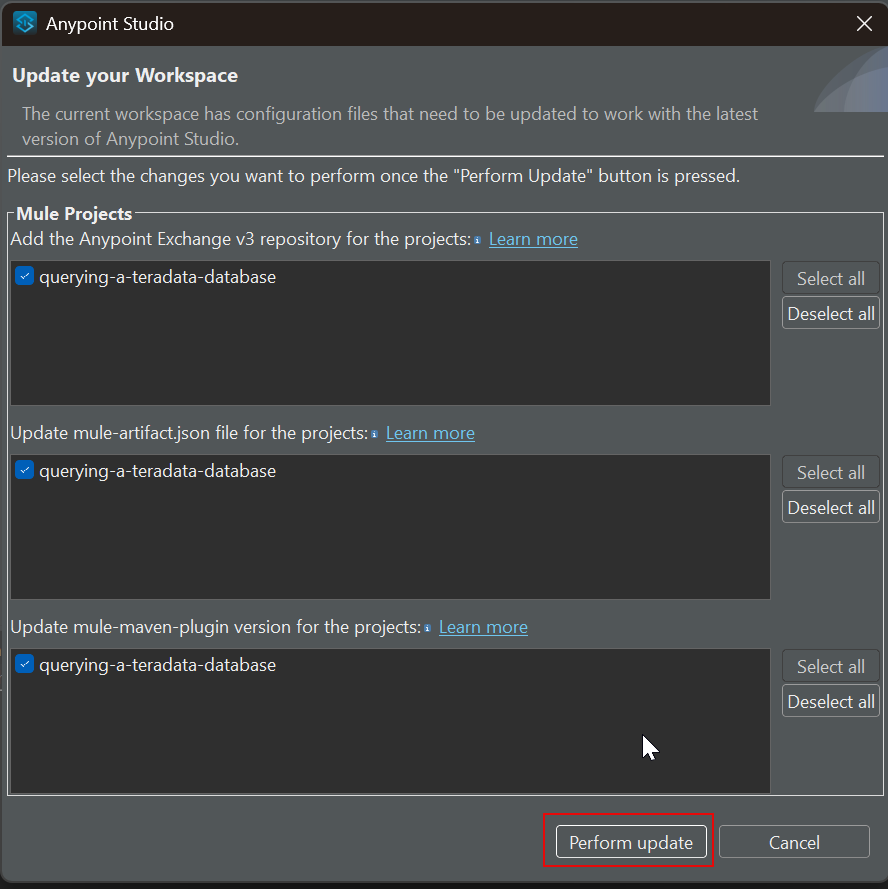
This updates the project configuration so it is compatible with the current version of Anypoint Studio.
- Once in Anypoint Studio, click on
Run
- Run the example application in Anypoint Studio using the
Runmenu. The project will now build and run. It will take a minute. - Go to your web browser and send the following request: http://localhost:8081/?lastname=Testowsky.
You should get the following JSON response:
Further reading
- View this document for more information on how to configure a database connector on your machine.
- Access plain Reference material for the Database Connector.
- Learn more about DataSense.