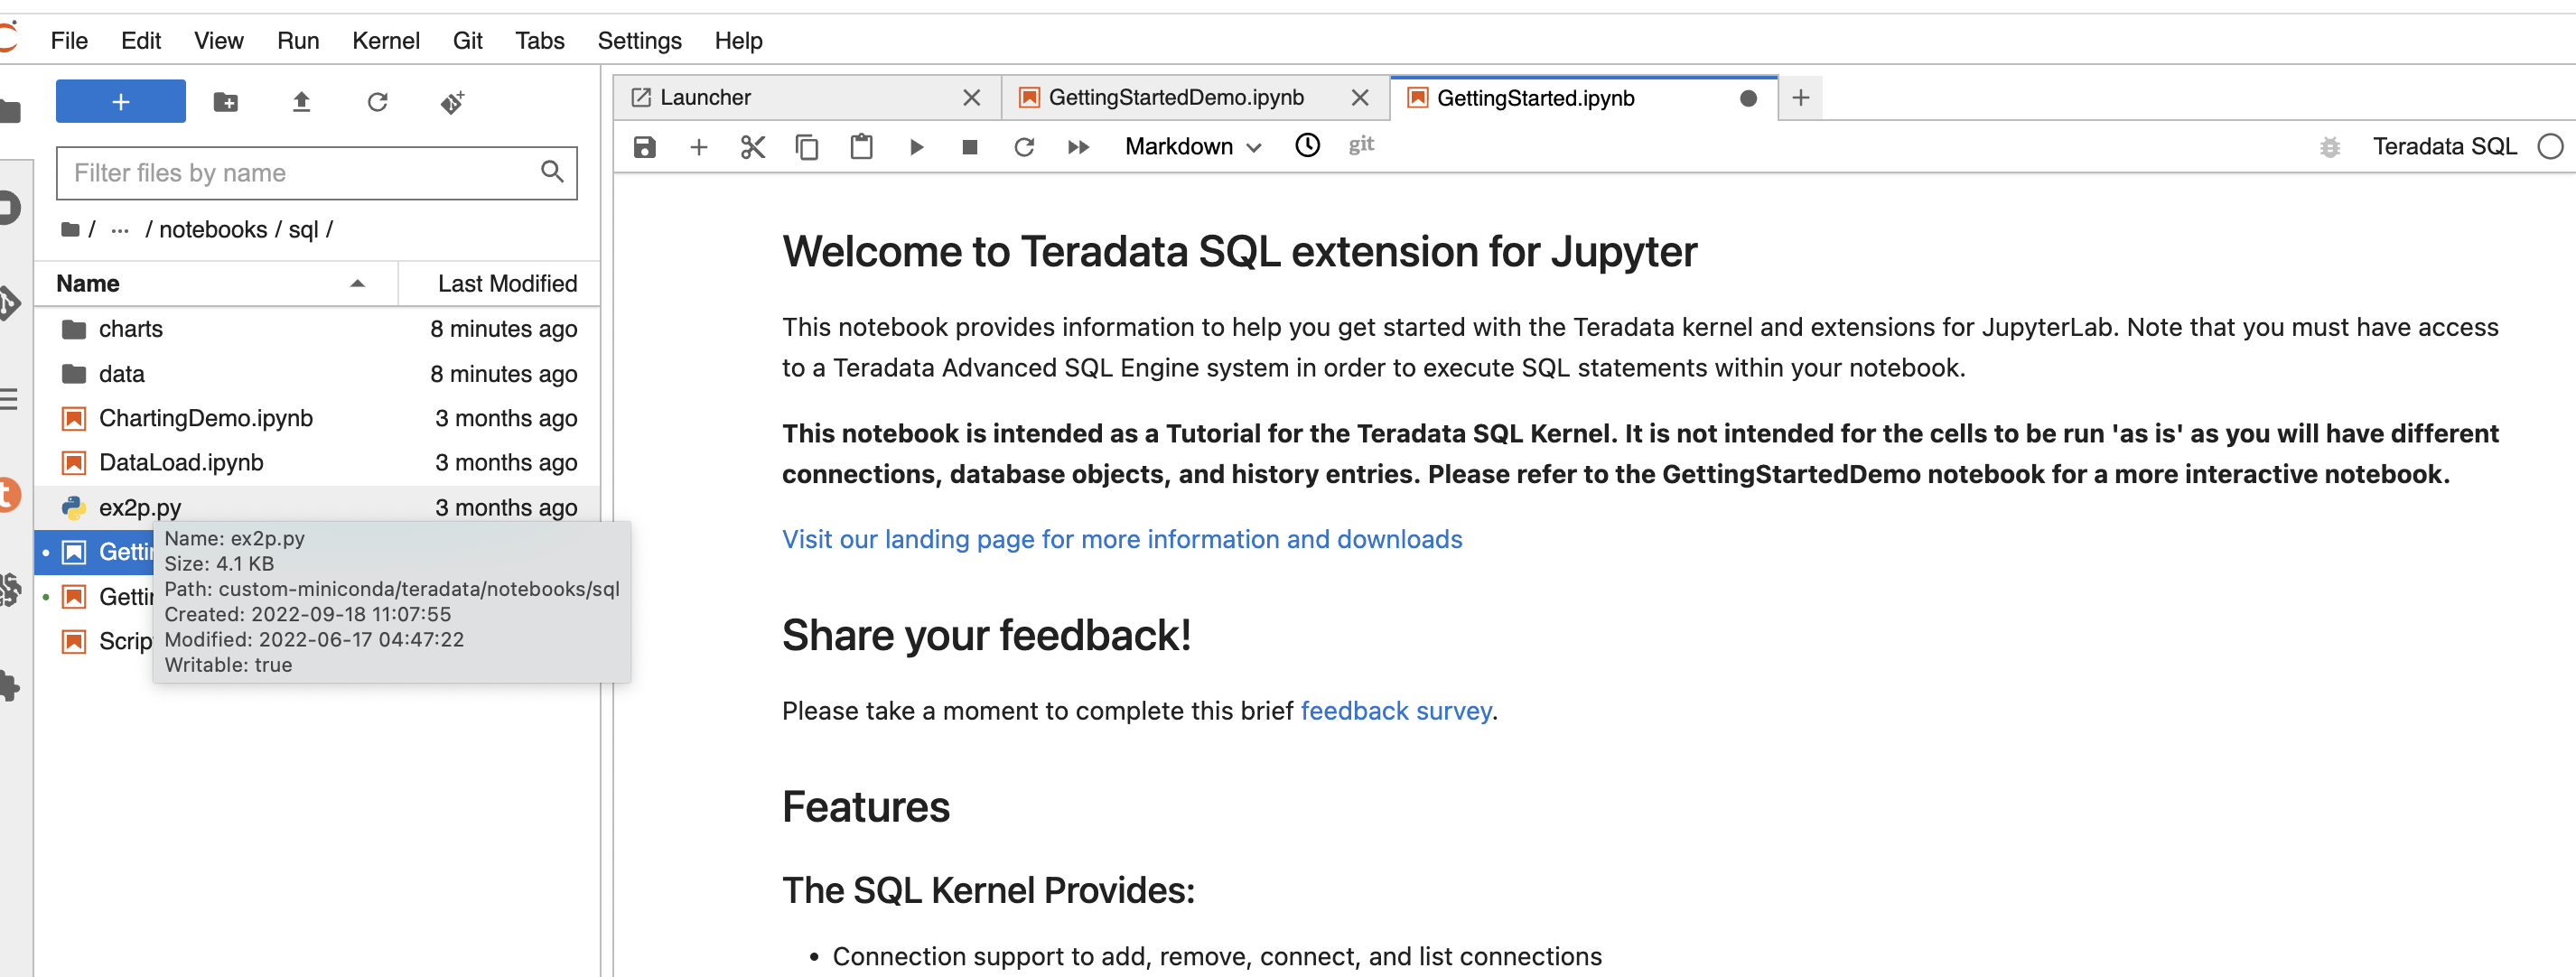
Integrate Teradata Jupyter extensions with SageMaker AI notebook instance
This how-to shows you how to add Teradata Extensions to a Jupyter Notebooks environment. A hosted version of Jupyter Notebooks integrated with Teradata Extensions and analytics tools is available for functional testing for free at https://www.teradata.com/try.
Overview
Teradata Jupyter extensions provide Teradata SQL kernel and several UI extensions to allow users to easily access and navigate Teradata database from Jupyter environment. This article describes how to integrate our Jupyter extensions with SageMaker AI notebook instance.
Prerequisites
- Access to a Teradata instance
Note
If you need a test instance of Teradata, you can provision one for free at https://www.teradata.com/try
- AWS account with permissions to create SageMaker notebook instances and IAM roles
- AWS S3 bucket to store the Teradata Jupyter extension package
Integration
SageMaker AI supports customization of notebook instances using lifecycle configuration scripts. Below we will demo how to use lifecycle configuration scripts to install our Jupyter kernel and extensions in a notebook instance.
Steps to integrate with notebook instance
-
Download Teradata Jupyter extensions package
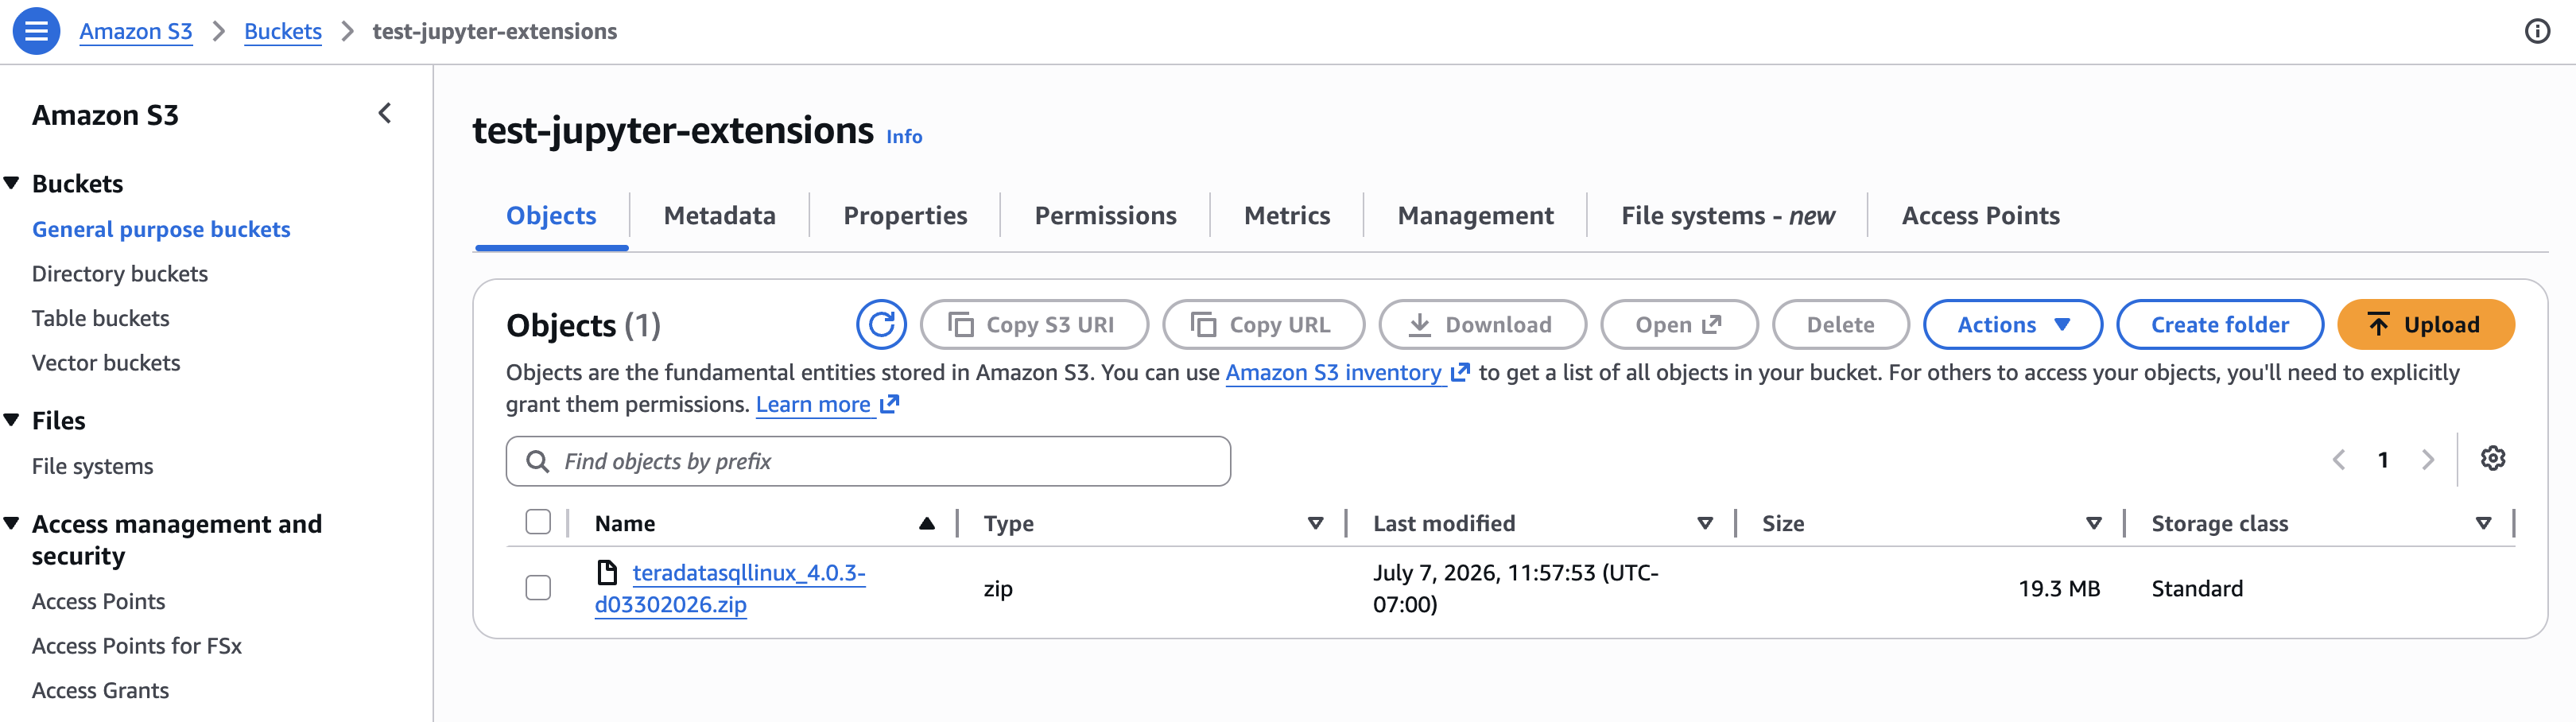
Download the Linux version from https://downloads.teradata.com/download/tools/vantage-modules-for-jupyter and upload the zip file to your S3 bucket. The package contains the Teradata Jupyter kernel and extensions as
.whlfiles.
-
Grant SageMaker access to your S3 bucket
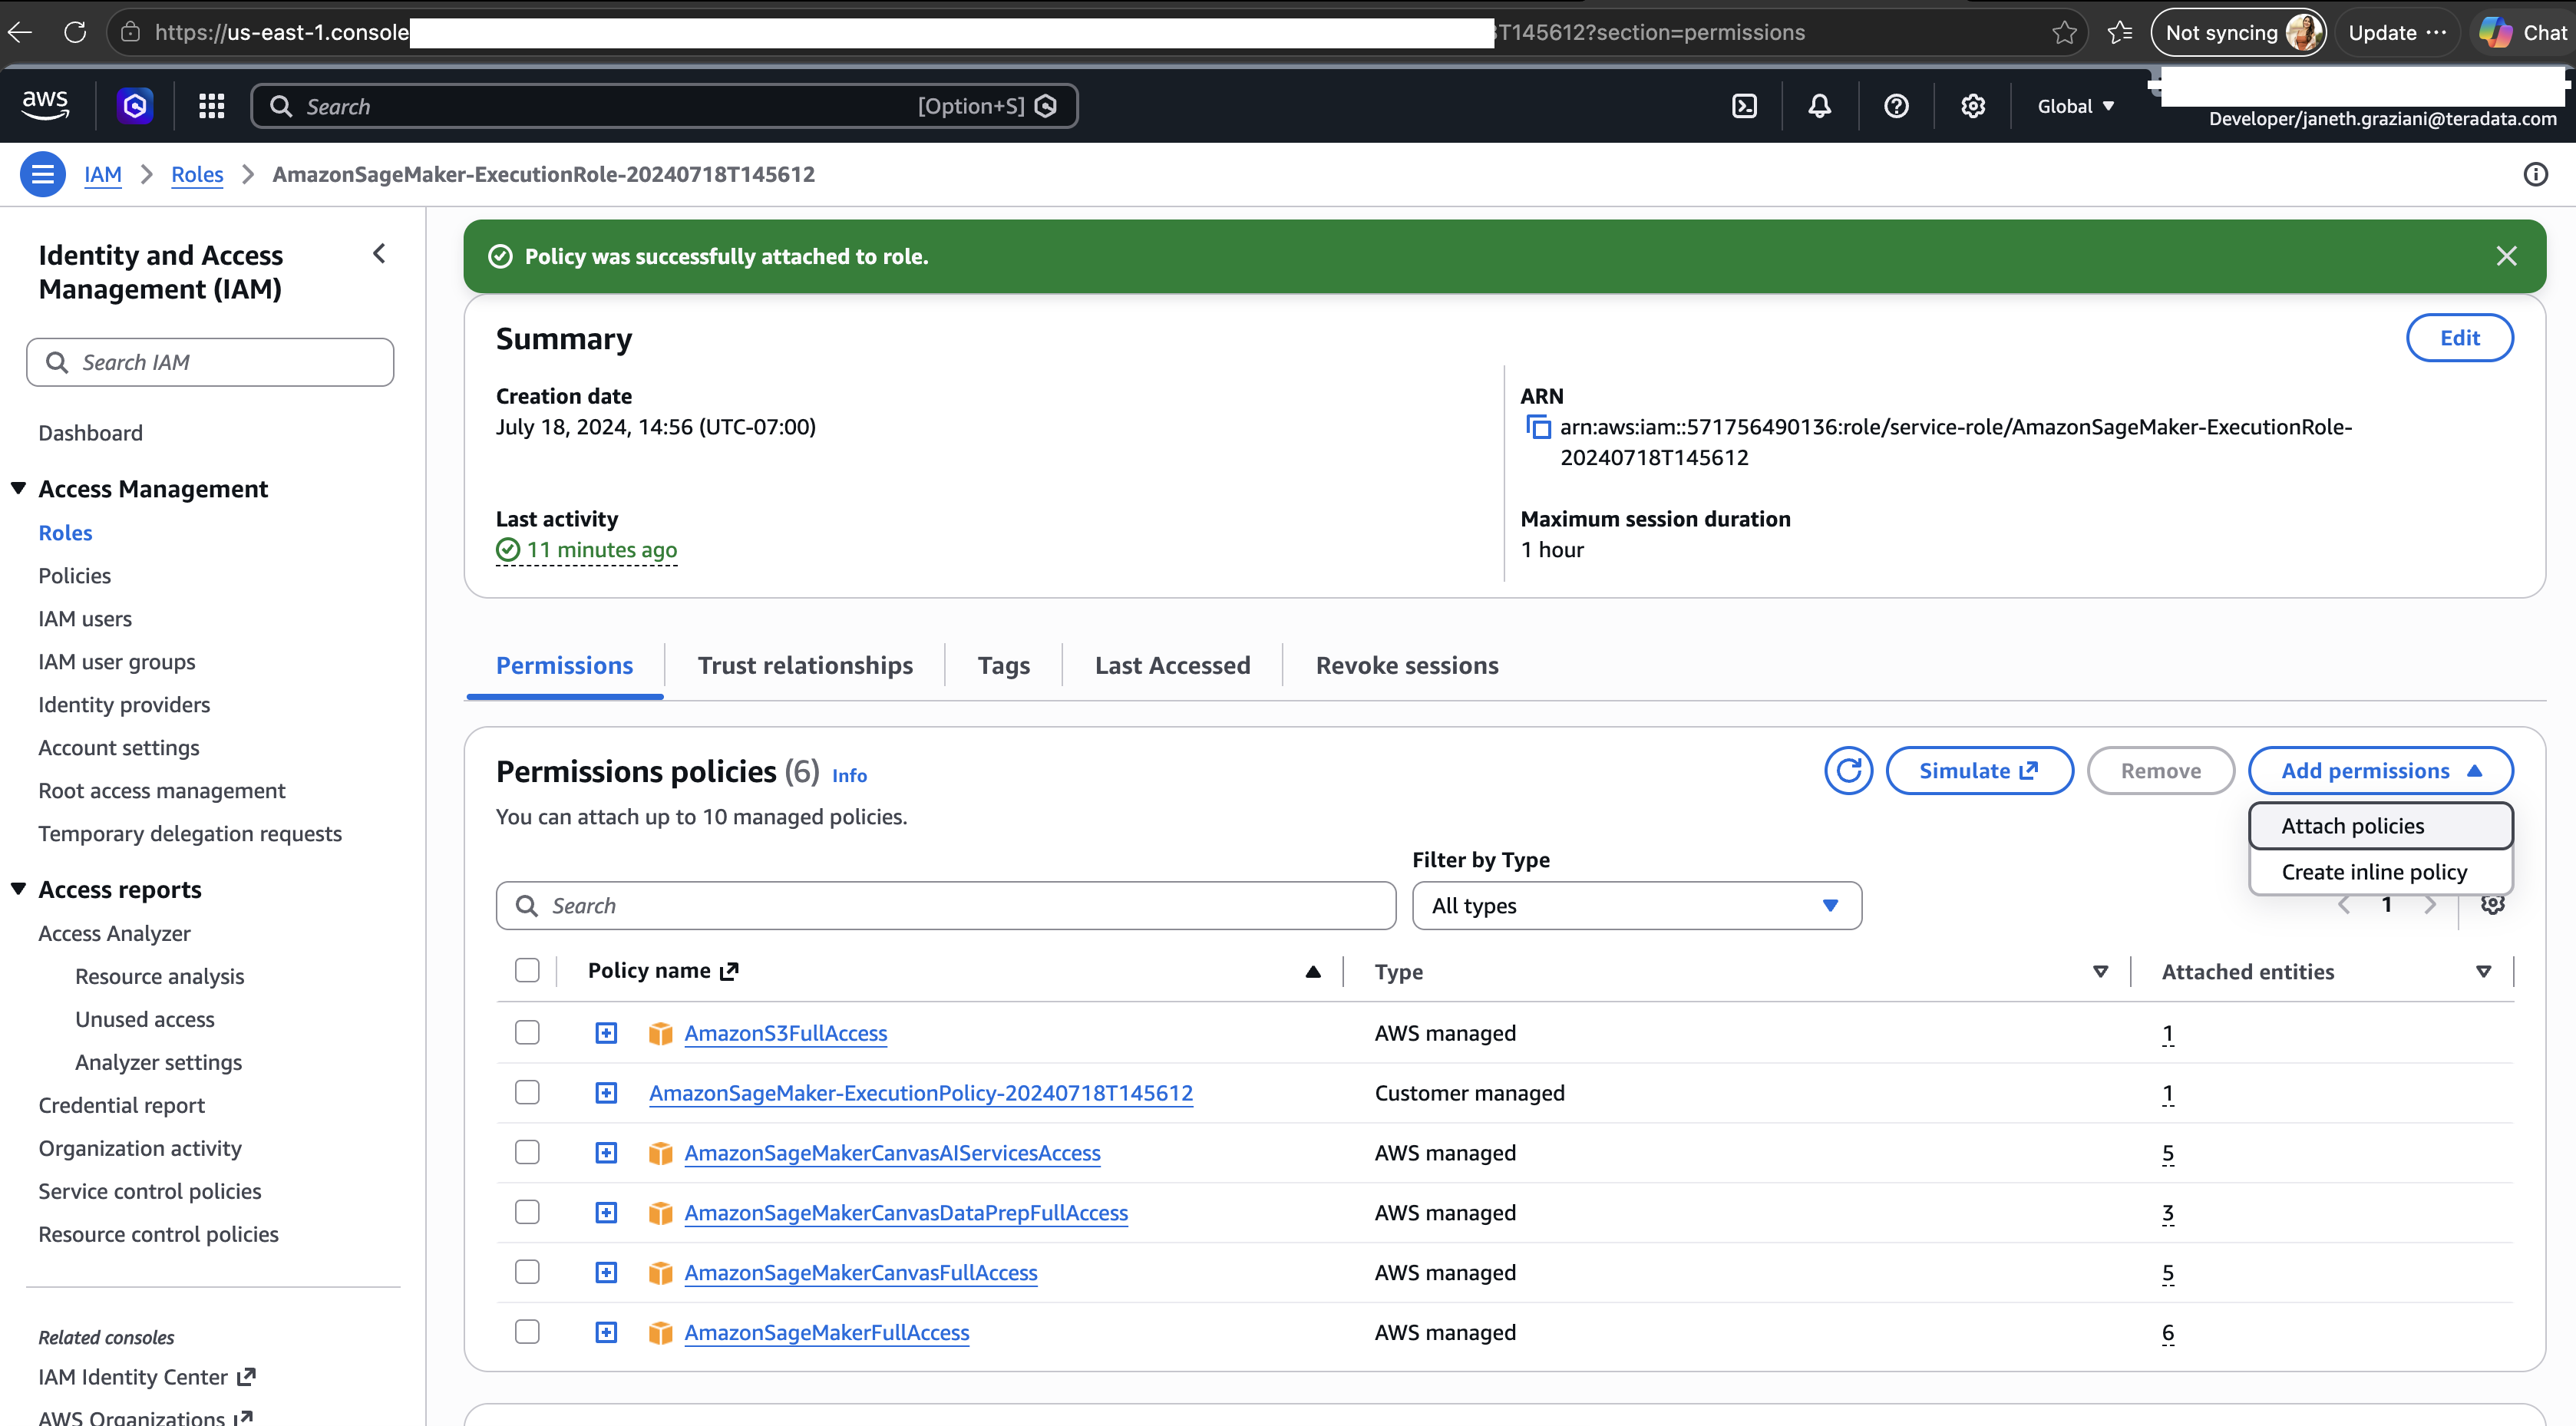
The SageMaker execution role needs permission to read from your S3 bucket. In the AWS IAM console, find the execution role associated with your notebook instance (typically named
AmazonSageMaker-ExecutionRole-...) and attach theAmazonS3FullAccesspolicy.

- Create a lifecycle configuration for notebook instance
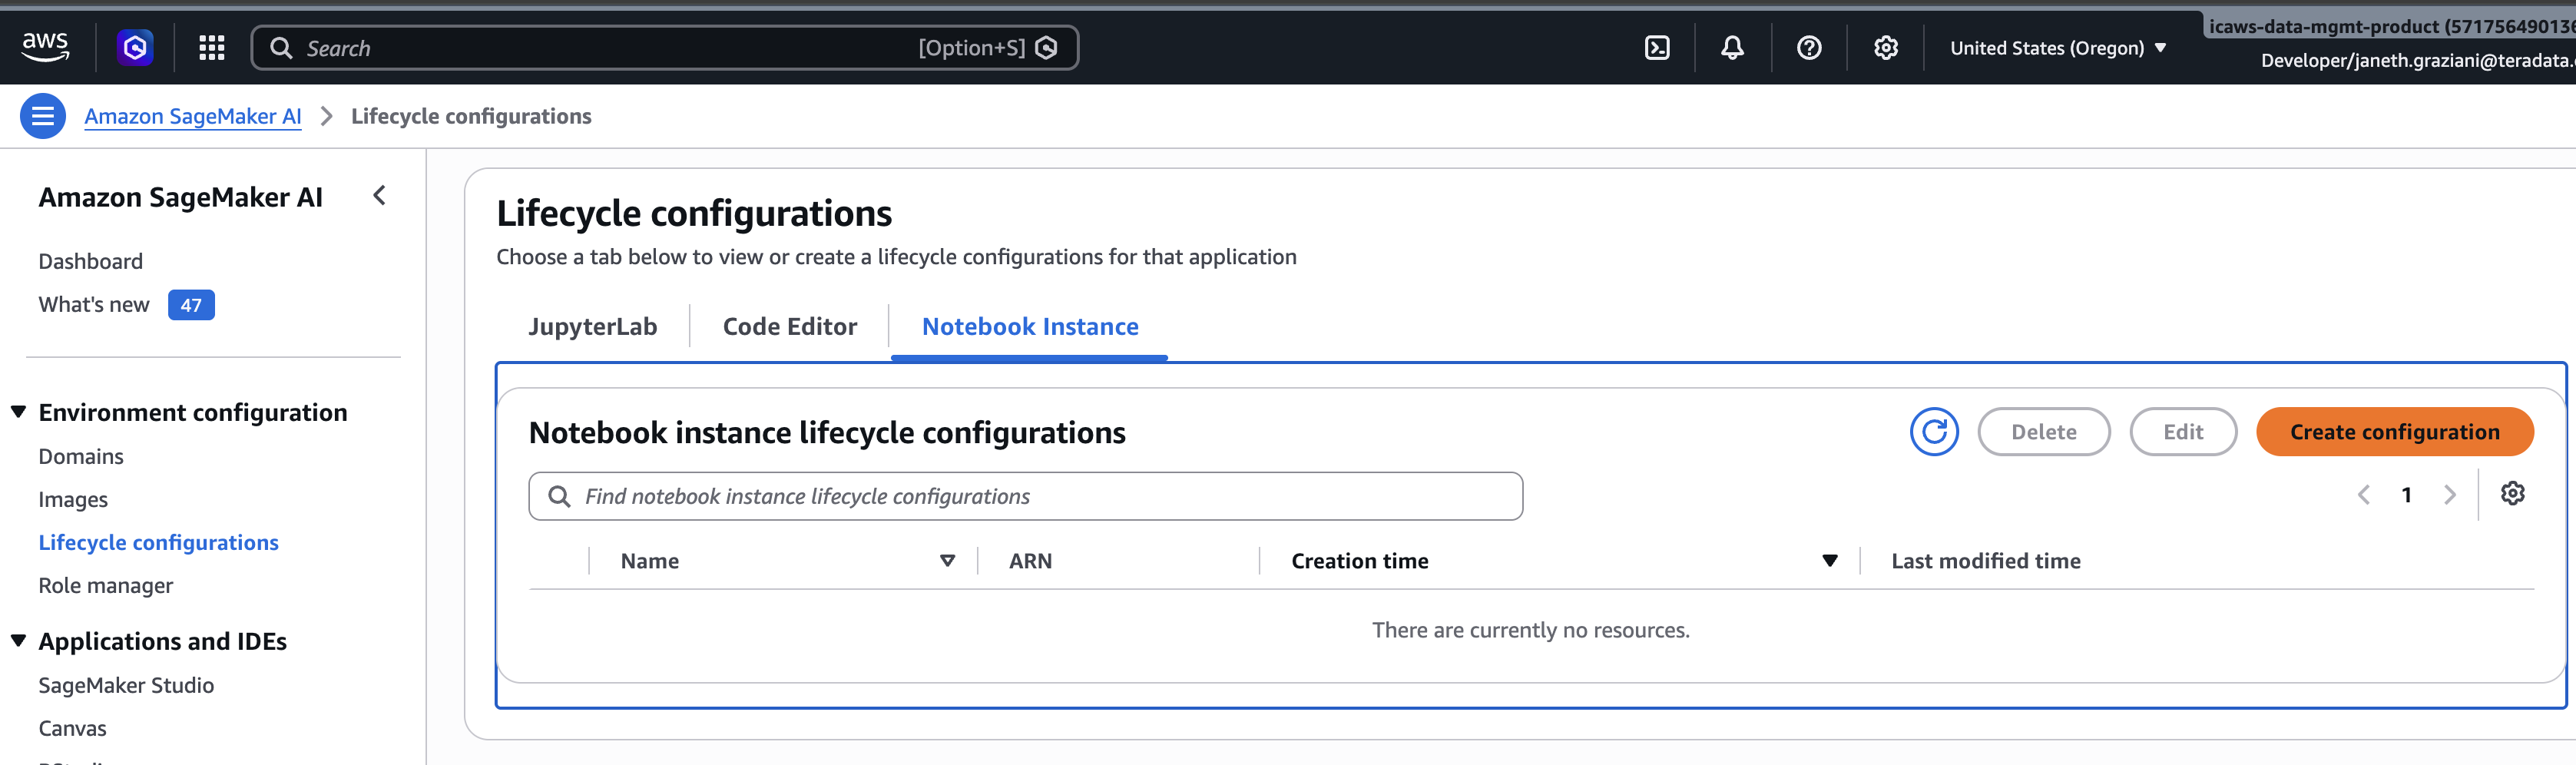
In the SageMaker console, navigate to Lifecycle configurations and create a new configuration. You will see two script tabs: Create notebook and Start notebook. Paste the scripts below into the corresponding tabs.
on-create.sh runs once when the notebook instance is first created. It installs a persistent conda environment on the EBS volume so the installation survives notebook restarts.
on-create.sh
on-start.sh runs each time the notebook instance starts. It fetches the Teradata package from S3 and installs the Jupyter kernel and extensions. Replace <your-s3-bucket> with your bucket name and update the zip filename and .whl version numbers to match the version you downloaded.
on-start.sh
-
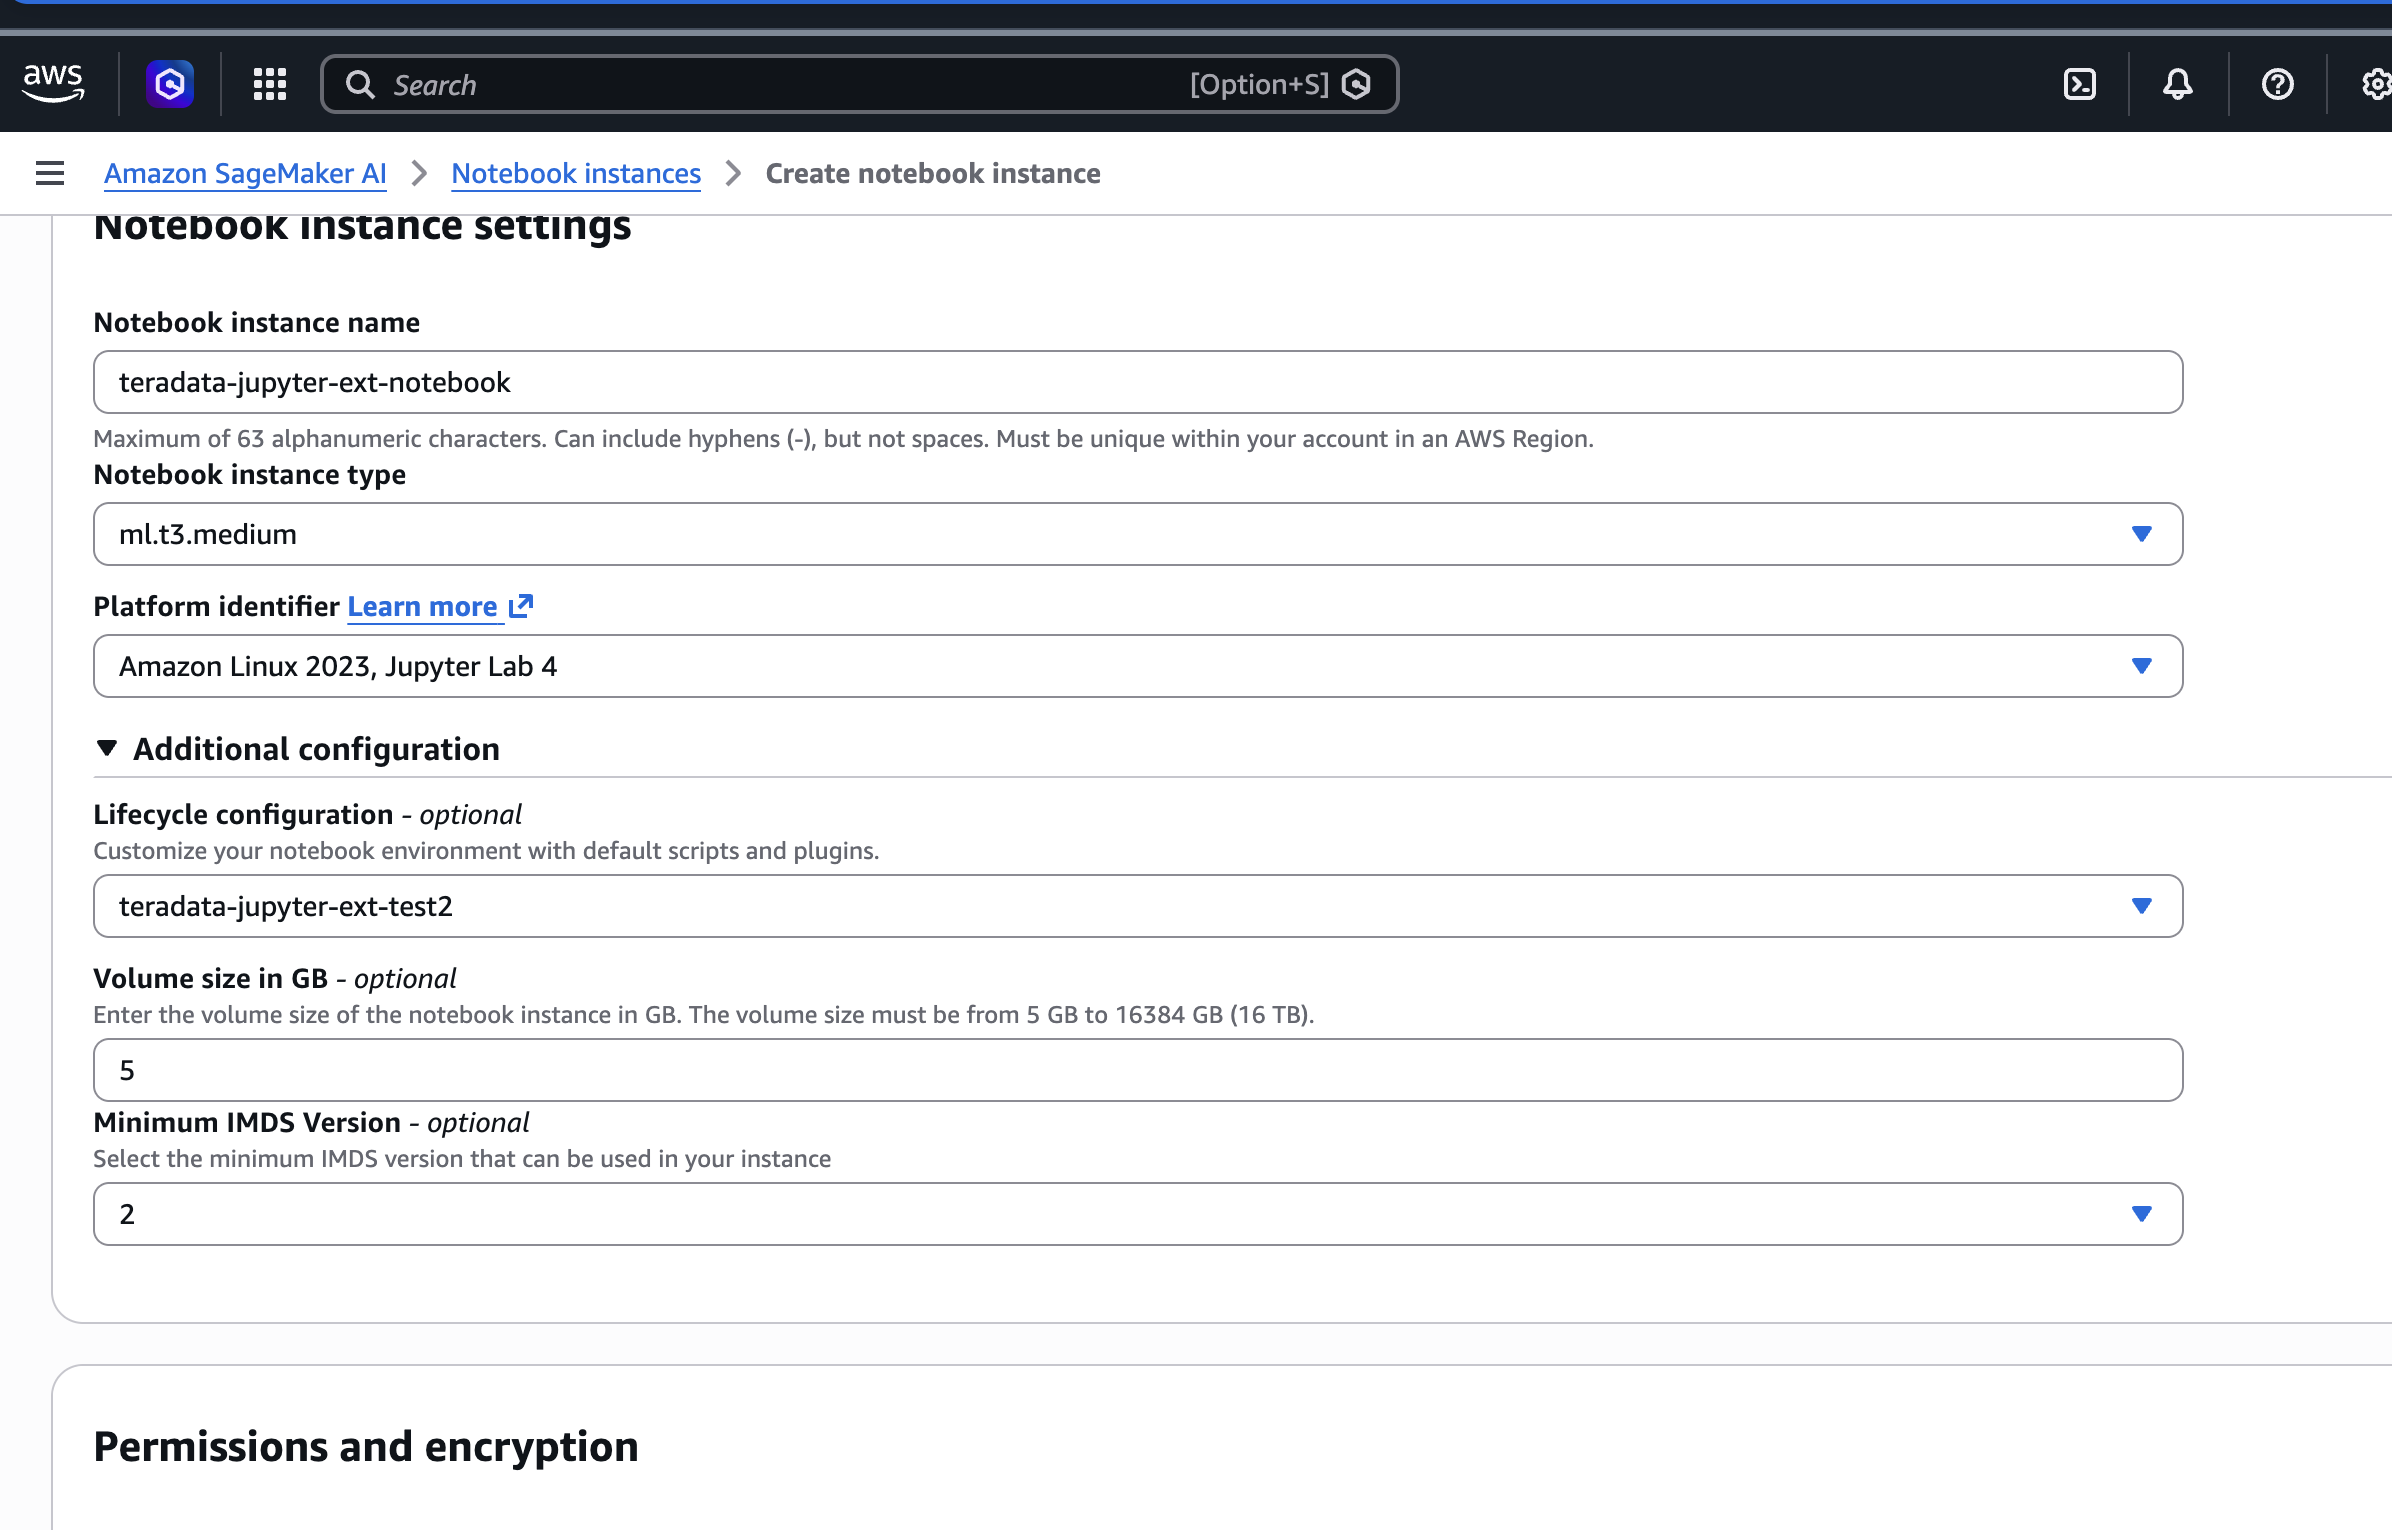
Create a notebook instance
In the SageMaker console, create a new notebook instance. Select
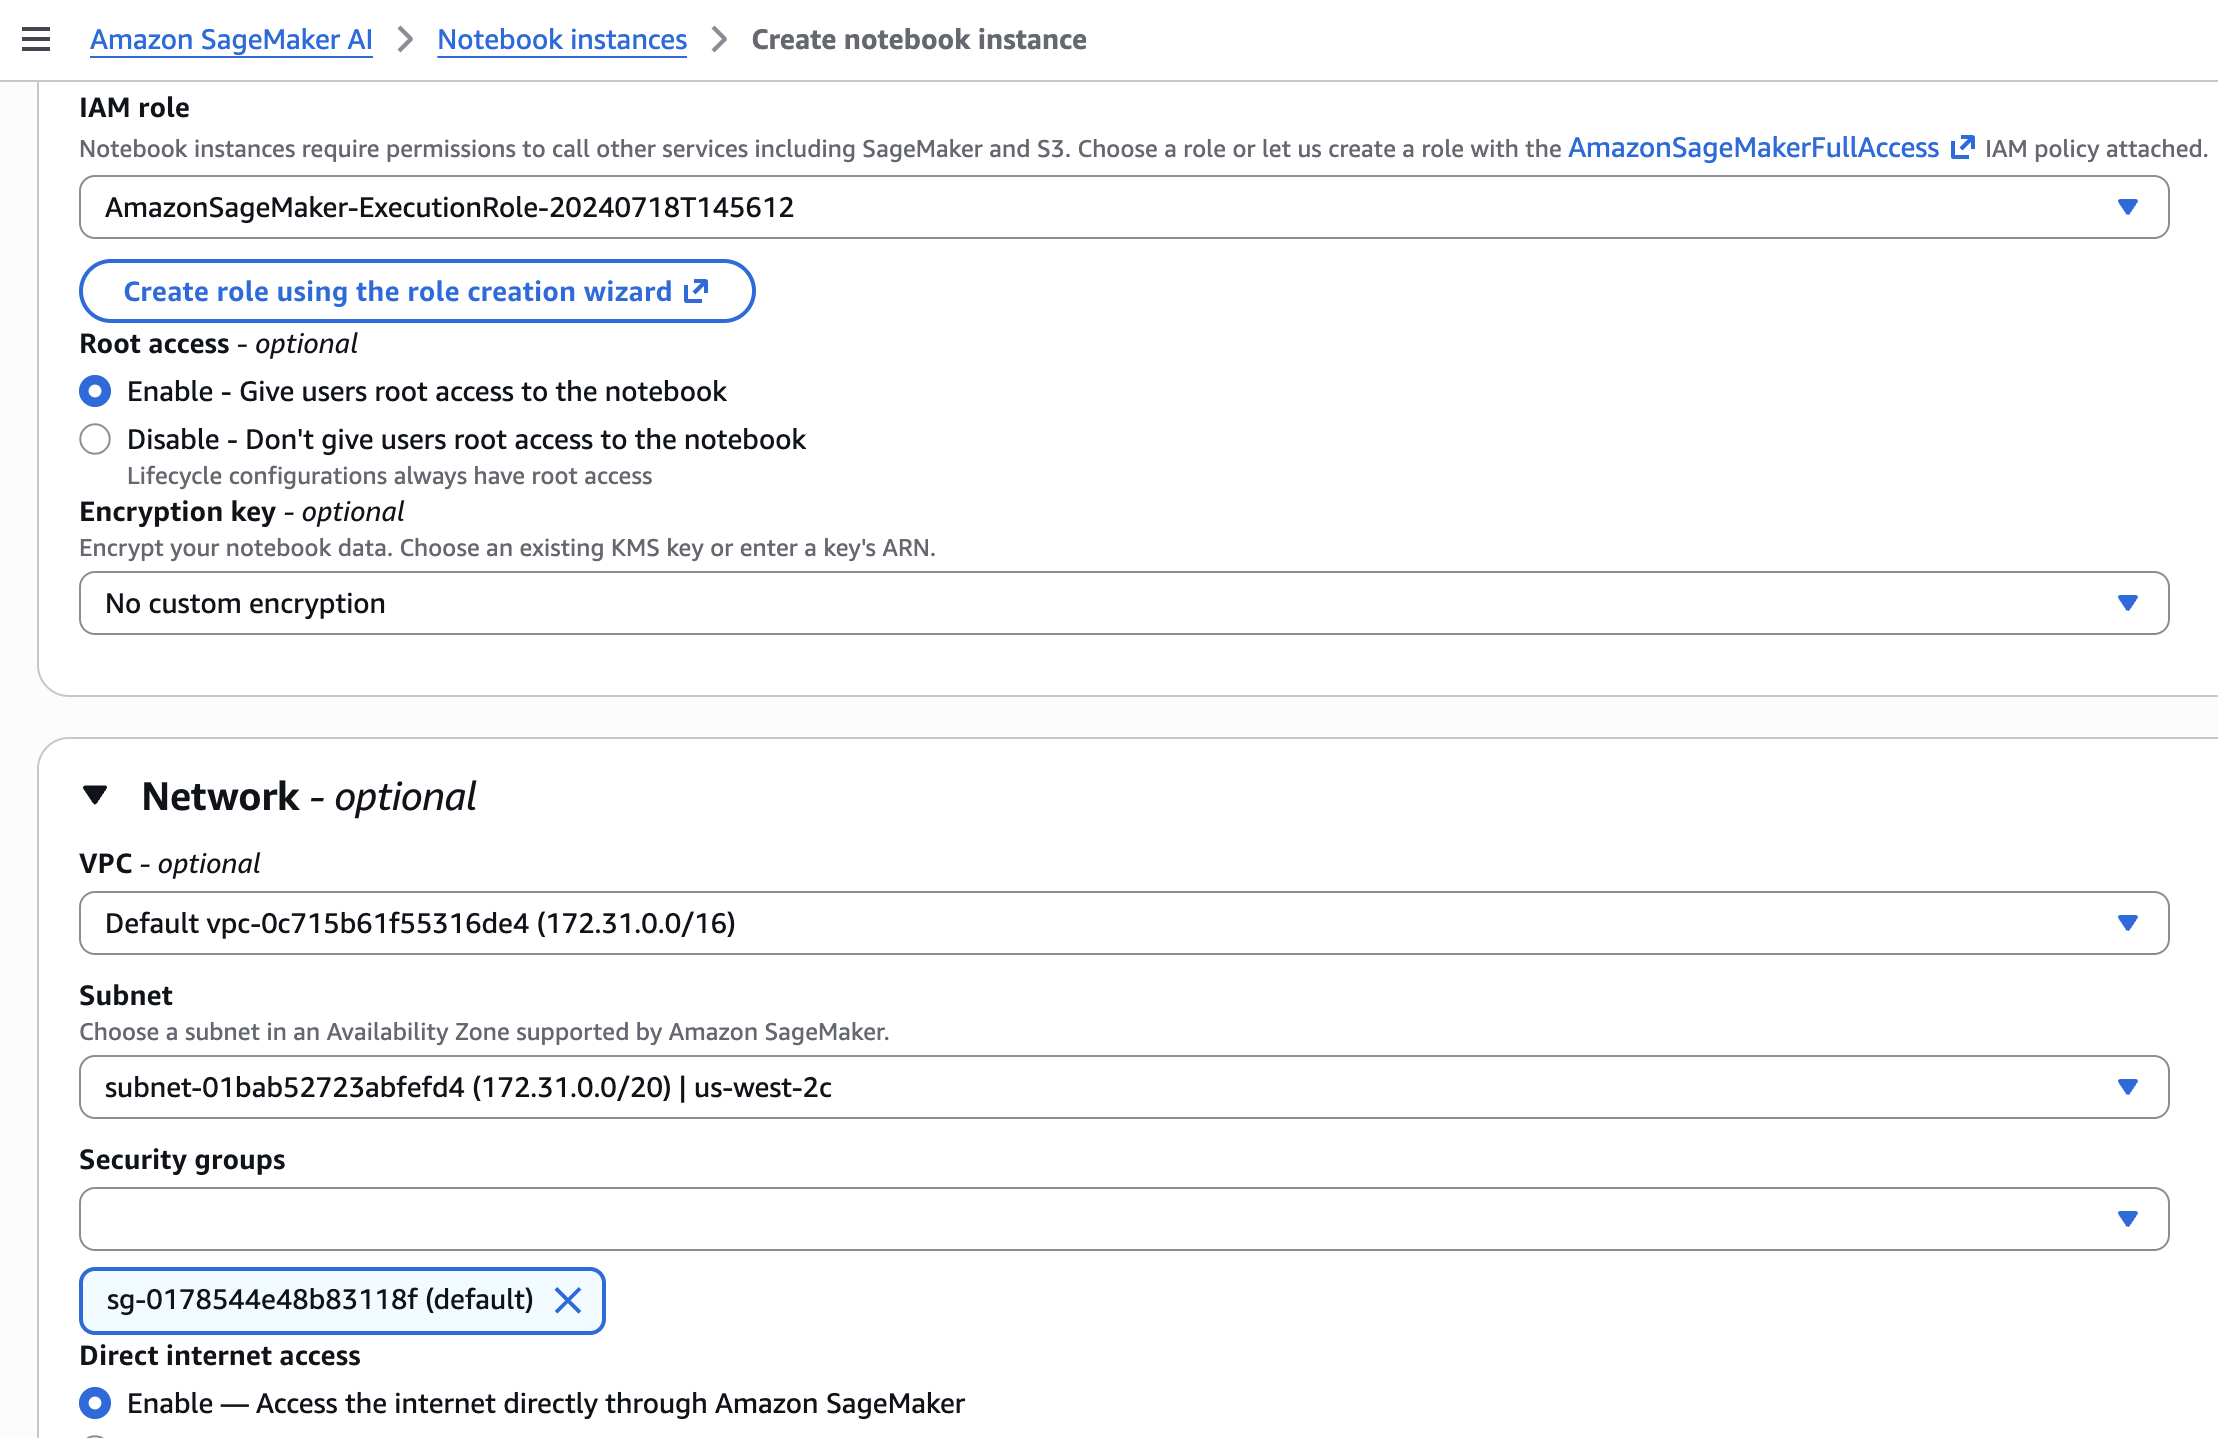
Amazon Linux 2, Jupyter Lab 4for the Platform identifier and select the lifecycle configuration created in step 3.Under Permissions and encryption, select the IAM execution role that has S3 access.
Under Network, select your VPC, subnet, and the default security group. Enable Direct internet access so the lifecycle scripts can reach S3 and install packages.
-
Open the notebook
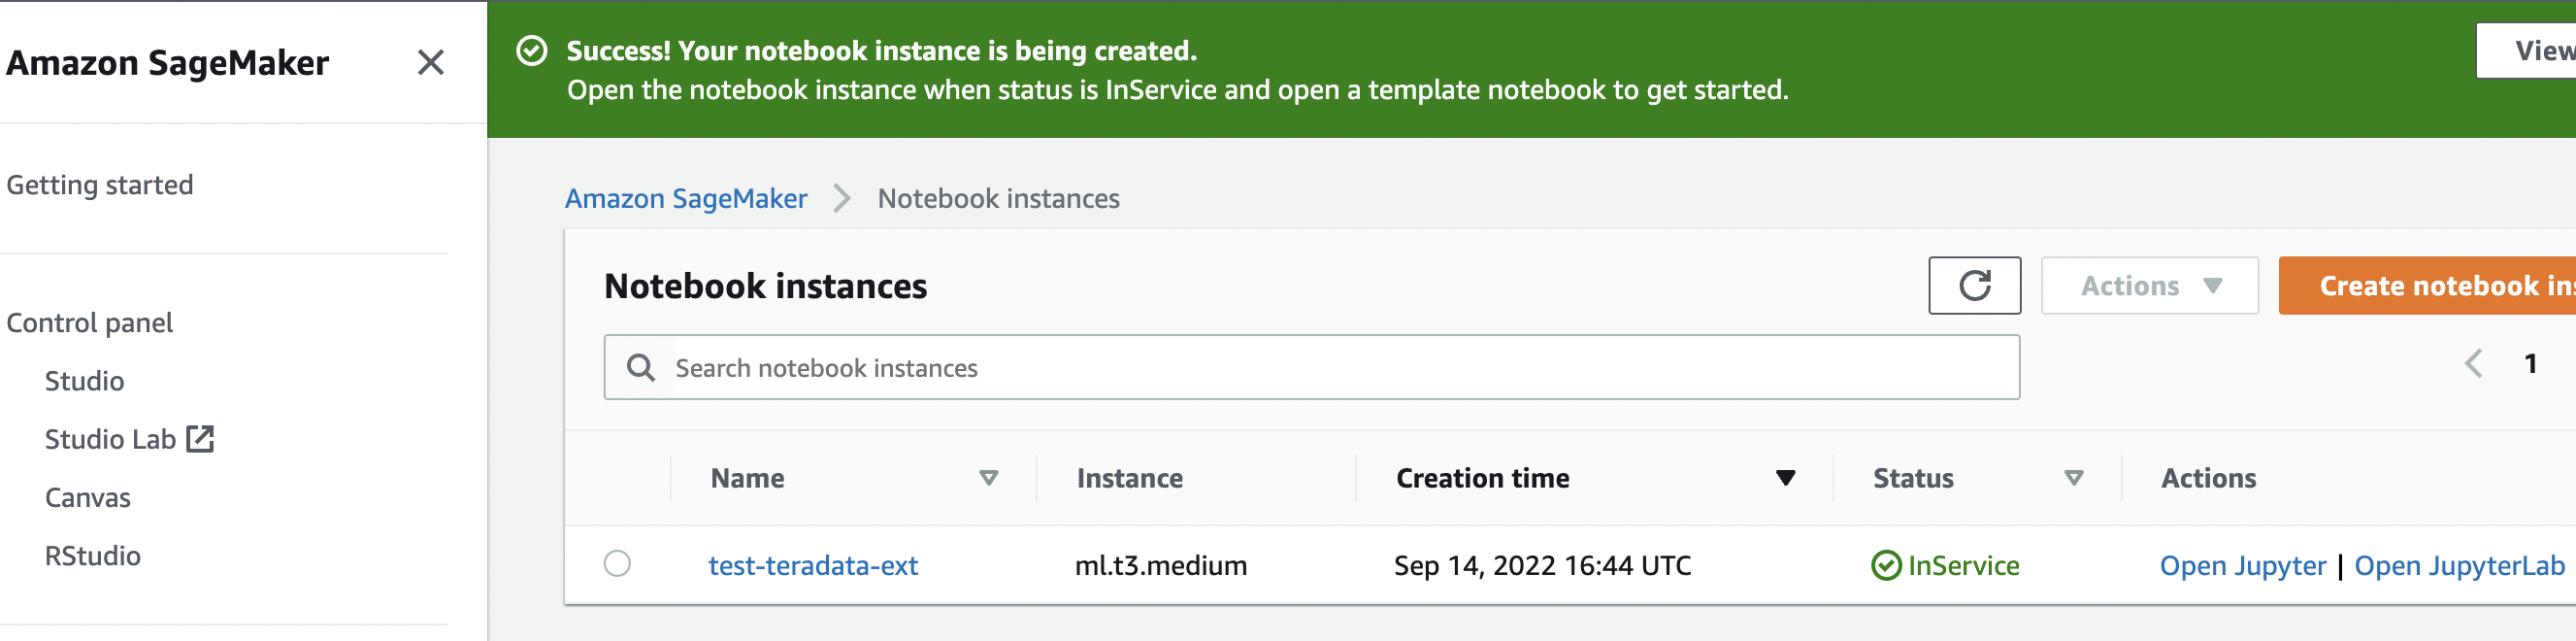
Wait until the notebook instance status turns InService, then click Open JupyterLab.
Access the demo notebooks to get started. Navigate to
custom-miniconda/teradata/notebooks/sql/GettingStarted.ipynb