Data Transfer from AWS S3 to Teradata Using dagster-teradata
Overview
This document provides instructions and guidance for transferring data in CSV, JSON and Parquet formats from AWS S3 to Teradata using dagster-teradata. It outlines the setup, configuration and execution steps required to establish a seamless data transfer pipeline between these platforms.
Prerequisites
-
Access to a Teradata instance.
NoteIf you need a test instance of Teradata, you can provision one for free at https://www.teradata.com/try
-
Python 3.9 or higher, Python 3.12 is recommended.
-
uvpackage manager for Python environment management.
Setting Up the Project with uv
We'll use uv exclusively to manage dependencies and run commands. No manual venv activation is required.
Initialize a Dagster Project
We'll use uvx to scaffold a new Dagster project, which automatically creates a pyproject.toml to manage dependencies.
Create a New Dagster Project
Run the following command:
When prompted, respond y to run uv sync which will set up the isolated environment and install all dependencies:
This command will create a new project named dagster-teradata-s3 with the following directory structure:
Refer to Dagster documentation to learn more about this directory structure.
Update pyproject.toml with Additional Dependencies
Open pyproject.toml in the project root and ensure the dependencies section includes the required packages:
Sync the dependencies:
Step 1: Open definitions.py in src/dagster_teradata_s3/ Directory
Locate and open the file at src/dagster_teradata_s3/definitions.py where Dagster job definitions are configured.
This file manages resources, jobs, and assets needed for the Dagster project.
Step 2: Implement AWS S3 to Teradata Transfer in Dagster
Replace the contents of src/dagster_teradata_s3/definitions.py with the following code:
Explanation of the Code
- Resource Configuration for S3 and Teradata:
- The code configures resources for interacting with S3 and Teradata.
- The
S3Resourcecan be created with AWS credentials (access key, secret key, and session token) from environment variables. These credentials are optional for public buckets but become required when transitioning to private buckets in production. - The
TeradataResourceis set up with connection details (host, user, password, database) for Teradata from environment variables.
- Defining Operations:
drop_existing_table: This operation uses the Teradata resource to drop the "people" table in Teradata. Error handling is included to catch and log any exceptions.ingest_s3_to_teradata: This operation checks if the "Tables Dropped" status was returned from the previous operation. If true, it ingests data from an S3 bucket to the Teradata tablepeopleusing the S3 resource. Thepublic_bucket=Trueparameter indicates that the S3 bucket is configured as public, meaning it can be accessed without authentication. If the table wasn't dropped, it raises an error. Error handling is included for robust operation.- To use a different table name, replace
"people"with your table name throughout the code and update your Teradata schema accordingly.
- Job Execution:
- The
example_jobis defined to execute the two operations sequentially: first, drop the existing table, and then ingest data from S3 to Teradata. - The job is registered under the
Definitionsobject for execution within the Dagster environment.
Preparing Your Data
Before running the pipeline, we need to prepare our AWS S3 environment with sample data.
Create an S3 Bucket
- Go to AWS Management Console and navigate to S3.
- Click Create bucket and provide:
- Bucket name: Your preferred name
- Region: Choose your preferred AWS region (e.g., us-west-2)
- Click Create bucket.
Upload Sample Data
- In your S3 bucket, create a folder named
data. - Prepare your data file in CSV, JSON, or Parquet format with columns matching your Teradata table schema.
- For testing, we recommend a simple CSV file with columns:
id,name,email,city.
Sample CSV Content:
Create a file named sample_data.csv with the following content:
- Upload the file to
s3://your-bucket/data/sample_data.csv.
Set Environment Variables
Set the following environment variables for your pipeline:
- Windows
- MacOS/Linux
Run in PowerShell:
Note on AWS Credentials: Since this guide uses a public S3 bucket (public_bucket=True), AWS credentials are not required. The pipeline accesses the public bucket directly from Teradata. (AWS credentials become required when using private buckets — see "Public vs Private S3 Buckets" section.)
Important:
- Do NOT repeat the bucket name in the path
- The path component starts directly after
.amazonaws.com/ - While region is optional for public buckets, including it is a best practice
Prepare Teradata
Execute the following SQL commands in your Teradata instance to create the target database and table:
Note: If the database already exists, you may see error 5612. If the table already exists, you may see error 3803. Both are safe to ignore if you're just verifying the setup.
Running the Pipeline
After setting up the project and preparing the data, we can now run our Dagster pipeline:
- Start the Dagster Dev Server:
Run the following command from the project root:
The uv run command ensures that dg dev runs within the project's isolated environment defined in pyproject.toml. No manual venv activation is needed.
After executing the command, the Dagster logs will be displayed in the terminal. Once you see a message similar to:
The Dagster web server is running successfully.
Note:
dg devcreates an ephemeral instance by default. To persist your runs and assets across sessions, set theDAGSTER_HOMEenvironment variable before runninguv run dg dev:
Windows (PowerShell):
macOS/Linux:
- Access the Dagster UI:
Open a web browser and navigate to http://127.0.0.1:3000. This will open the Dagster UI where you can manage and monitor your pipelines.
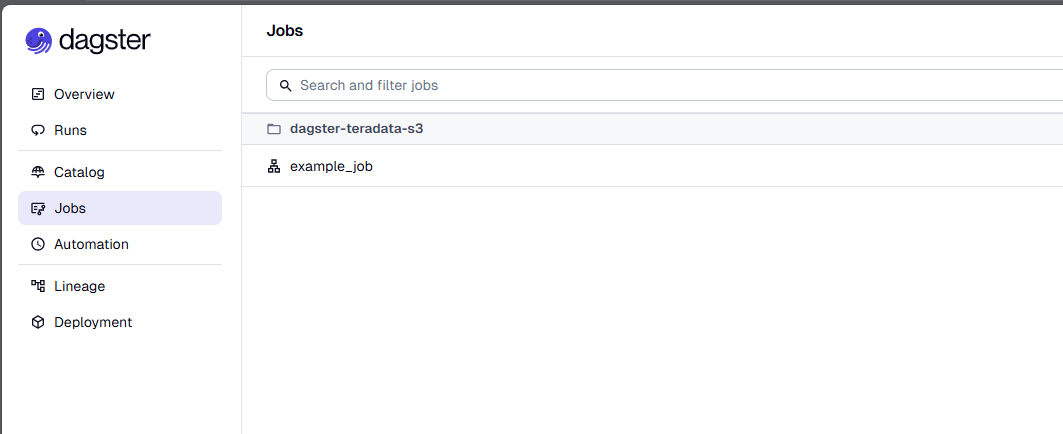
In the Dagster UI, in the jobs tab you will see the following:
- The job
example_jobis displayed, along with the associated assets. - The assets are organized under the "default" asset group.
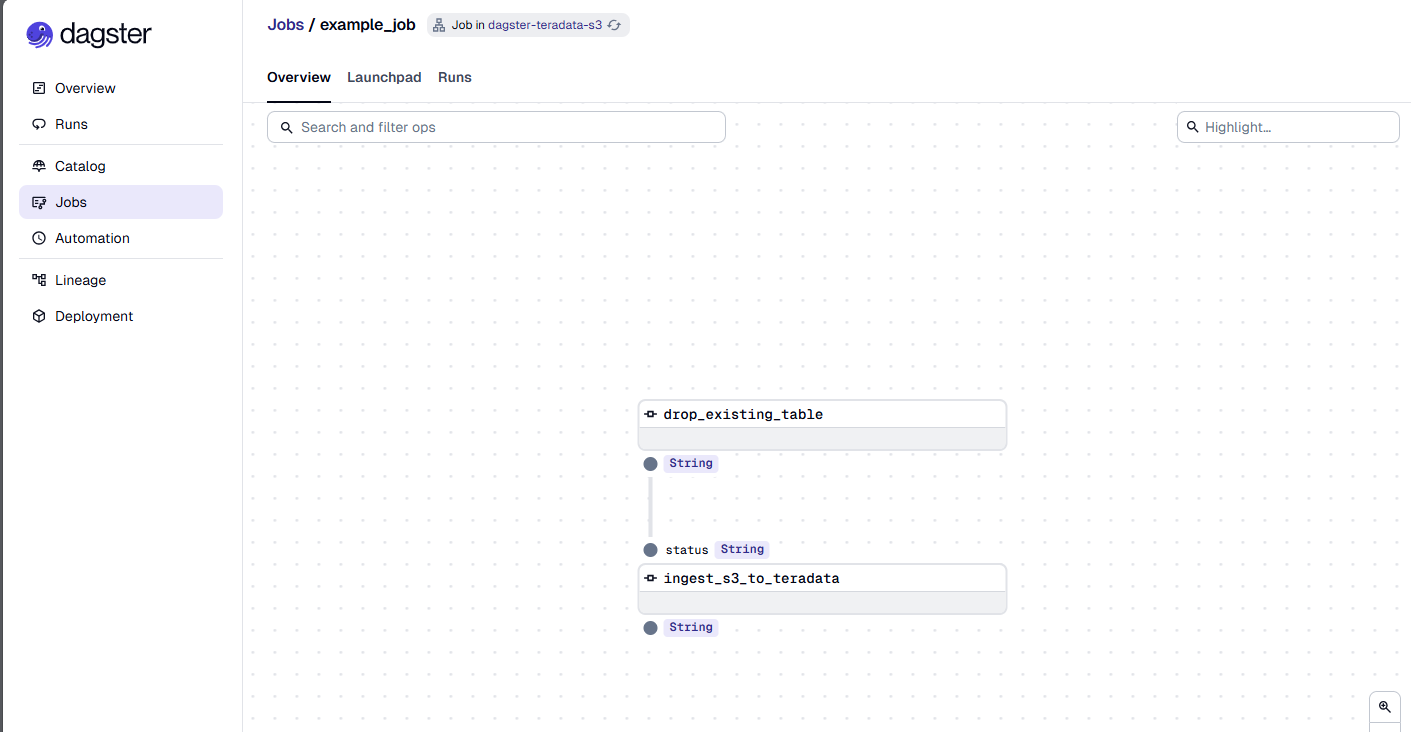
- In the middle, you can view the lineage of each
@op, showing its dependencies and how each operation is related to others.
- Launch the Job:
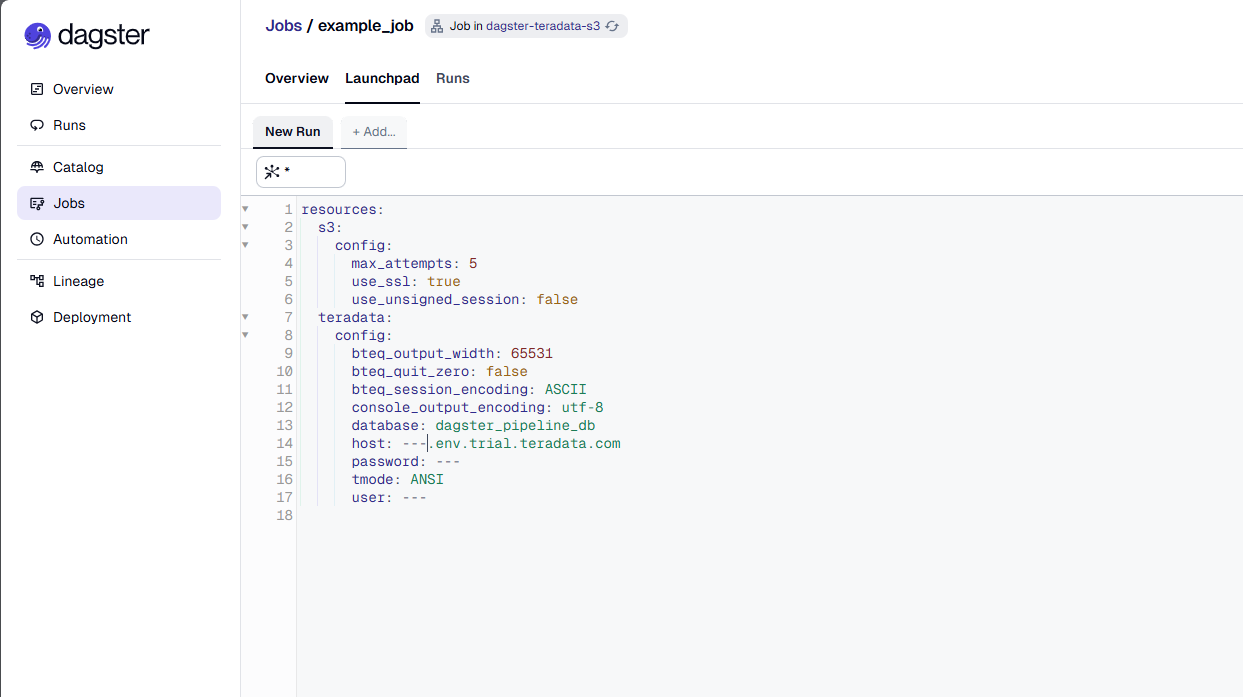
Go to the "Launchpad" tab. Your configuration values (host, user, password, database, AWS credentials) are already populated from the environment variables you set earlier. Simply click "Launch Run" to start the pipeline execution.
Tip: If you need to override any values at runtime, you can edit them in the Launchpad before launching. However, for most cases, the environment variables you set in step "Set Environment Variables" will be sufficient.
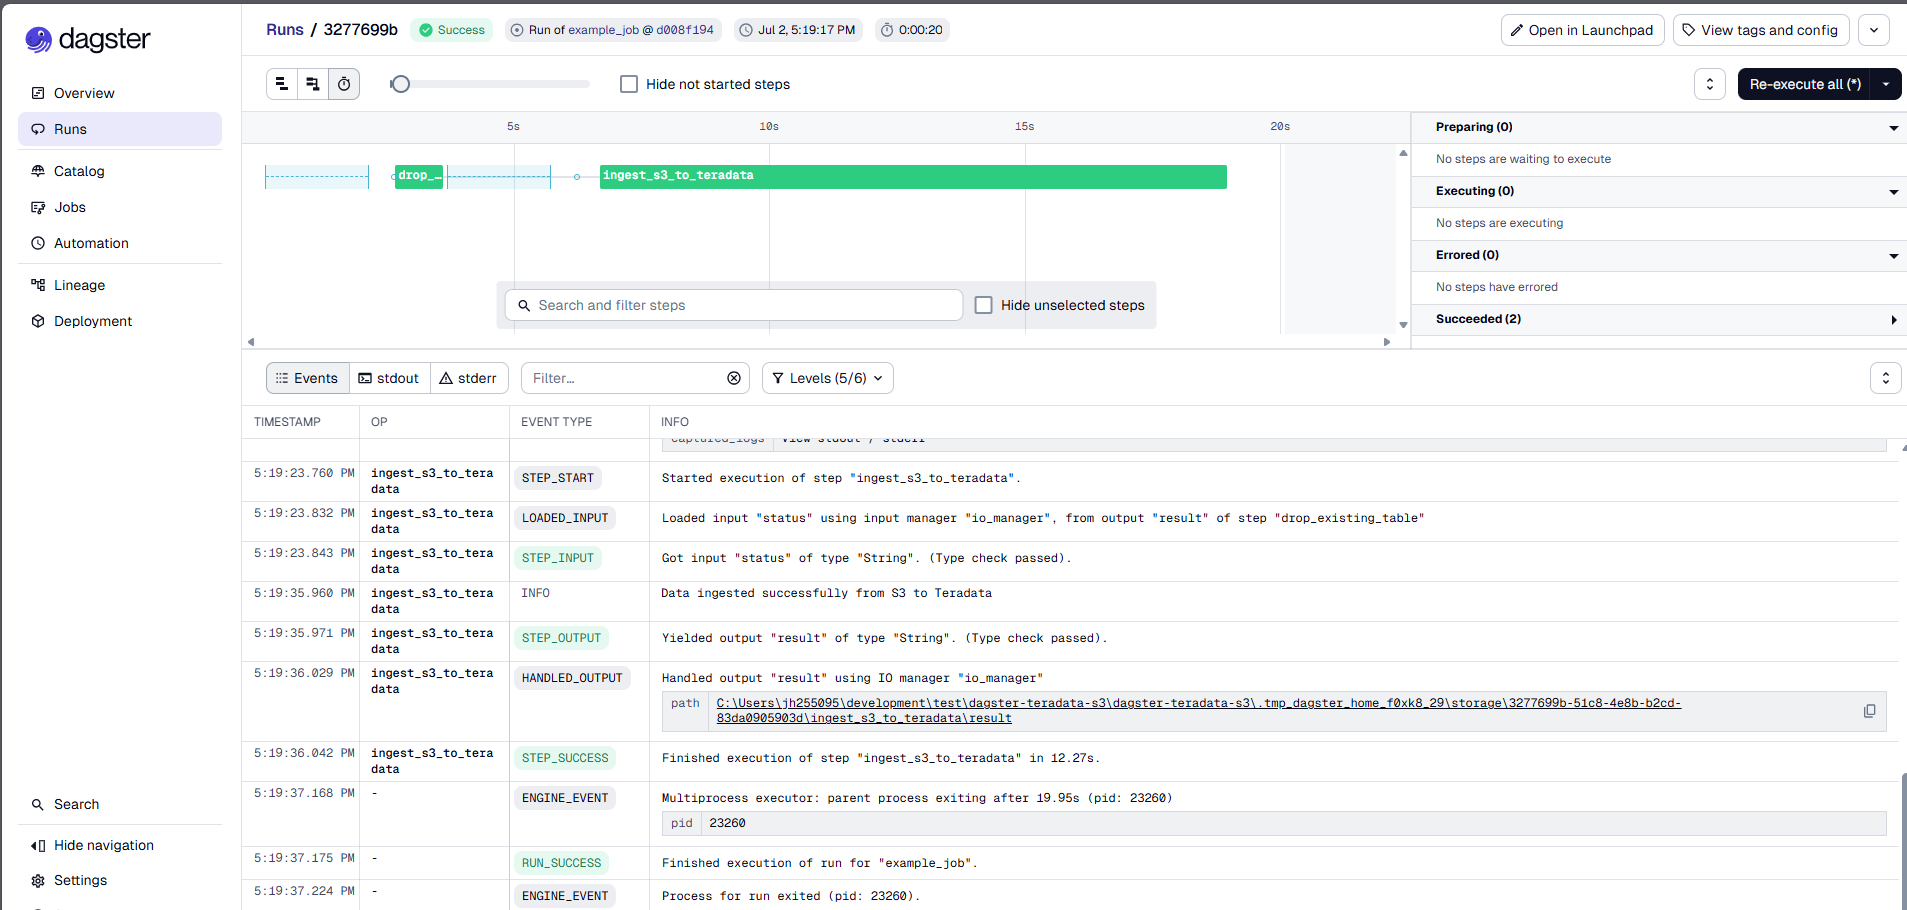
The Dagster UI allows us to visualize the pipeline's progress, view logs, and inspect the status of each step.
Public vs Private S3 Buckets
This guide uses a public S3 bucket (public_bucket=True) for simplicity and ease of testing. In this configuration:
- The S3 bucket is accessible publicly without requiring authentication
- Teradata can access the data directly via S3 URLs
- AUTHORIZATION object is NOT required
- Ideal for tutorials, demos, and non-sensitive data
For production environments with sensitive data, you should use a private S3 bucket (public_bucket=False). To implement private bucket access:
Configure a Private S3 Bucket
AWS Side:
- Set your S3 bucket to private (block all public access)
- Create IAM user credentials with S3 read permissions
- Optionally, create a bucket policy to restrict access
Reference:
Dagster/Teradata Side:
- Change
public_bucket=Falsein the code ("Step 2: Implement AWS S3 to Teradata Transfer") - Provide AWS credentials (access key, secret key) via environment variables
- Create a Teradata AUTHORIZATION object (see instructions below)
Creating a Teradata AUTHORIZATION Object for Private Buckets
An AUTHORIZATION object is a Teradata database object that securely stores AWS credentials and controls access to private S3 buckets through Teradata's Native Object Store (NOS).
Note on Syntax Variations: The exact SQL syntax for creating AUTHORIZATION objects varies significantly by Teradata version and configuration. The syntax provided below may not work on all instances.
Step 1: Gather AWS Credentials
You will need:
- AWS Access Key ID
- AWS Secret Access Key
- (Optional) AWS Session Token (if using temporary credentials)
Step 2: Create AUTHORIZATION Object
The exact SQL syntax depends on your Teradata version. Consult your Teradata administrator or the official Teradata documentation for the correct syntax for your specific environment.
For reference, here are common syntax patterns (verify with your Teradata documentation):
IMPORTANT: Test the CREATE AUTHORIZATION syntax in your environment before using it in production. If you encounter syntax errors, consult:
- Your Teradata administrator
- Teradata Native Object Store Getting Started Guide
- Teradata NOS Documentation
Step 3: Reference AUTHORIZATION in Dagster Code
Update the ingest_s3_to_teradata() operation to use the AUTHORIZATION object:
Important Security Notes:
- Do NOT hard-code AWS credentials directly in your Python code
- Always use environment variables or Dagster Secrets for sensitive values
- Rotate credentials regularly and update the AUTHORIZATION object
- Use IAM roles instead of access keys when possible
Reference:
Arguments Supported by s3_blob_to_teradata
-
s3 (S3Resource):
TheS3Resourceobject used to interact with the S3 bucket. -
s3_source_key (str):
The URI specifying the location of the S3 bucket. The URI format is:
/s3/YOUR-BUCKET.s3.amazonaws.com/YOUR-BUCKET-NAME
For more details, refer to:
Teradata Documentation - Native Object Store -
teradata_table (str):
The name of the Teradata table to which the data will be loaded. -
public_bucket (bool):
Indicates whether the provided S3 bucket is public. IfTrue, the objects within the bucket can be accessed via a URL without authentication. IfFalse, the bucket is considered private, and authentication must be provided.
Defaults toFalse. -
teradata_authorization_name (str):
The name of the Teradata Authorization Database Object, which controls access to the S3 object store.
For more details, refer to:
Teradata Native Object Store - Setting Up Access
Summary
This guide details the utilization of the dagster-teradata to seamlessly transfer CSV, JSON, and Parquet data from AWS S3 Storage to Teradata, facilitating streamlined data operations between these platforms.