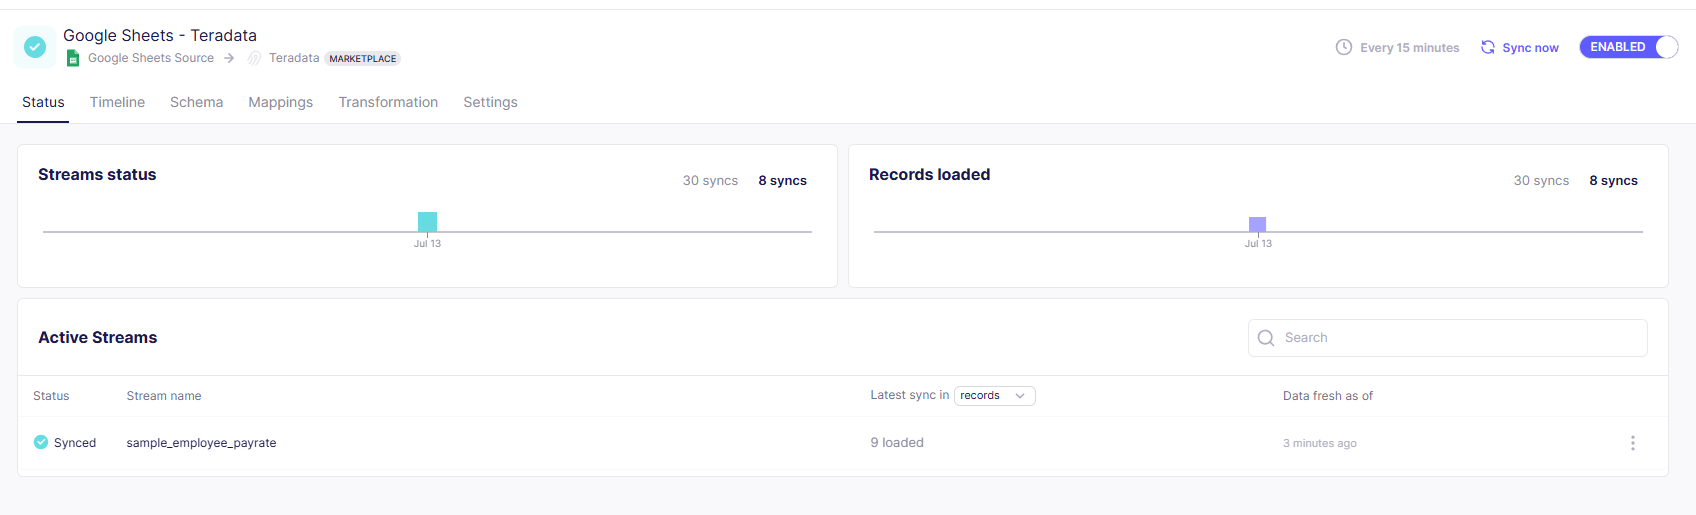
Manage ELT pipelines as code with Terraform and Airbyte on Teradata
Overview
This quickstart explains how to use Terraform to manage Airbyte data pipelines as code. Instead of manual configurations through the WebUI, we'll use code to create and manage Airbyte resources. The provided example illustrates a basic ELT pipeline from Google Sheets to Teradata using Airbyte's Terraform provider.
The Airbyte Terraform provider is available for users on Airbyte Cloud, OSS, and Self-Managed Enterprise. This guide covers Airbyte Cloud setup. For OSS or Self-Managed Enterprise deployments, refer to Airbyte's documentation.
Watch this concise explanation of how this integration works (for the specific code refer to the examples below, the provider has been updated since the video was published):
Introduction
Terraform is a leading open-source tool in the Infrastructure as Code (IaC) space. It enables the automated provisioning and management of infrastructure, cloud platforms, and services via configuration files, instead of manual setup. Terraform uses plugins, known as Terraform providers, to communicate with infrastructure hosts, cloud providers, APIs, and SaaS platforms.
Airbyte, the data integration platform, has a Terraform provider that communicates directly with Airbyte's API. This allows data engineers to manage Airbyte configurations, enforce version control, and apply good data engineering practices within our ELT pipelines.
Prerequisites
-
Airbyte Cloud Account. Start with a 30-day free trial that begins after the first successful sync.
-
Teradata Instance. You will need a database
host,username, andpasswordfor Airbyte's Terraform configuration. -
Source Data. For demonstration purposes, we will use a sample Google Sheets.
- Open the shared spreadsheet link.
- Click File → Make a copy.
- Save the copy to your Google Drive.
- Note the spreadsheet URL:
https://docs.google.com/spreadsheets/d/spreadsheetid/edit.
-
You will need a service account key from Google API Service. Follow the instructions from Airbyte Documentation
Install Terraform
- Apply the respective commands to install Terraform on your operating system. Find additional options on the Terraform documentation.
- MacOS
- Windows
- Linux
First, install the HashiCorp tap, a repository of all Homebrew packages.
Next, install Terraform with hashicorp/tap/terraform.
Chocolatey is a free and open-source package management system for Windows. Install the Terraform package from the command-line.
Environment Preparation
Prepare the environment by creating a directory for the Terraform configuration and initializing two files: main.tf and variables.tf.
Define a Data Pipeline
Define the data source, destination, and connection within the main.tf file. Open the newly created main.tf file in Visual Studio Code or any preferred code editor.
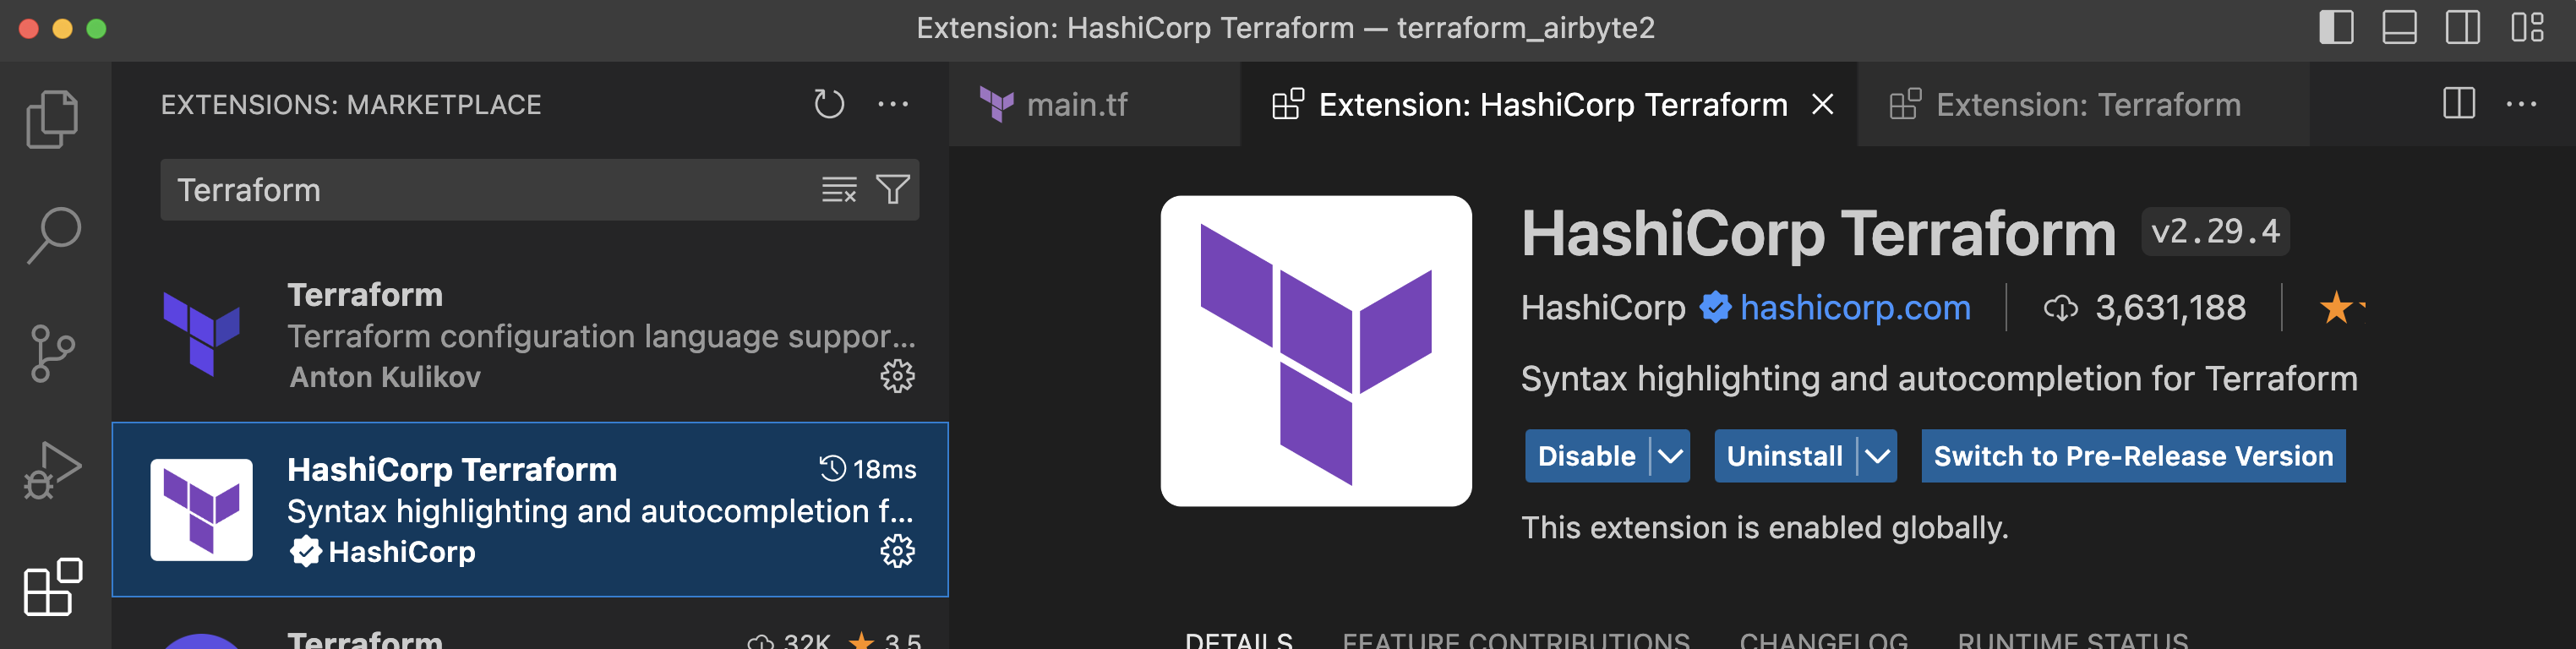
- If using Visual Studio Code, install HashiCorp Terraform Extensions to add autocompletion and syntax highlighting.
Populate the main.tf file with the template provided:
Note that this example uses a cron expression to schedule the data transfer to run every 15 minutes.
In our main.tf file, we reference variables that are held in the variables.tf file, including the API key, workspace ID, Google Sheets ID, Google private key, and Teradata credentials. We will populate sensitive credentials to a terraform.tfvars file that we will not commit to version control.
Configuring the variables.tf File
Sample Terraform .tfvars File
We will need a terraform.tfvars file with the following structure:
Understanding Terraform State
Before executing your Terraform configuration, it's important to understand how Terraform manages state.
The terraform.tfstate file is created after running terraform apply for the first time. This file tracks the status of all sources, destinations, and connections managed by Terraform — it serves as a snapshot of your infrastructure's current state.
Important: Do not modify the .tfstate file manually. Terraform relies on this file to determine what changes are needed between your configuration files and the actual infrastructure.
For subsequent executions of terraform apply, Terraform compares the code in the main.tf file with the state stored in the .tfstate file. If you add or remove resources in main.tf, Terraform automatically updates both your deployment and the .tfstate file accordingly.
Best practice for version control: If you're using CI/CD or collaborating with team members, do not commit the .tfstate file to version control. Instead, use remote state storage (such as Terraform Cloud, S3, or Azure Blob Storage) to manage state securely across your team.
Execution Commands
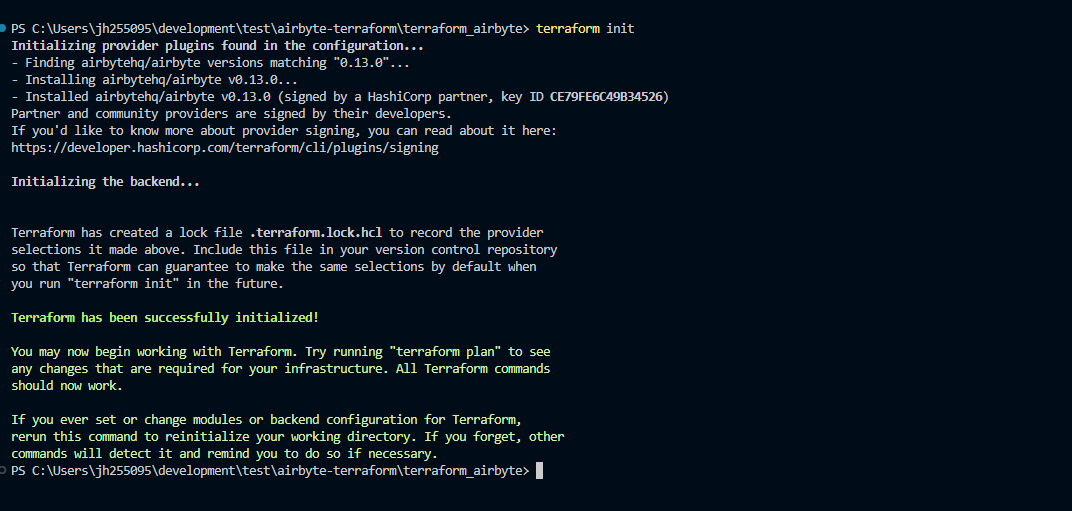
Run terraform init to pull down the provider plugin from the Terraform provider registry and initialize a working Terraform directory.
This command should only be run after writing a new Terraform configuration or cloning an existing configuration from version control.
Run terraform validate to validate your Terraform configuration.

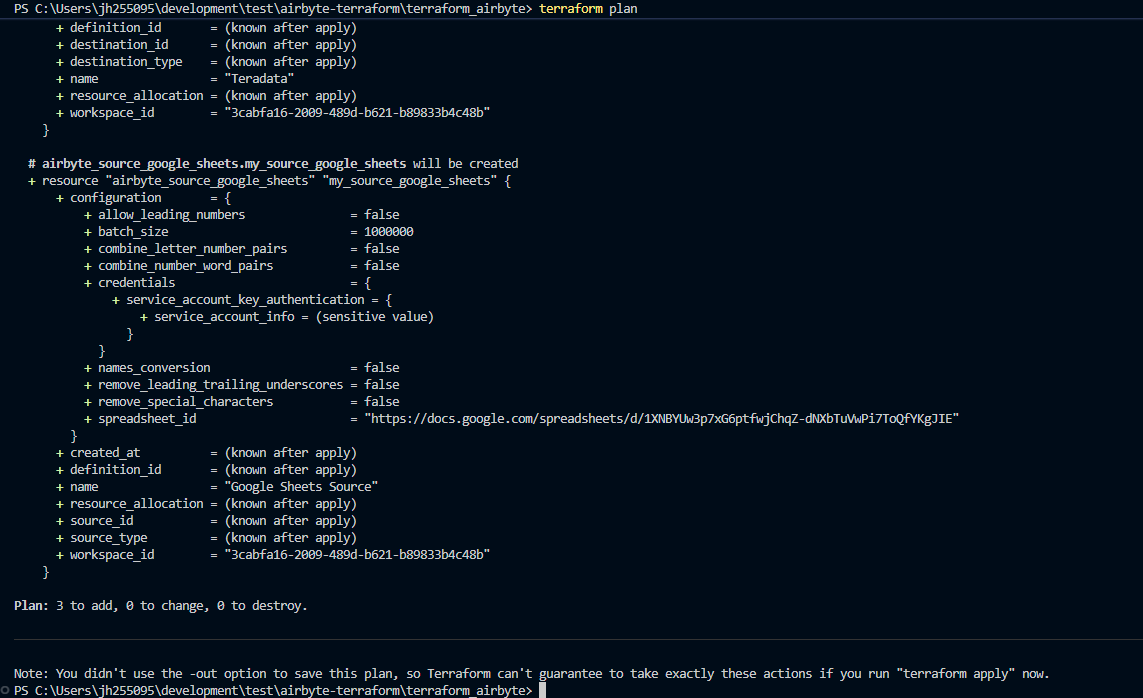
Run terraform plan to display the execution plan that Terraform will use to create resources and make modifications to infrastructure.
For this example, a plan for 3 new resources is created:
Connection: # airbyte_connection.googlesheets_teradata will be created
Destination: # airbyte_destination_teradata will be created
Source: # airbyte_source_google_sheets.my_source_gsheets will be created
Run terraform apply, then enter yes to create a plan and carry out the plan.
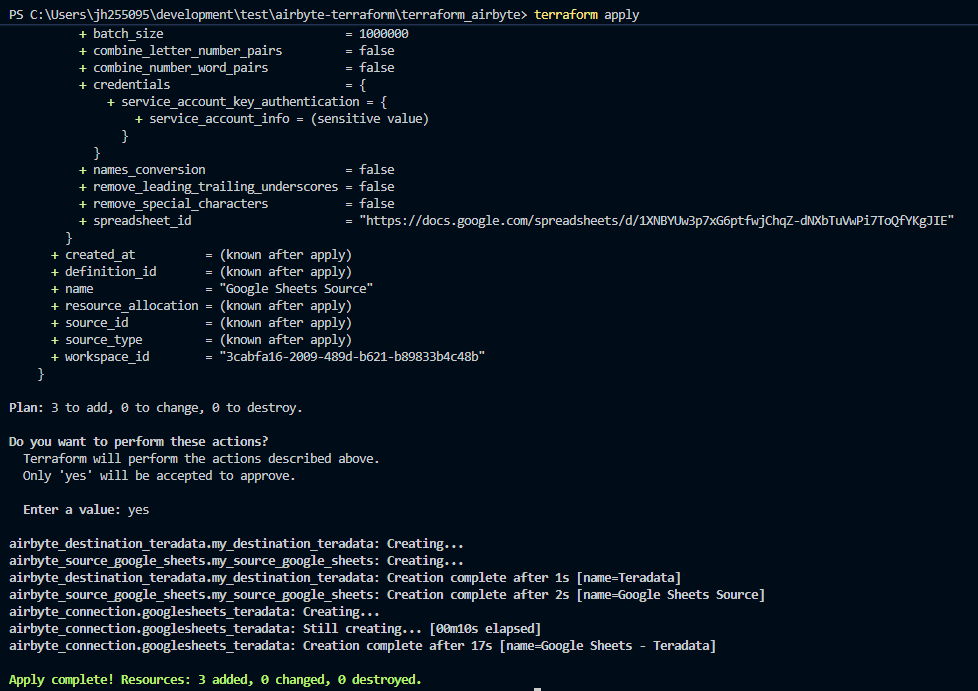
We now have a source, destination, and connection on Airbyte Cloud created and managed via Terraform.