Automate Data Movement and Transformation with Airflow, Airbyte, and dbt in Teradata
Overview
This quickstart demonstrates how to leverage Apache Airflow as an orchestration tool to automate data movement to Teradata using Airbyte. Once the data is in Teradata, dbt performs transformations, ensuring the data is clean, reliable, and ready for analysis.
Prerequisites
-
Access to a Teradata Vantage instance.
NoteIf you need a test instance of Teradata, you can provision one for free at https://www.teradata.com/try
-
Python 3.10 or later installed.
System Requirements:
- RAM: Minimum 4GB (8GB recommended for smooth execution)
- CPU: Minimum 2 cores (4+ cores recommended)
- Disk space: Minimum 10GB free (for Docker volumes and Airbyte/Airflow data)
- Network: Stable internet connection for Docker image pulls and external data source access
For Windows users: This quickstart is designed to run on macOS, Linux, or Windows using WSL (Windows Subsystem for Linux).
- Ensure Docker Desktop is installed and running.
- In Docker Desktop Settings, go to Resources > WSL Integration and enable integration for your WSL distribution.
- Restart Docker Desktop for changes to take effect.
- Verify Docker is accessible from WSL by running
wsl -d Ubuntu -- docker --version(replace "Ubuntu" with your WSL distribution name). - If it is available, run WSL with
wsl -d Ubuntu
Known Issue: Docker Rate-Limiting
At the time of writing this quickstart, Airbyte installed with abctl performs unauthenticated pulls even if Docker credentials are provided: https://github.com/airbytehq/airbyte/issues/46309. Since Docker limits unauthenticated pulls, a 429 Too Many Requests error may occur. If you encounter this error, launch Airbyte using the run-ab-platform.sh script as described in the Airbyte quickstart.
Demo project setup
- Clone the tutorial repository:
- Navigate to the directory:
Open the code in your preferred IDE.
Airbyte setup
-
Install Airbyte according to the instructions in the Airbyte Quickstart.
-
After installing Airbyte OSS locally using
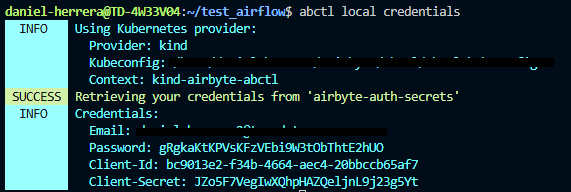
abctl, generate and copy the credentials:
The output displays your Airbyte credentials. Copy all the values, specifically Client ID and Client Secret.
You can also run the following commands to set a custom email and password:
-
Launch the Airbyte UI by opening http://localhost:8000/ in your preferred browser.
- You might see a "Sign in to access this site" message; ignore it by clicking "Cancel".
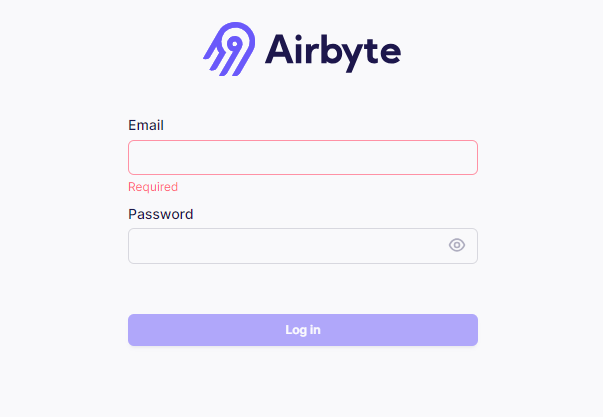
- Log in with the credentials from the previous step.
-
Create a source:
- Go to the Sources tab and click + New source.
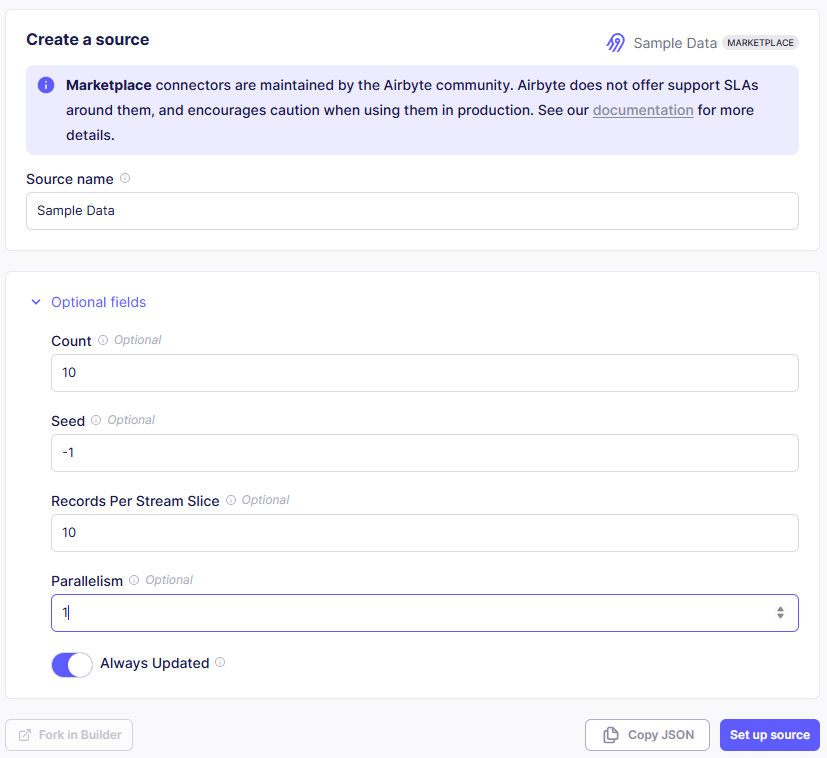
- Search for "Sample Data" using the search bar and select Sample Data.
- Adjust the Count and optional fields as needed for your use case, or leave the defaults.
- Click Set up source.
-
Create a destination:
- Go to the Destinations tab and click + New destination.
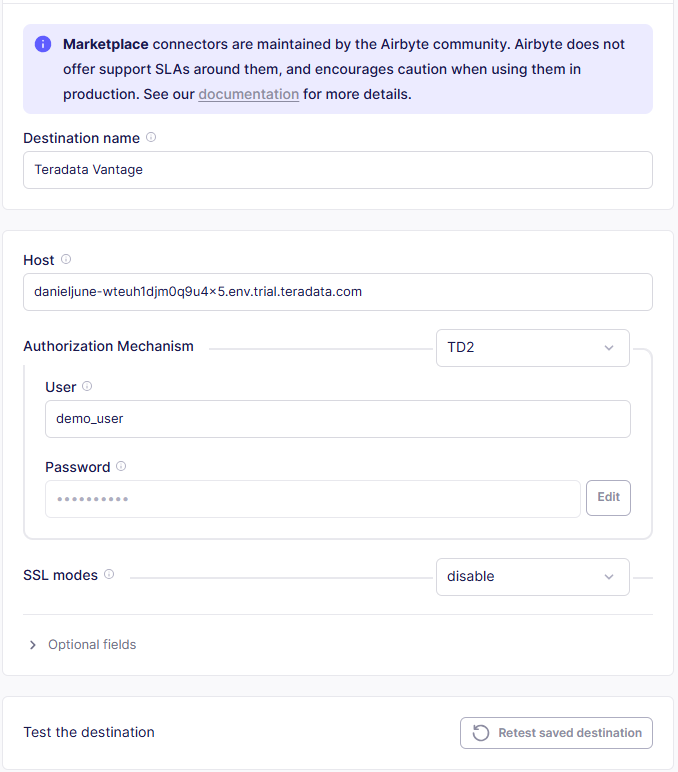
- Search for "Teradata" using the search bar and select Teradata Vantage.
- Enter the connection details:
- Host: Your Teradata instance hostname
- Authorization mechanism: For trials, use TD2
- User: Your Teradata username
- Password: Your Teradata instance password
- You can change the default schema in the optional fields, or leave the defaults.
- Click Set up destination.
-
Create a connection:
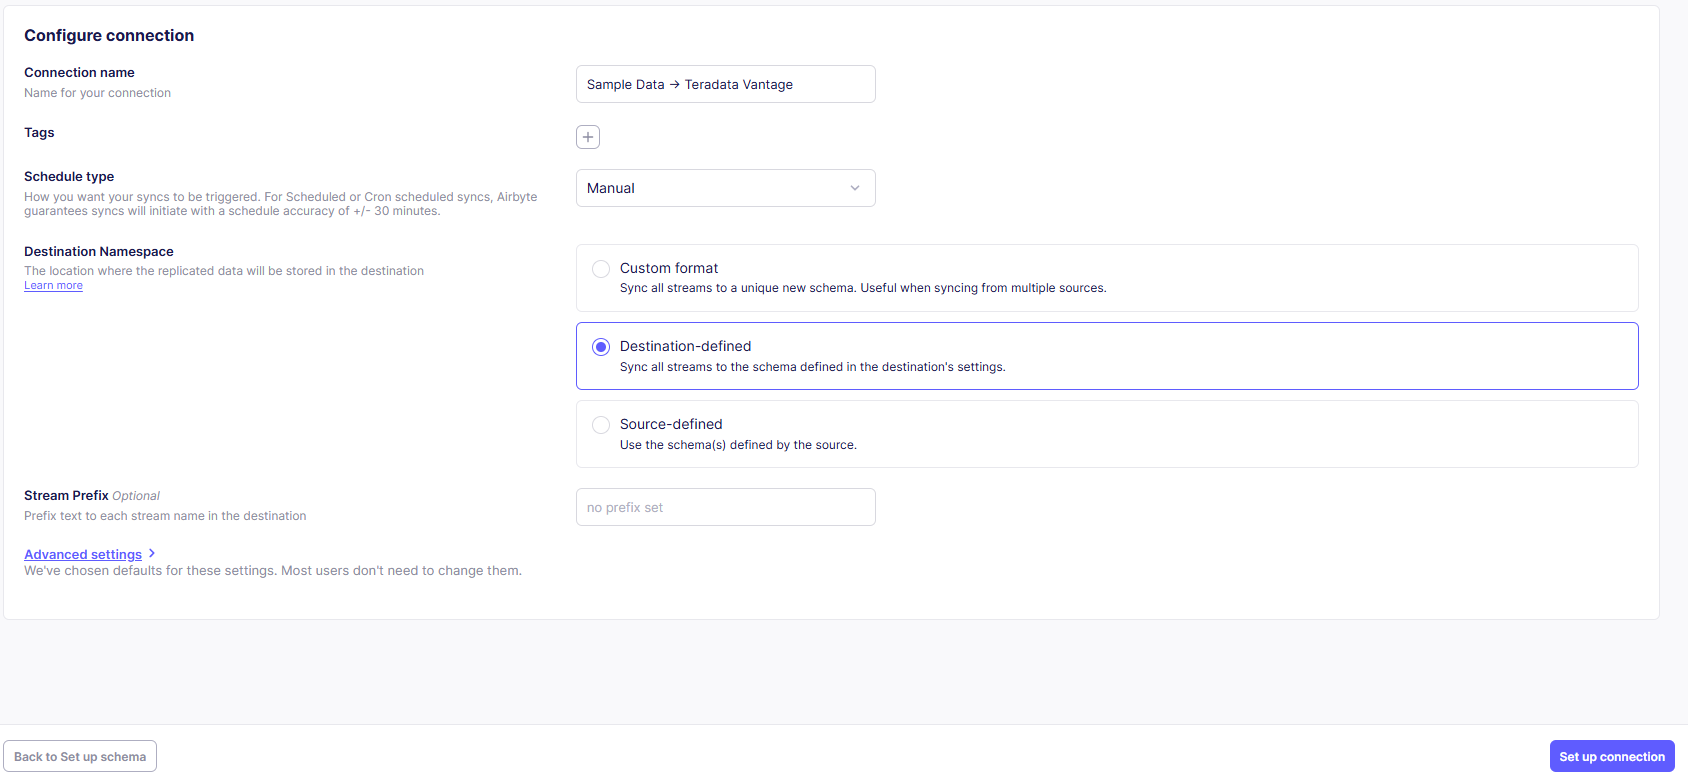
- Go to the Connections tab and click + New connection.
- Select the source and destination you just created.
- Enter the connection details as needed.
- Click Set up connection.
Airflow setup
Airflow is at the center of this tutorial. It is responsible for orchestrating Airbyte to move data to Teradata and triggering dbt to transform the data.
-
Rename the file from
.env.exampleto.env.- On Linux/WSL, ensure
AIRFLOW_UIDin.envmatches your host user id (for example,1000). - For Airflow 3, set the following two variables in
.env(they are included in.env.exampleas placeholders):AIRFLOW__API_AUTH__JWT_SECRETAIRFLOW__API__SECRET_KEY
- Why these are required:
AIRFLOW__API_AUTH__JWT_SECRETis used to sign and validate Execution API JWTs exchanged between Airflow services (webserver, scheduler, worker, dag-processor).AIRFLOW__API__SECRET_KEYis used to sign API/session-related data consistently across services.- If these values are missing or inconsistent between containers, tasks can fail with errors such as
Invalid auth tokenor JWT signature validation failures.
- How to define them:
- Use long random values and keep them identical for all Airflow services in the same deployment.
- Example generation commands:
- Then set the first output as
AIRFLOW__API_AUTH__JWT_SECRETand the second asAIRFLOW__API__SECRET_KEYin.env.
- On Linux/WSL, ensure
-
Build the custom Airflow image
-
Launch the Airflow container
This might take a few minutes initially as it sets up necessary databases and metadata.
-
Setting up Airflow Connections
Both Airbyte and dbt require connections to be set up in Airflow:
- Access the Airflow UI by navigating to
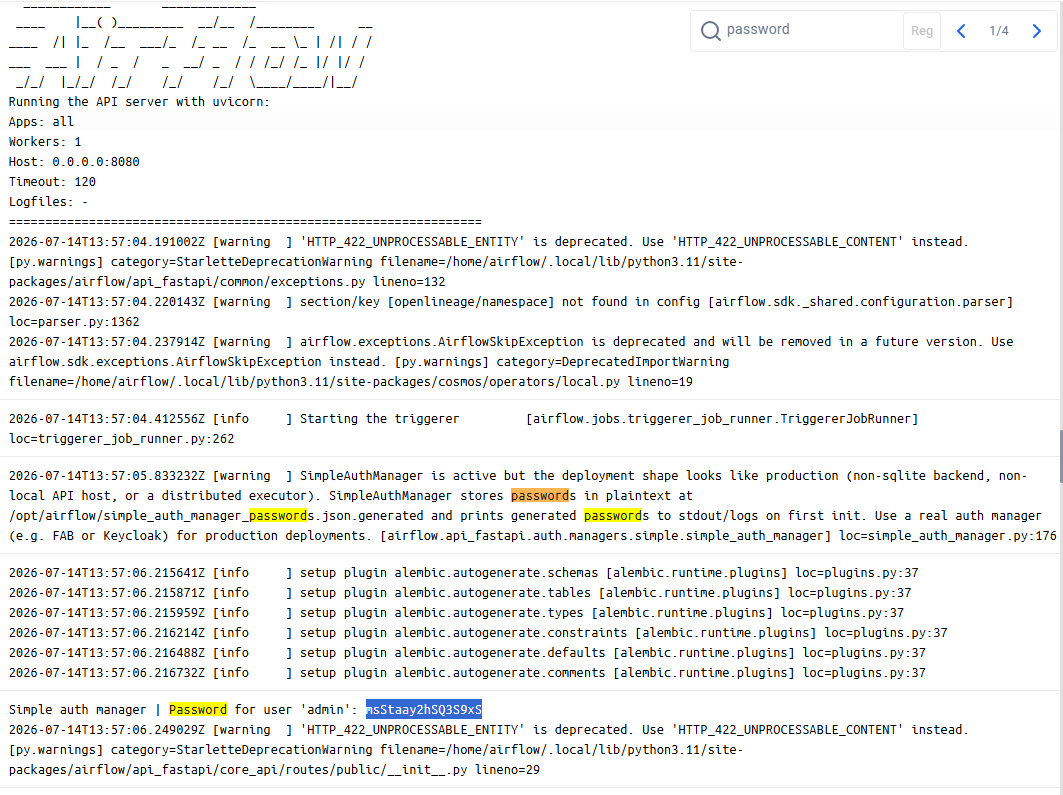
http://localhost:8080in your browser. - The Username is admin, the password is retrieved by searching on docker desktop logs.
-
Go to Admin > Connections.
-
Create Airbyte Connection
-
Go to Admin > Connections.
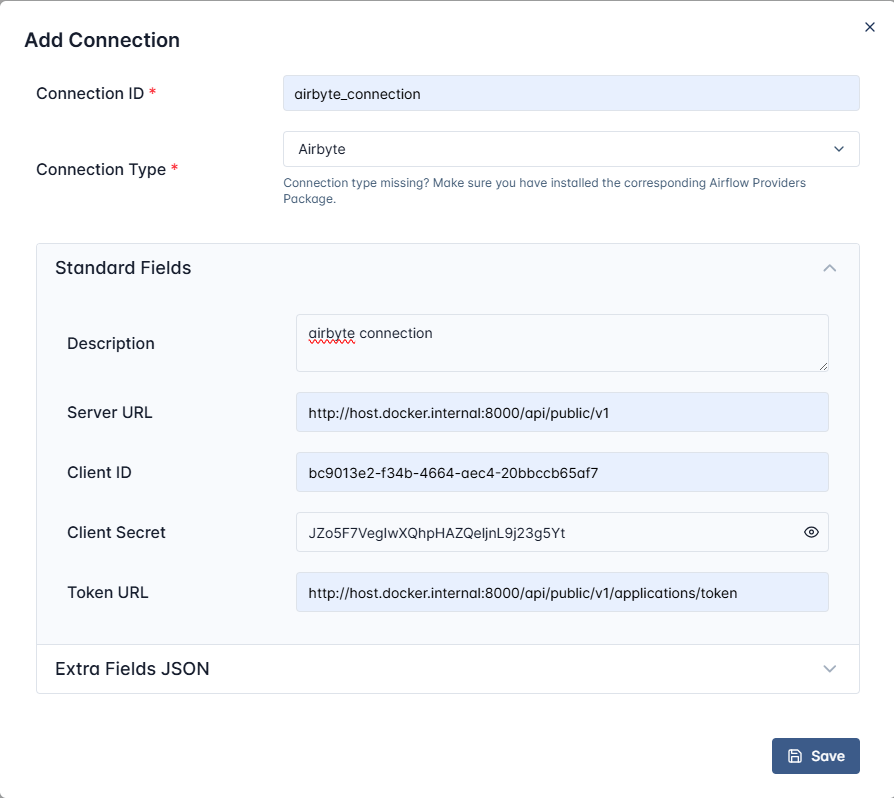
Click the + Add Connection button to create a new connection and fill in the following details:
- Connection Id: A unique ID for the Airbyte connection that will be used in DAGs to trigger Airbyte syncs. Name it
airbyte_connection. - Connection Type: Select
Airbyte. - Server URL: The URL of the Airbyte instance. For local setups, use
http://host.docker.internal:8000/api/public/v1. For remote instances, use the instance URL. - Client ID: Copy from the Airbyte credentials generated above.
- Client Secret: Copy from the Airbyte credentials generated above.
- Token URL: For local deployments, use
http://host.docker.internal:8000/api/public/v1/applications/token.
Click Save.
- Connection Id: A unique ID for the Airbyte connection that will be used in DAGs to trigger Airbyte syncs. Name it
-
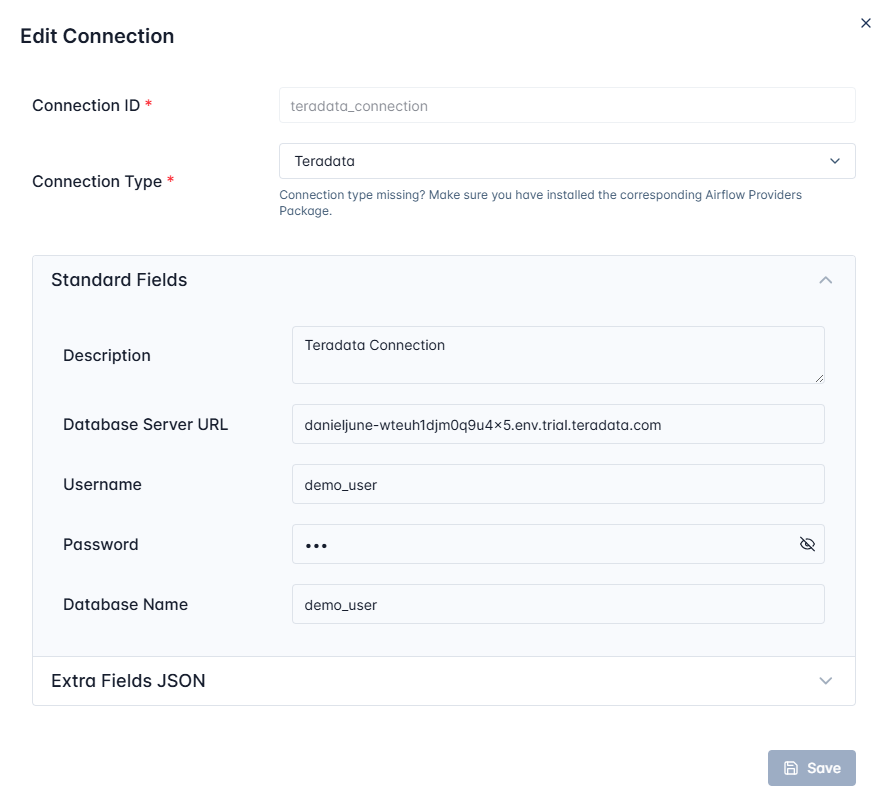
Create Teradata Connection
Click the
+button to create a new connection and fill in the following details:- Connection Id: A unique ID for the Teradata connection. Name it
teradata_connection. - Connection Type: Select Teradata.
- Database Server URL (required): The Teradata instance hostname to connect to.
- Username (required): Your Teradata username.
- Password (required): Your Teradata password.
- Database (optional): The name of the database to connect to. Specify
ecommerce.
Click Save.
- Connection Id: A unique ID for the Teradata connection. Name it
- Access the Airflow UI by navigating to
-
Link Airbyte connection to the Airflow DAG
The last step before executing the DAG in Airflow is to link the
connection_idfrom Airbyte:- Visit the Airbyte UI at http://localhost:8000/.
- In the Connections tab, select the Sample Data to Teradata connection and copy its connection ID from the URL.
- Update the
connection_idin theextract_datatask withinorchestration/airflow/dags/elt_dag.pywith this ID.
That's it! Airflow is now configured to work with dbt and Airbyte.
Orchestrating with Airflow
After verifying that all previous steps are working correctly, it's time to run your data pipeline.
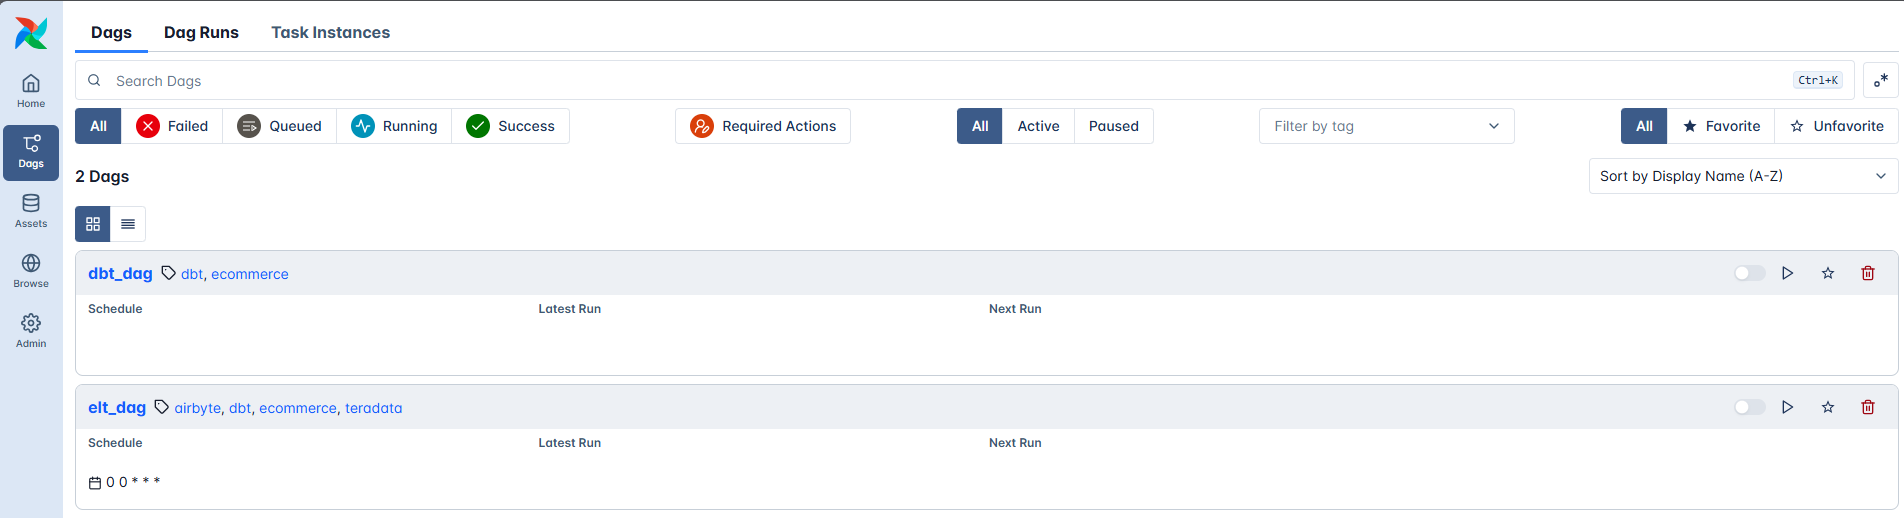
- In the Airflow UI, go to the DAGs section, locate
elt_dag, and click Trigger.- This initiates the complete data pipeline: Airbyte syncs data from Sample Data to Teradata, then dbt transforms the raw data into
stagingandmartsmodels. - Check the status of
elt_dagby clicking on it.
- This initiates the complete data pipeline: Airbyte syncs data from Sample Data to Teradata, then dbt transforms the raw data into
- After both DAGs complete, check the
dbt_daggraph.
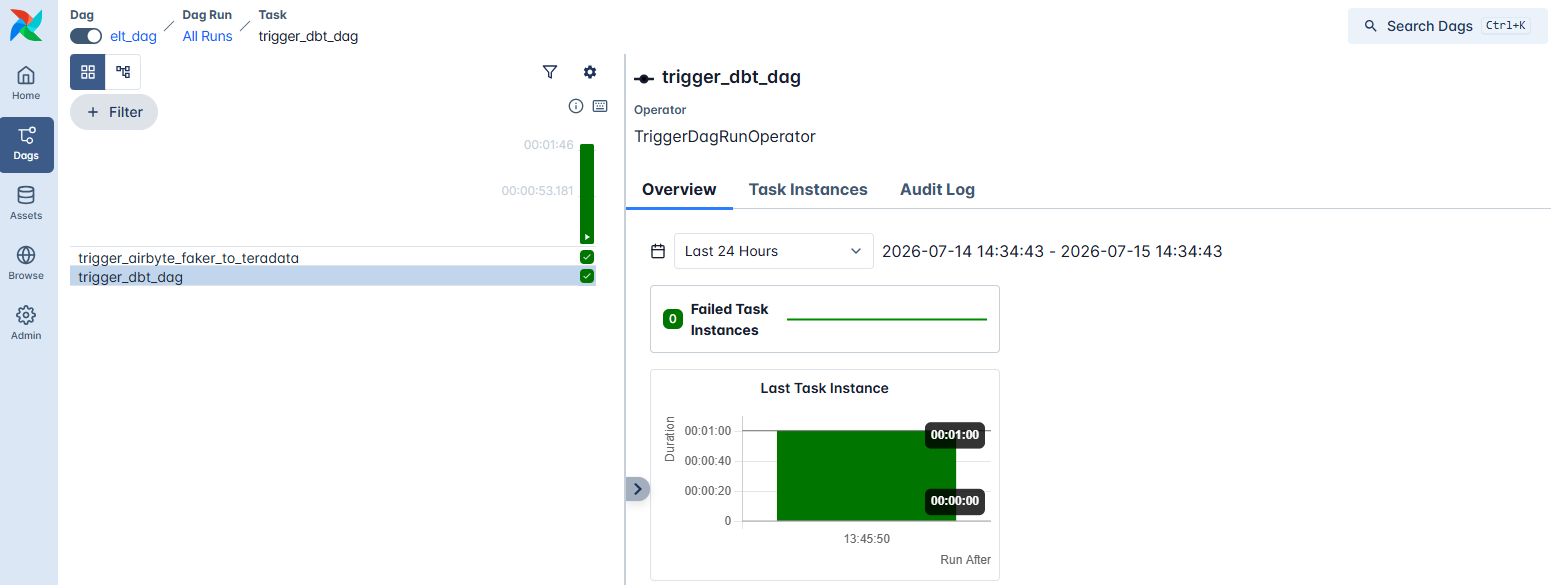
The dbt project is located in the dbt_project folder.
- You can check the newly created views in the
transformed_datadataset on Teradata using a database client UI.

Conclusion
After completing all the steps above, you should have a working stack of Airbyte, dbt, and Airflow with Teradata. You can use this as a starting point for your projects and adapt it to your specific needs.