dagster-teradata with Teradata
This guide walks you through integrating Dagster with Teradata to create and manage ETL pipelines. It provides step-by-step instructions for installing and configuring the necessary packages, setting up a Dagster project, and implementing a pipeline that interacts with Teradata.
Dagster
- Dagster is a data orchestrator built for data engineers, with integrated lineage, observability, a declarative programming model and best-in-class testability.
- Data pipelines are automated workflows that ingest raw data, process it through various transformations (such as cleaning and structuring), and produce a final, usable format—much like an assembly line for data.
- Dagster orchestrates this process by defining each stage of the pipeline, ensuring tasks execute in the correct sequence and at scheduled intervals. It provides a structured way to manage dependencies, track execution, and maintain reliable data workflows.
- Dagster orchestrates dbt alongside other technologies. Dagster's asset-oriented approach allows Dagster to understand dbt at the level of individual dbt models.
Prerequisites
-
Access to a Teradata cloud or on-premises instance (Teradata Cloud, Teradata Factory, or Teradata Trial).
NoteIf you need a test instance of Teradata, you can provision one for free at https://www.teradata.com/try
-
Python 3.9 or higher, Python 3.12 is recommended.
-
uvpackage manager for Python environment management. -
A Teradata database where you have CREATE TABLE privileges. You can create one by running:
Setting Up the Project with uv
We'll use uv exclusively to manage dependencies and run commands. No manual venv activation is required.
Initialize a Dagster Project
We'll use uvx to scaffold a new Dagster project, which automatically creates a pyproject.toml with all dependencies.
Create a New Dagster Project
Run the following command:
When prompted, respond y to run uv sync which will set up the isolated environment and install all dependencies:
This command will create a new project named dagster-quickstart with the following directory structure:
Configure the pyproject.toml with Required Packages
The generated pyproject.toml needs the dagster-teradata package to interact with Teradata. Open the pyproject.toml file and add dagster-teradata to the dependencies section:
After modifying the pyproject.toml, run uv sync to install the new dependencies:
This ensures that all required packages, including dagster-teradata, are installed in your isolated environment.
Create Sample Data
To simulate an ETL pipeline, create a CSV file with sample data that your pipeline will process.
Create the data directory: First, create a data directory inside the dagster_quickstart project root:
Create the CSV File: Inside the /data directory, create a file named sample_data.csv with the following content:
This file represents sample data that will be used as input for your ETL pipeline.
Create a Database for the Pipeline
Before defining assets, create a database where the pipeline can create and drop tables:
Define Assets for the ETL Pipeline
Now, we'll define a series of assets for the ETL pipeline. Assets must be organized properly so they can be discovered by Dagster.
Create the assets module: Create a file named assets.py in the defs/ folder and add the following code to define the pipeline:
This Dagster pipeline defines a series of assets that interact with Teradata. It starts by reading data from a CSV file, then drops and recreates a table in Teradata. After that, it inserts rows from the CSV into the table and finally retrieves the data from the table.
Register Assets in defs/__init__.py
Now you need to register these assets so Dagster can discover them. Update the existing defs/__init__.py file and add the following:
This makes the assets importable from the defs module, allowing them to be discovered by Dagster's asset lineage system.
Set Up Environment Variables
Before defining the pipeline, configure the environment variables that the Teradata resource will use to connect to your Teradata instance. Create a .env file in the root of your dagster-quickstart project with the following content:
Replace the placeholder values with your actual Teradata connection details:
TERADATA_HOST: The hostname or IP address of your Teradata instanceTERADATA_USER: Your Teradata usernameTERADATA_PASSWORD: Your Teradata passwordTERADATA_DATABASE: The database name (usedagster_pipeline_dbif you created it as shown in the prerequisites)
The next step is to configure the pipeline by defining the necessary resources and jobs.
Edit the definitions.py File: Modify src/dagster_quickstart/definitions.py and define your Dagster pipeline as follows:
This code sets up a Dagster project that interacts with Teradata by defining assets and resources:
- It imports necessary modules, including Dagster and dagster-teradata.
- It imports asset functions (read_csv_file, read_table, create_table, drop_table, insert_rows) from the defs module.
- It configures the TeradataResource with connection details from environment variables.
- It registers these assets with Dagster using
Definitions, allowing Dagster to track and execute them.
Running the Pipeline
After setting up the project, you can now run your Dagster pipeline:
-
Start the Dagster Dev Server: In your terminal, navigate to the root directory of your project and run:
The
uv runcommand ensures thatdg devruns within the project's isolated environment defined inpyproject.toml. No manual venv activation is needed.After executing the command, the Dagster logs will be displayed in the terminal. Once you see a message similar to:
The Dagster web server is running successfully.
Note:
dg devcreates an ephemeral instance by default. To persist your runs and assets across sessions, set theDAGSTER_HOMEenvironment variable before runninguv run dg dev:Windows (PowerShell):
macOS/Linux:
-
Access the Dagster UI:
Open a web browser and navigate to
http://127.0.0.1:3000. This will open the Dagster UI where you can manage and monitor your pipelines.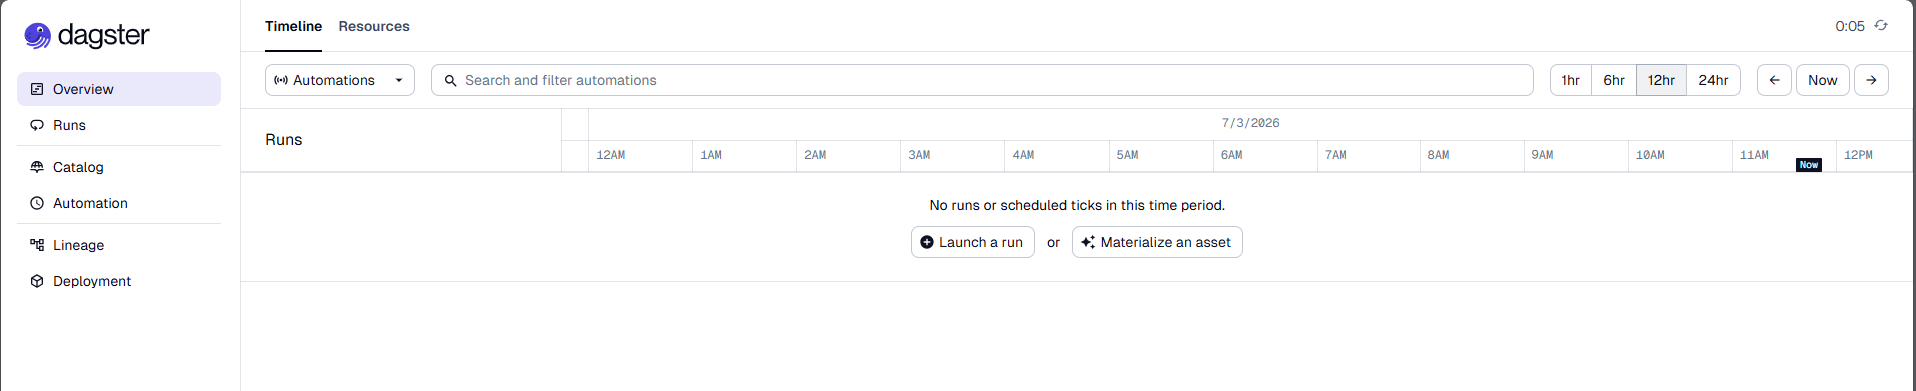
-
Run the Pipeline:
- In the left navigation of the Dagster UI, click on Lineage.
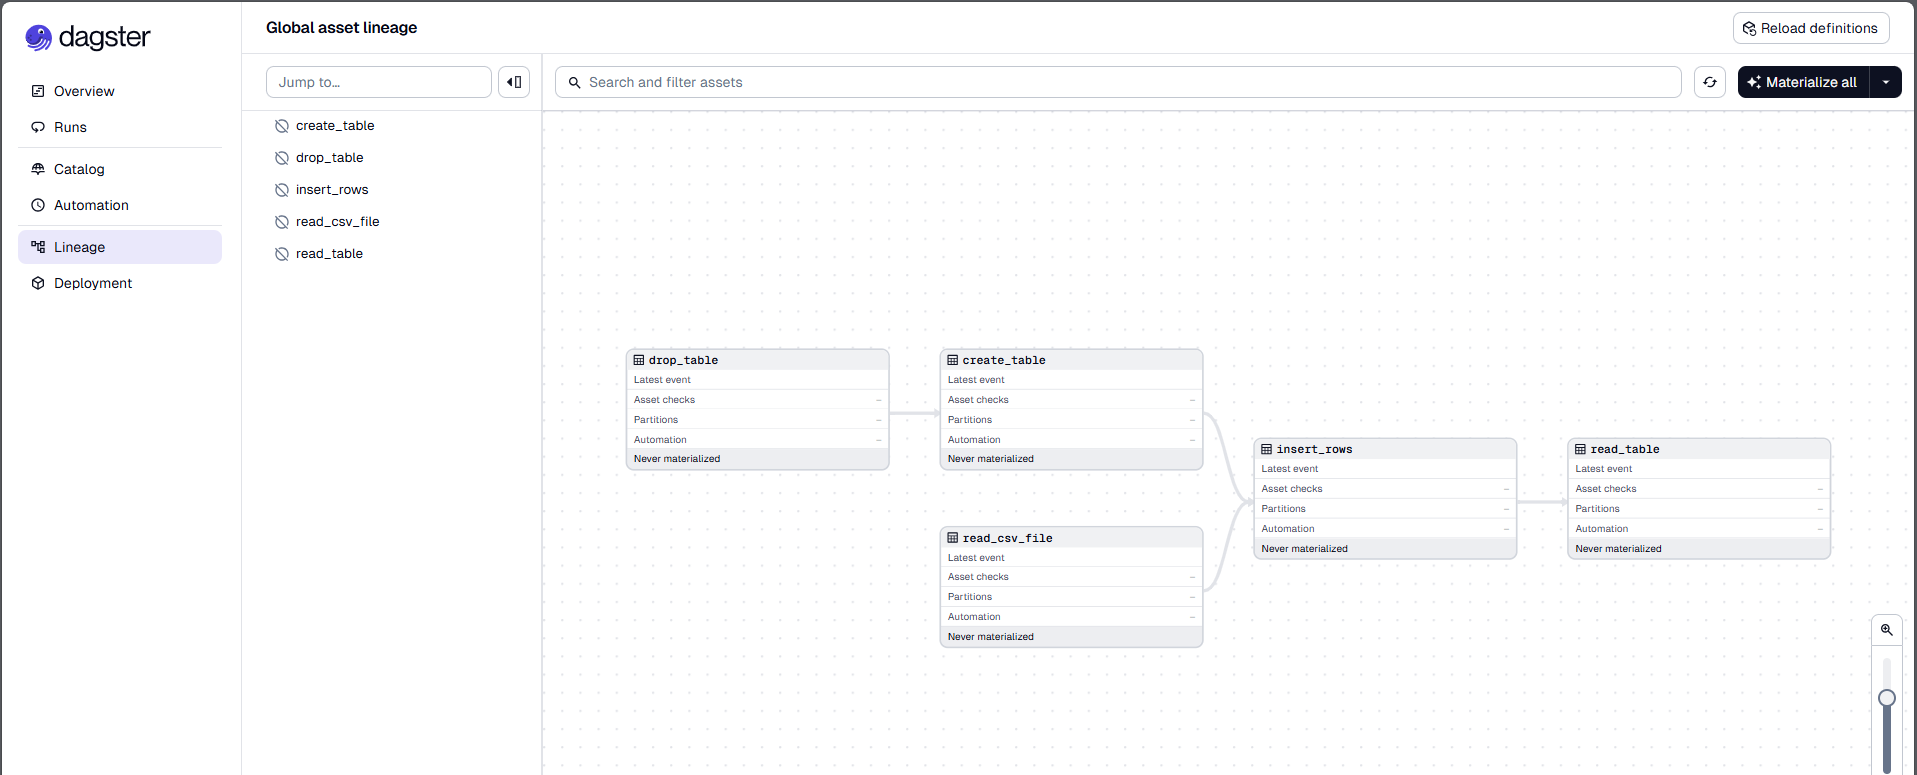
- Click Materialize all to execute the pipeline.
-
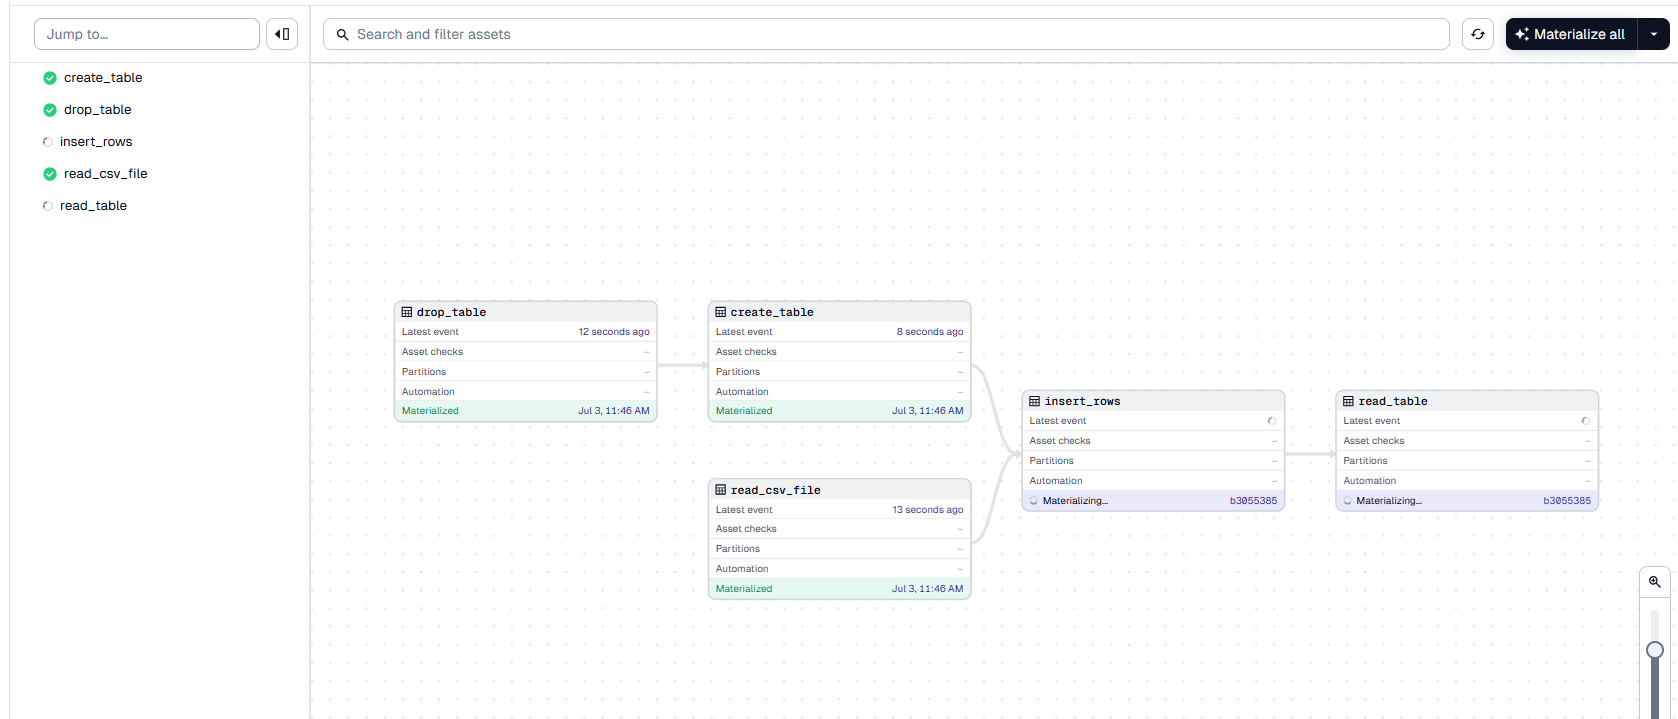
Monitor the Run:
The Dagster UI allows you to visualize the pipeline's progress, view logs, and inspect the status of each step. You can switch between different views to see the execution logs and metadata for each asset.
TeradataResource Operations
Below are some of the operations provided by the TeradataResource:
1. Execute a Query (execute_query)
This operation executes a SQL query within Teradata.
Args:
sql(str) – The query to be executed.fetch_results(bool, optional) – If True, fetch the query results. Defaults to False.single_result_row(bool, optional) – If True, return only the first row of the result set. Effective only iffetch_resultsis True. Defaults to False.
2. Execute Multiple Queries (execute_queries)
This operation executes a series of SQL queries within Teradata.
Args:
sql_queries(Sequence[str]) – List of queries to be executed in series.fetch_results(bool, optional) – If True, fetch the query results. Defaults to False.single_result_row(bool, optional) – If True, return only the first row of the result set. Effective only iffetch_resultsis True. Defaults to False.
3. Drop a Database (drop_database)
This operation drops one or more databases from Teradata.
Args:
databases(Union[str, Sequence[str]]) – Database name or list of database names to drop.
4. Drop a Table (drop_table)
This operation drops one or more tables from Teradata.
Args:
tables(Union[str, Sequence[str]]) – Table name or list of table names to drop.
Summary
This guide provides a step-by-step approach to integrating Dagster with Teradata for building ETL pipelines.